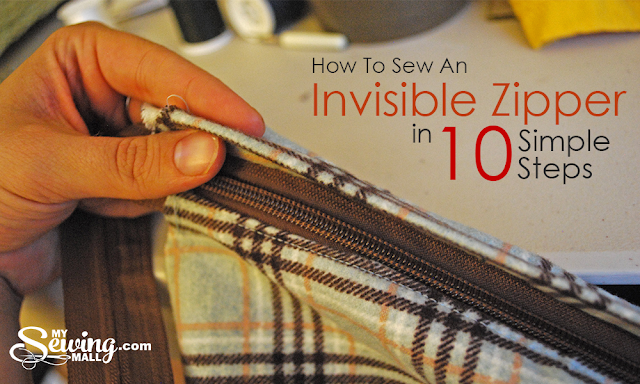
When it comes to sewing zippers, believe it or not, the invisible zipper is one of the easiest to insert. How is that possible, you ask? Sewing an invisible zipper is the one zipper application where no machine stitching is visible from the right side of the garment or project. All of the stitching is done behind the scenes, if you will, totally concealed within the seam allowances. It’s the primary reason for using this type of zipper in your sewing, but it is also what makes it the easiest to insert.
An invisible zipper can be applied using a regular zipper foot with relative ease, but by all means invest in a presser foot designed for such applications. They make the application super fast and so much easier, making it well worth the investment.
Invisible zipper presser feet are often also referred to as concealed zipper feet. They can cost as little as AED 15 or as much as AED 100 depending on your sewing machine brand and model. Once you master the technique for applying this type of zipper, you will be less inclined to ever insert a traditional zipper again.
Most sewers are intimidated by the thought of applying this type of zipper, but the technique is rather straightforward and simple. As is the case with all zipper applications, the key to a successful insertion is the prep work done before any machine stitching begins.
Wondering how to sew an invisible zipper? Follow these steps to insert this type of zipper using an invisible, or concealed, zipper foot.
Step 1:
First and foremost, when applying this type of zipper it is best to do them when joining pieces are still in a flat state, or in other words, before corresponding pieces are assembled or joined together.
It is also important to note that when applying an invisible type zipper, the application is done from the right side of the project — contrary to all other types of zipper applications.
Step 2:
Prepare the seam edges. Finish or serge the joining seam edges before applying the zipper. Place the joining seam edges side by side, right side up. In the case of a dress or skirt application, do not sew in the back seam.
Then, place a mark ¾ inches from the top edges of both pieces using either a straight pin, chalk or fabric marking pen — anything that will not leave a permanent mark on the project. This indicates the placement of the zipper and ensures that both sides of the joined pieces align perfectly.
Step 3:
Next, mark a ⅝ inch seam line along the corresponding seam edges, again, with either straight pins, chalk or fabric pen.
Step 4:
Prepare the zipper. Open up the zipper and press out the curled zipper teeth so they lay slightly flat.
Step 5:
With the zipper opened up and right side down (it makes no difference which side is sewn first), lay the zipper teeth along the marked ⅝ inch seam line and pin securely in place. Pinning in place should be sufficient if the fabric is stable. If the fabric is slippery or thick and more likely to shift during stitching, hand baste the zipper in place to keep it securely in place throughout the application process. Once the hand basting is complete, the pins can be removed.
Step 6:
To stitch the zipper in place, position the zipper teeth under the proper groove in the presser foot and stitch until the presser foot reaches the zipper stop. Backstitch to lock and remove.
Step 7:
With the joining pieces laying side by side, flip the piece with the zipper sewn in place. This puts the corresponding side of the zipper in position for placement.
Step 8:
Repeat Steps 5 and 6.
Step 9:
The last step is to sew the seam below the zipper using a regular zipper foot. Place the foot as close to the zipper stitching as possible making sure to move the zipper tail out of the way.
Step 10:
Complete the seam.
credits to: craftsy.com


Comments
Post a Comment