

This tutorial is from MyPatchwork
Materials Needed:
16 charms – I used Verna by Kate Spain
1/3 yard matching fabric for the bottom of the bag and the handles
1/4 yard of matching fabric for the gathered strip and the loop closure
1/2 yard of matching fabric for the lining
1 self covered button with the bottom fabric
2 pieces of batting
medium weight fusible interfacing
Seam allowance is 1/4 inch.
For each side of the bag, stitch 2 rows of 4 charm squares each and then 2 rows together. Iron with seams open to get a flatter look. You will end up with 2 rectangles measuring measuring 18.5in x 9.5in but measure your final rectangles well after sewing before you cut the bottom rectangles so that the width is the same.
From the matching fabric cut 2 more 8in x 18.5in rectangles to form the bottom of the bag.
Handles
Cut 2 pieces of 21in x 4in for the handles.
Cut 2 pieces of fusible interfacing slightly smaller than the handles and iron to each piece of fabric.
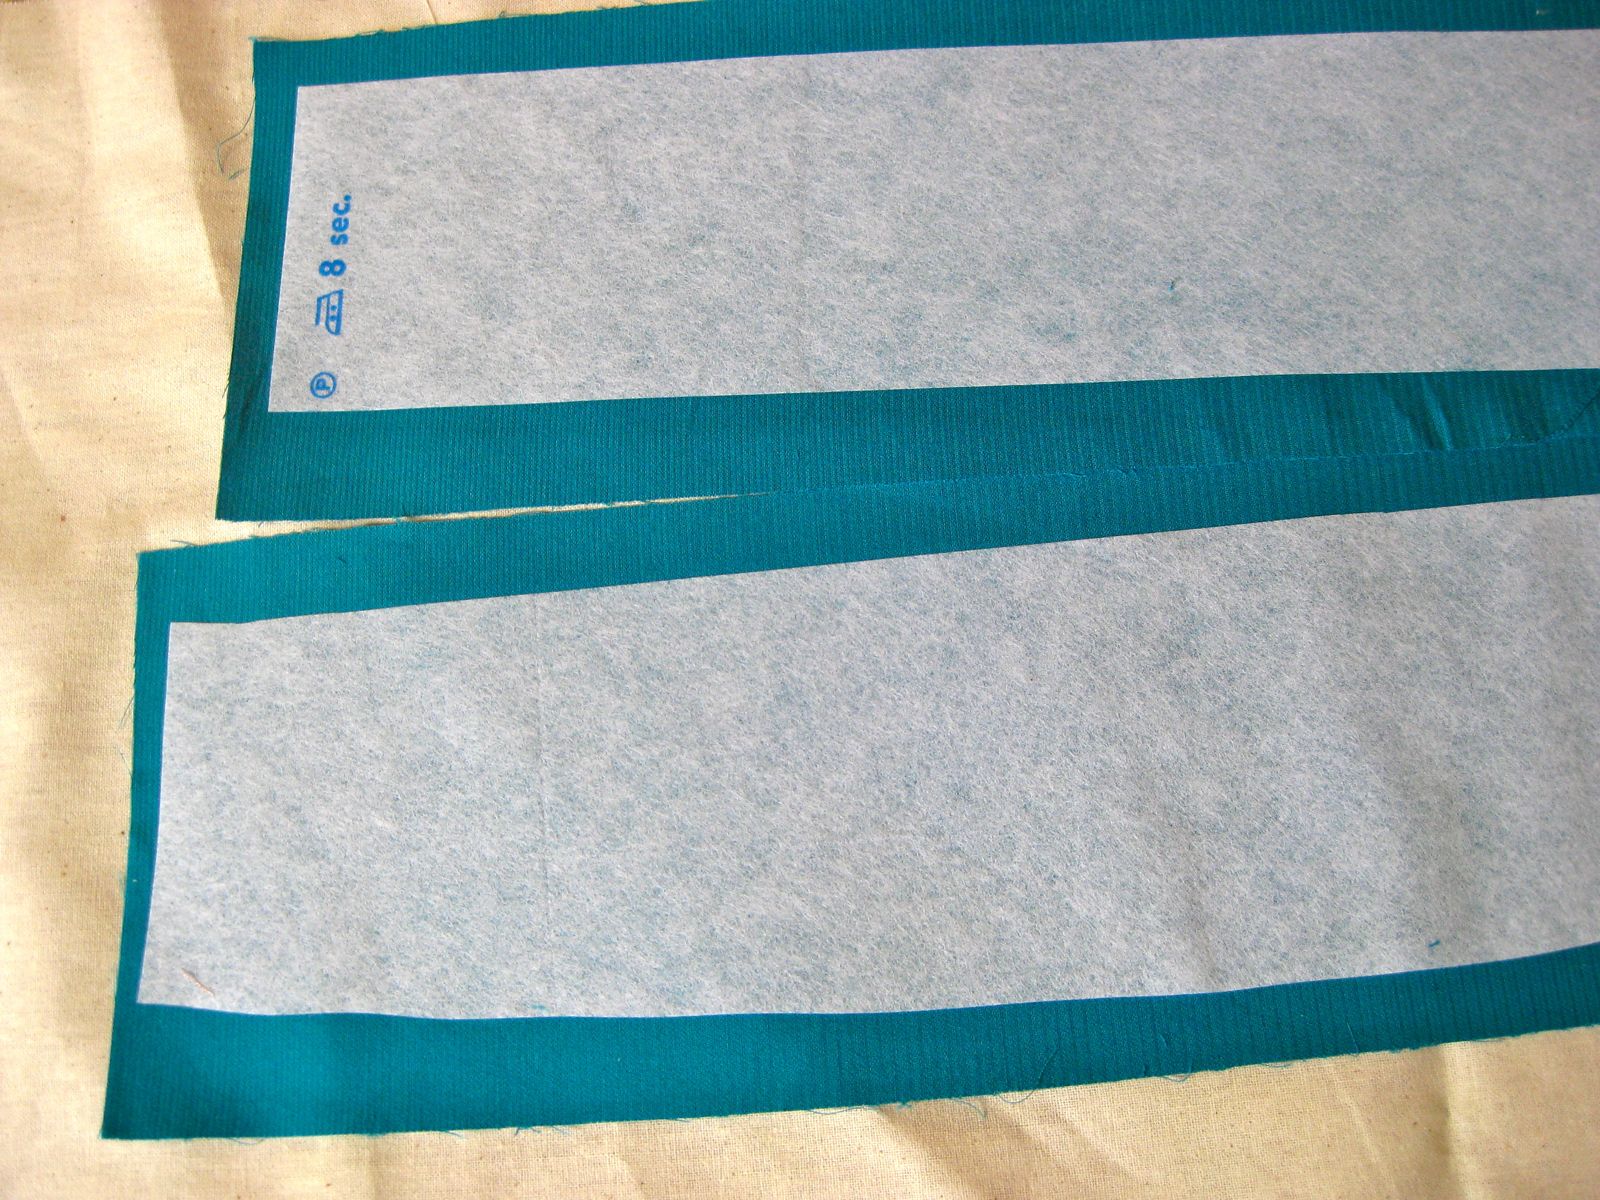
Fold as per picture below and iron.

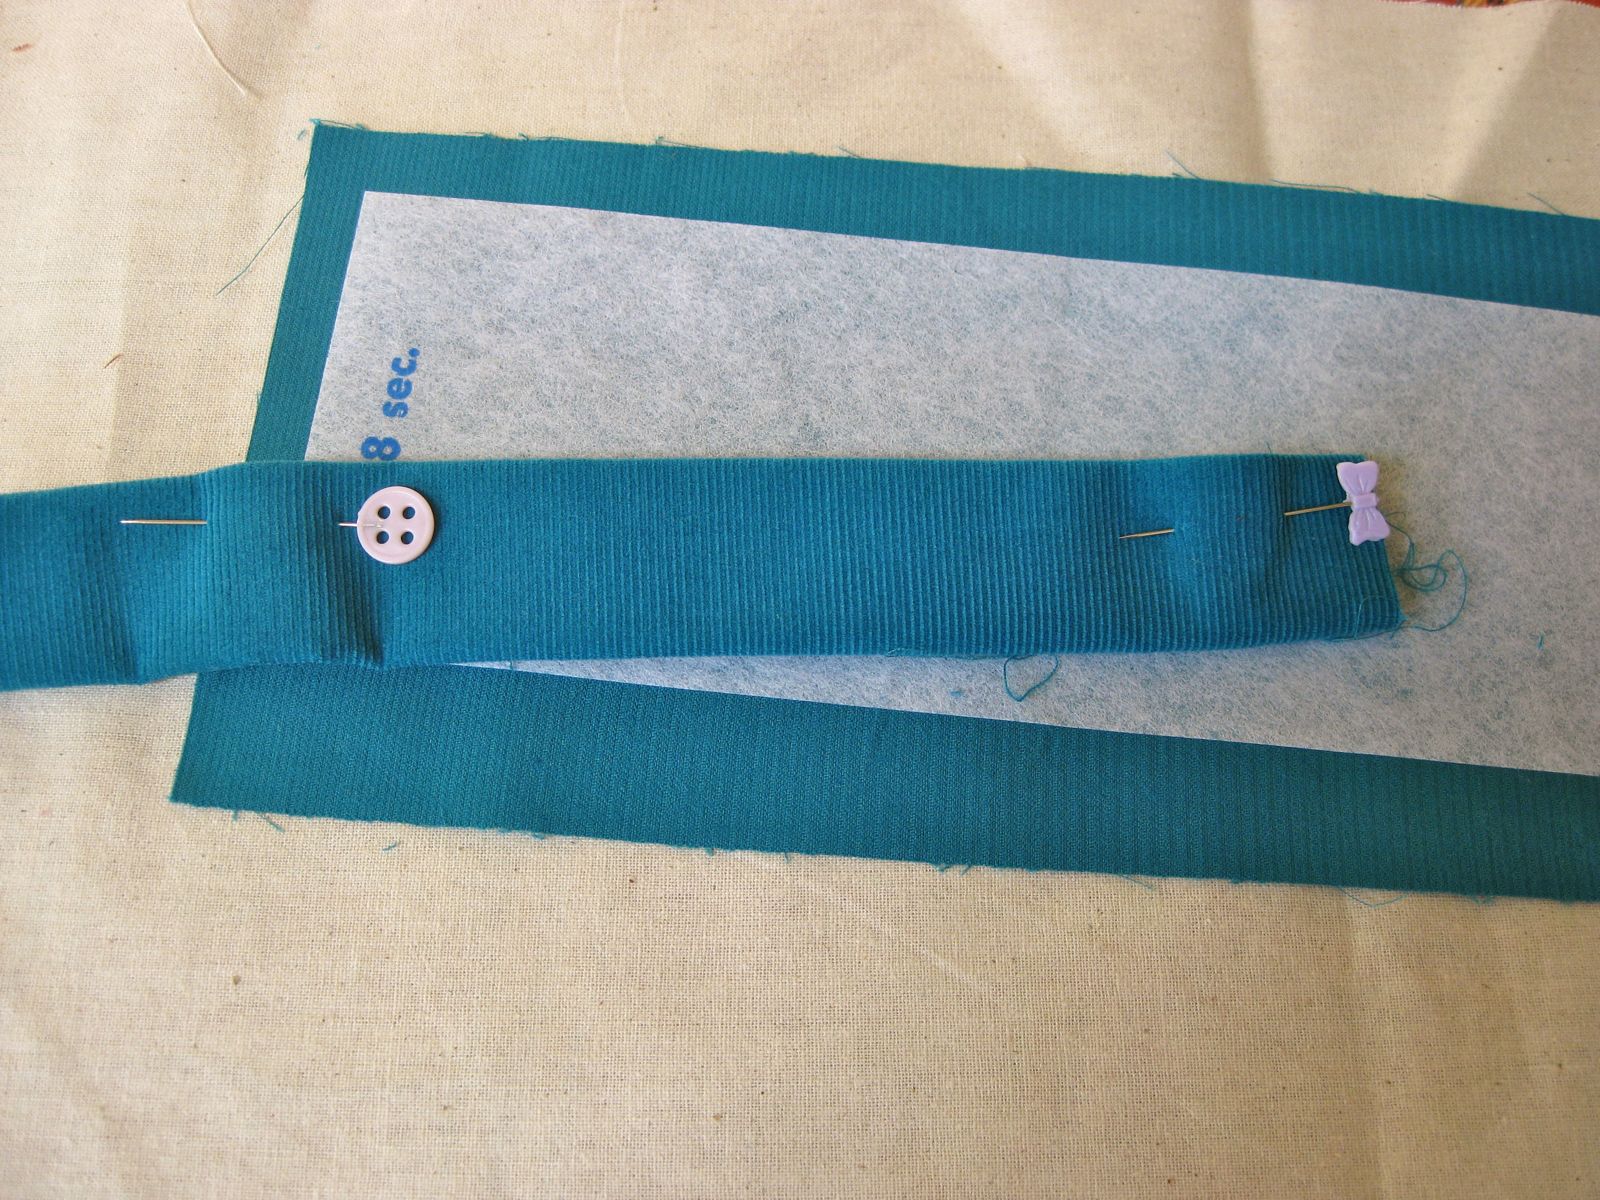
Fold again and pin.
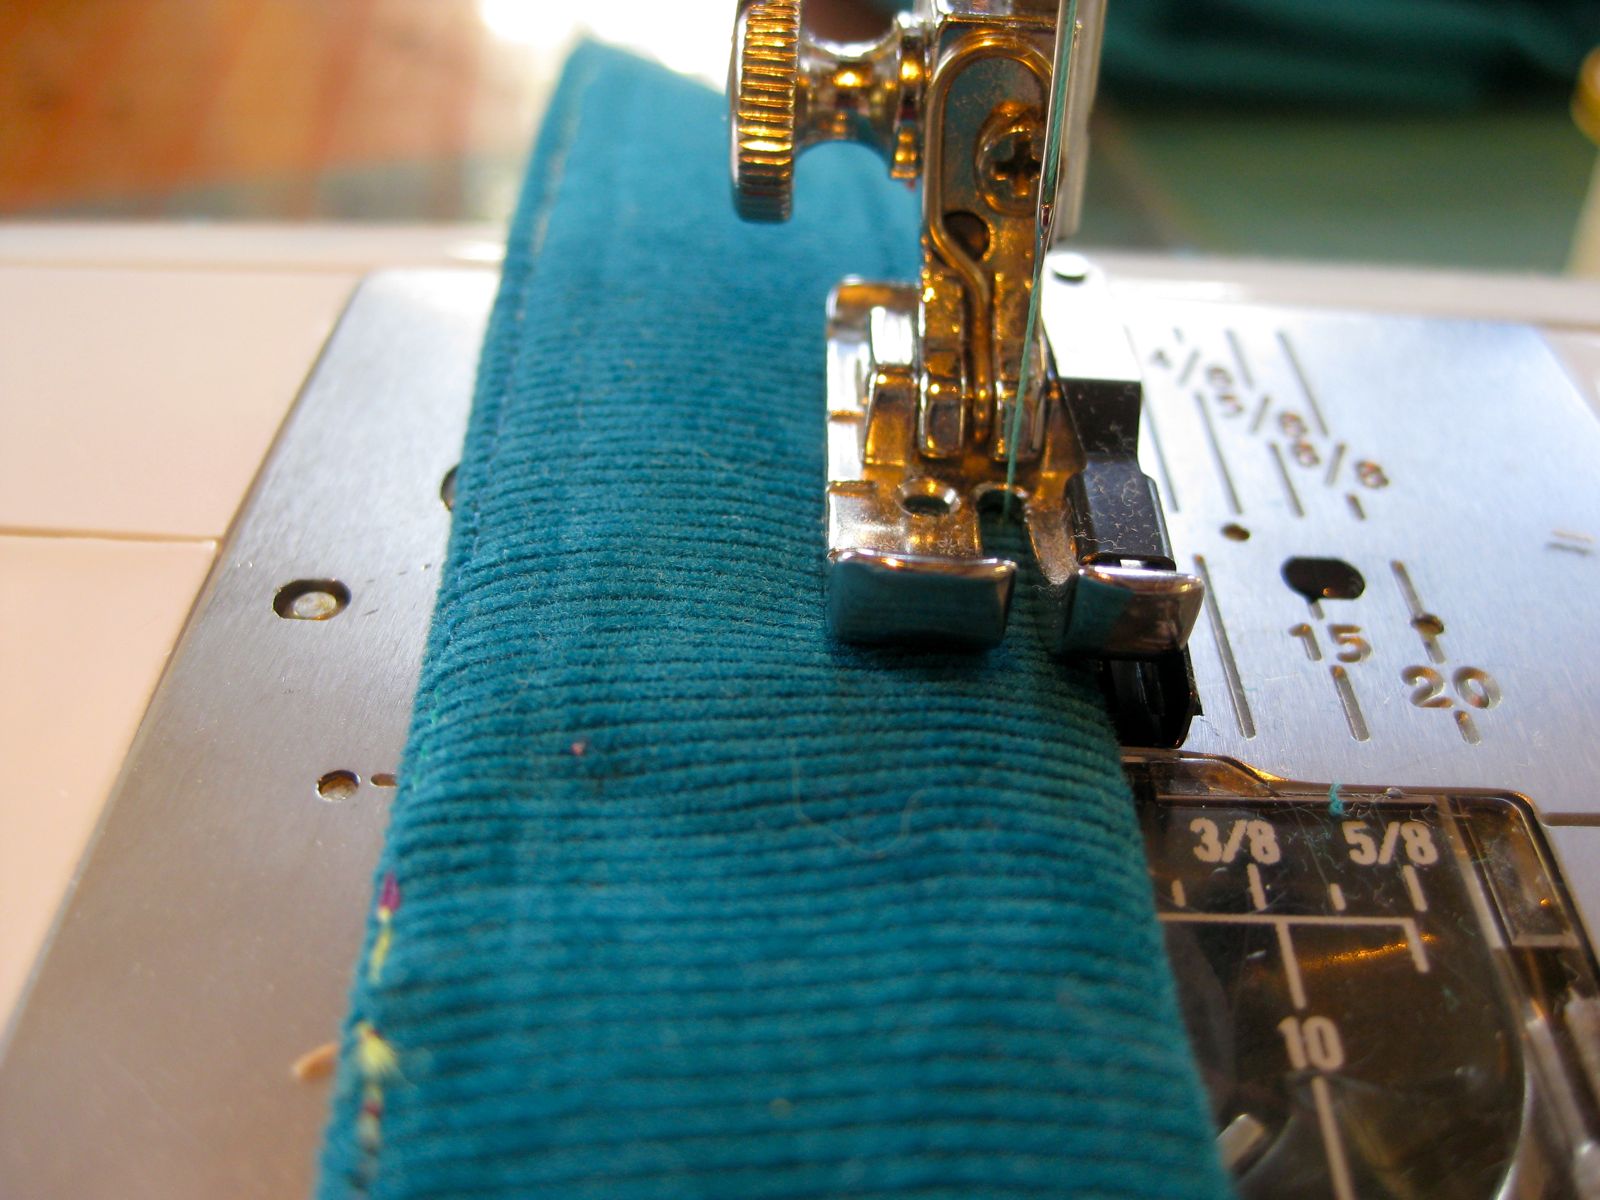
Stitch very close to the edge on both sides of the handle.
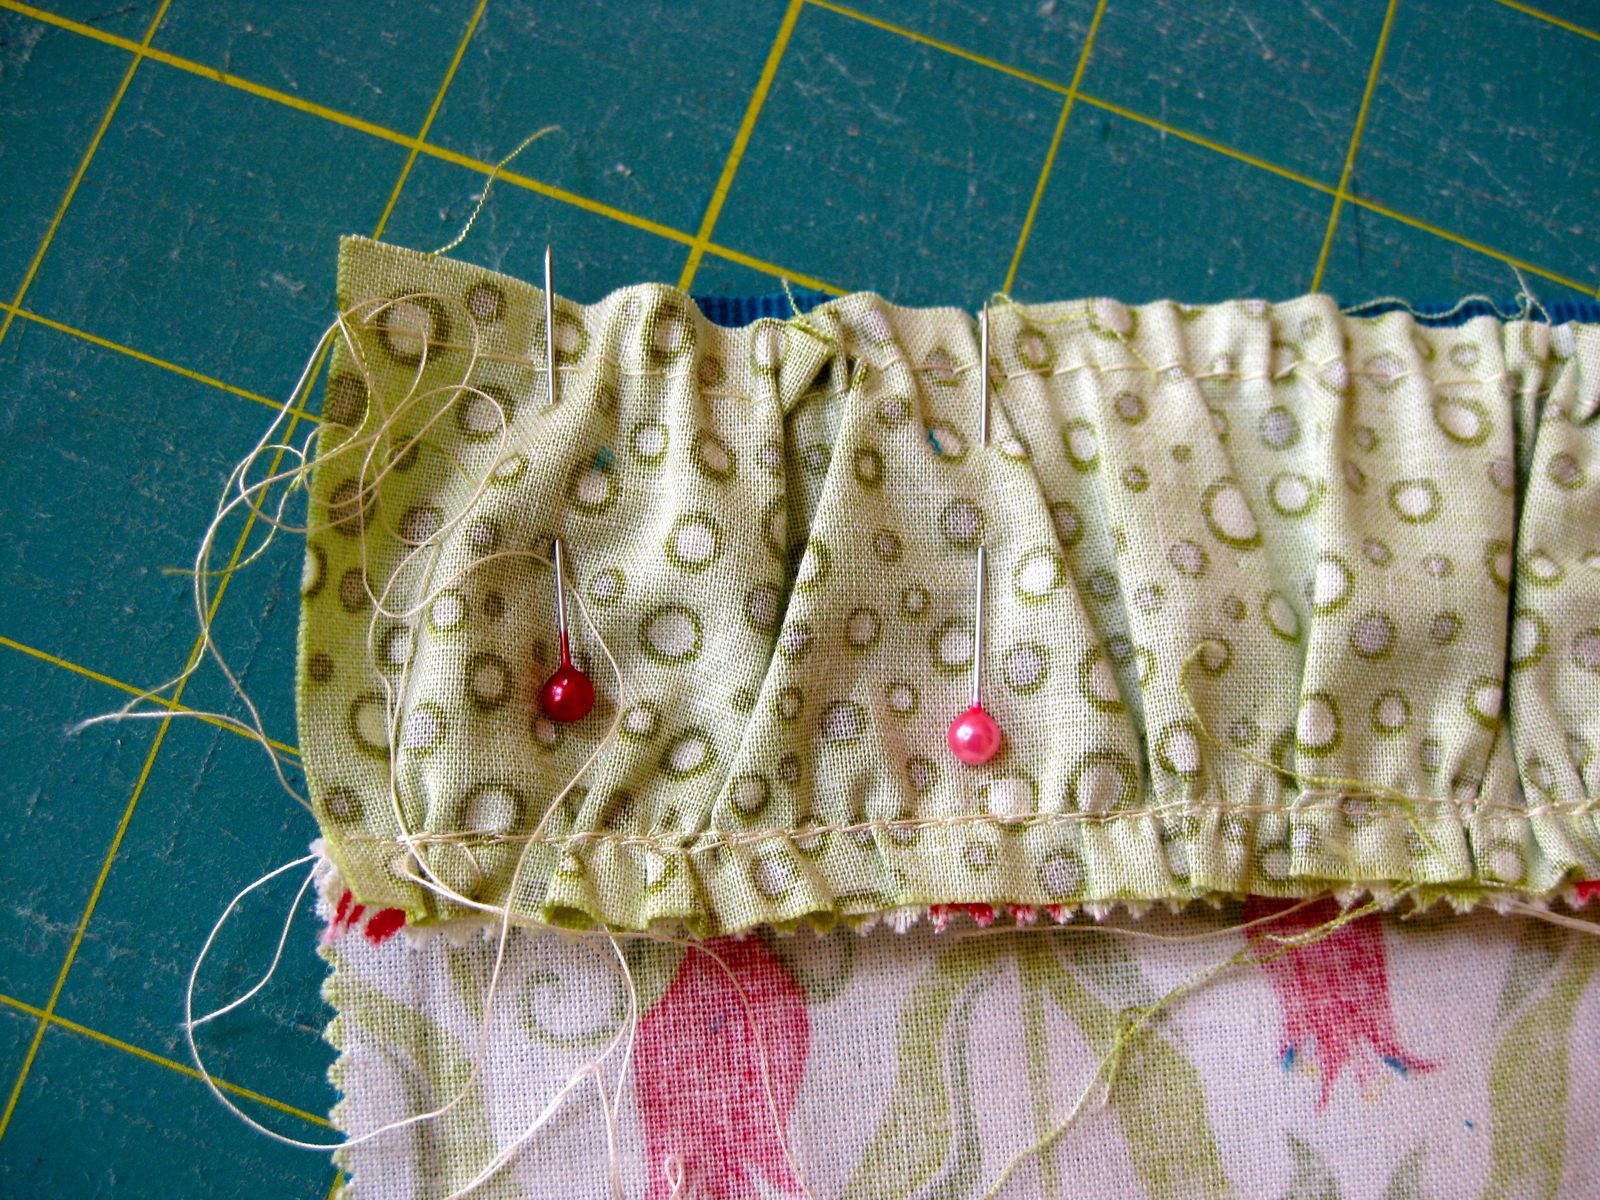
Gathered Strip
Cut 2 strips of fabric measuring 2.5 in x 36 in.
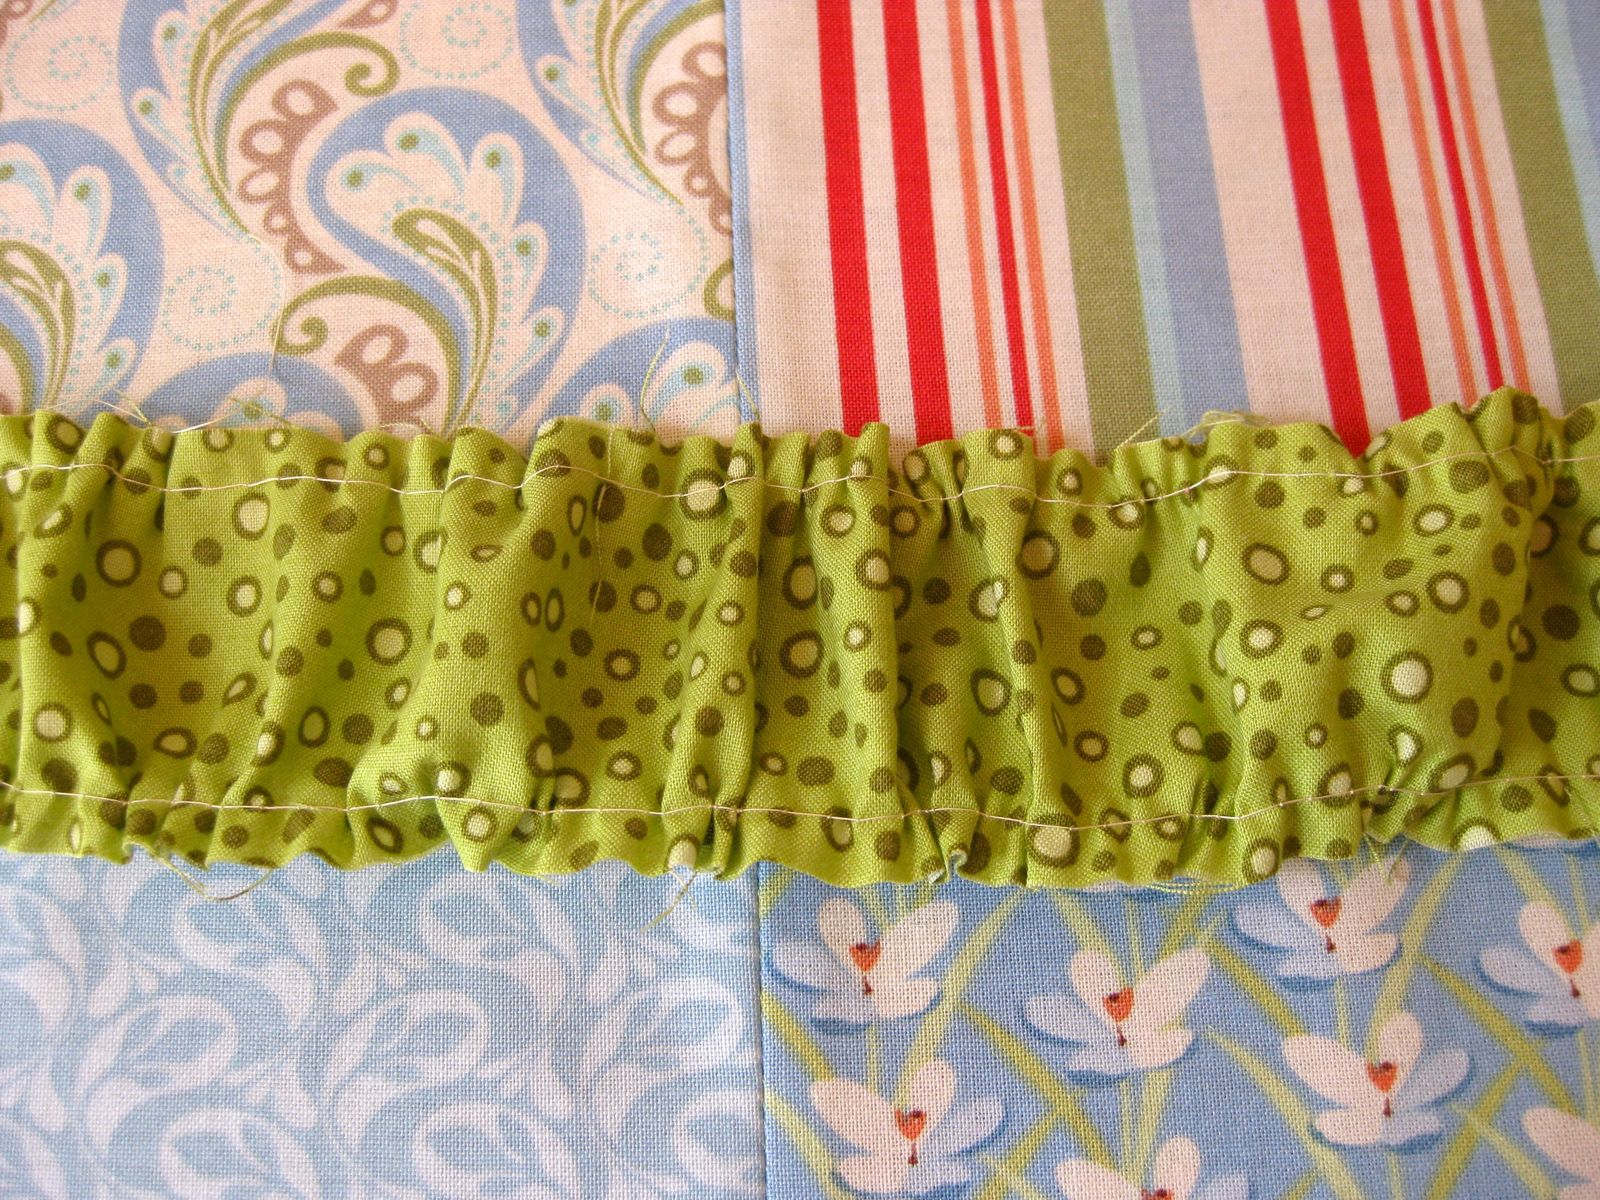
Using basting stitch, sew along the sides of the strip.
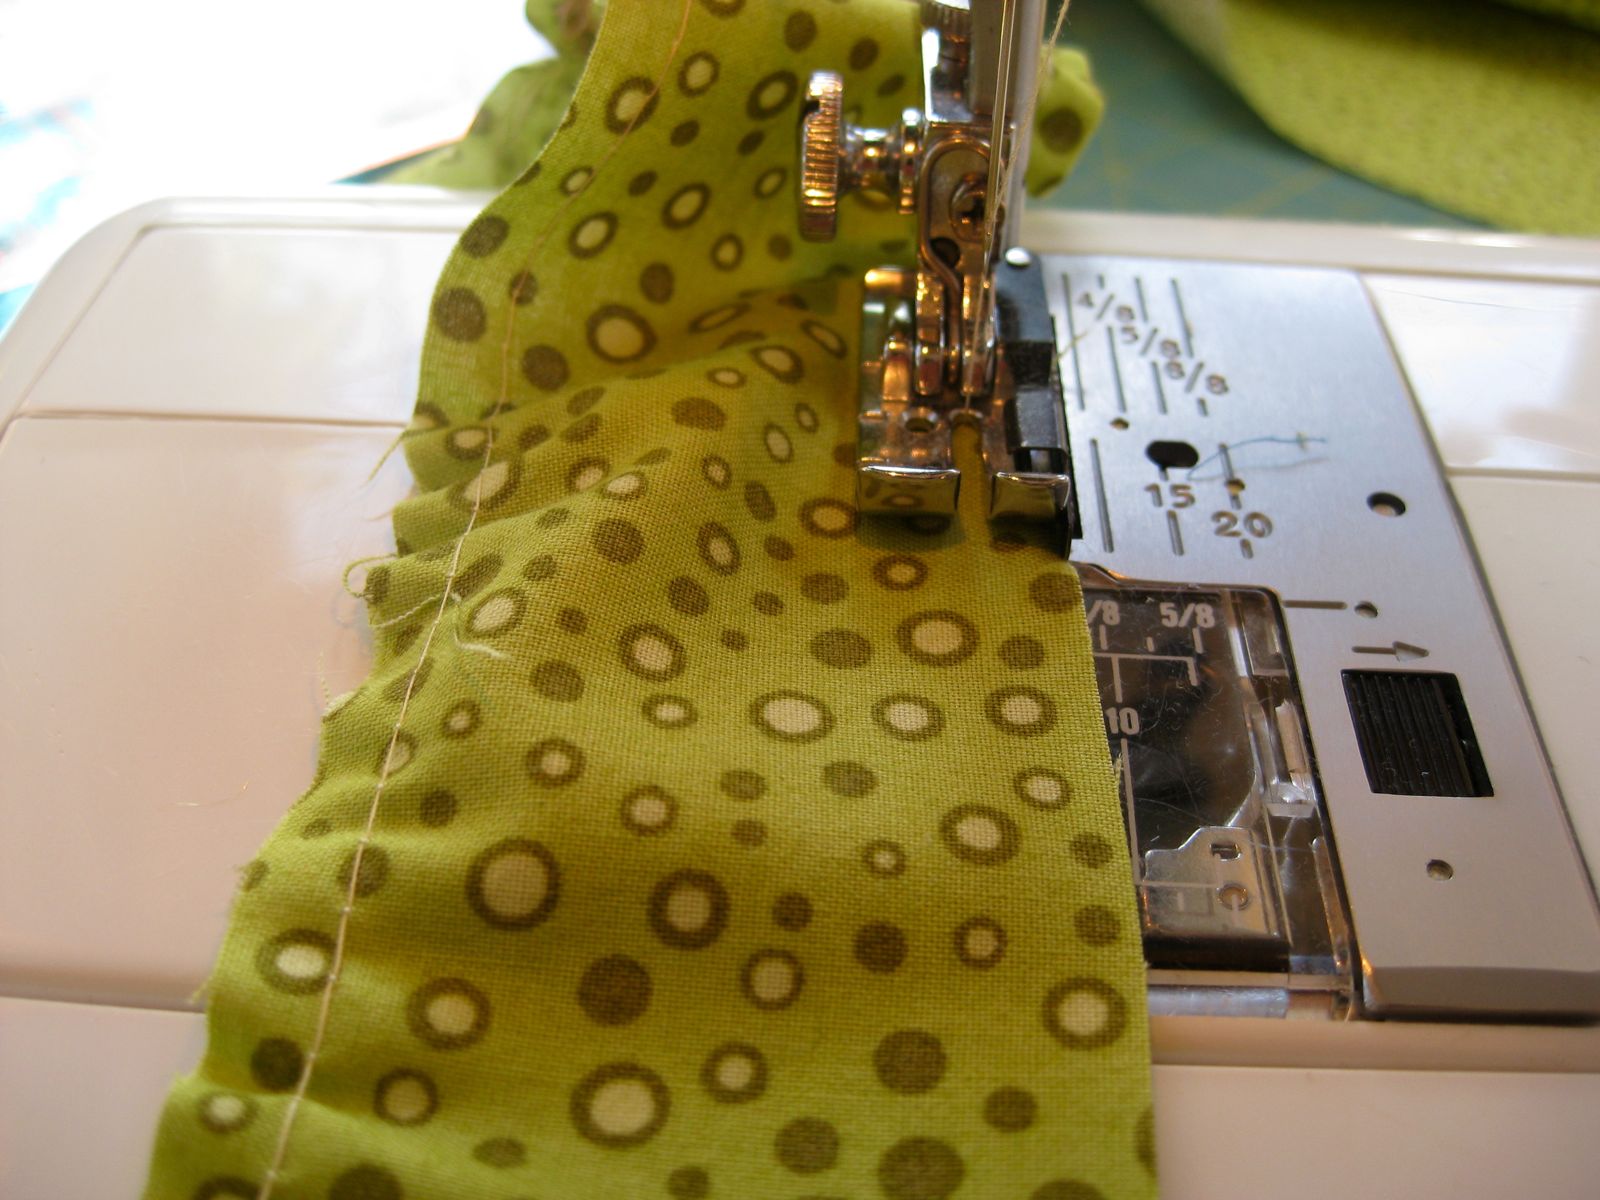
Pull from the top thread while you hold the strip of fabric.

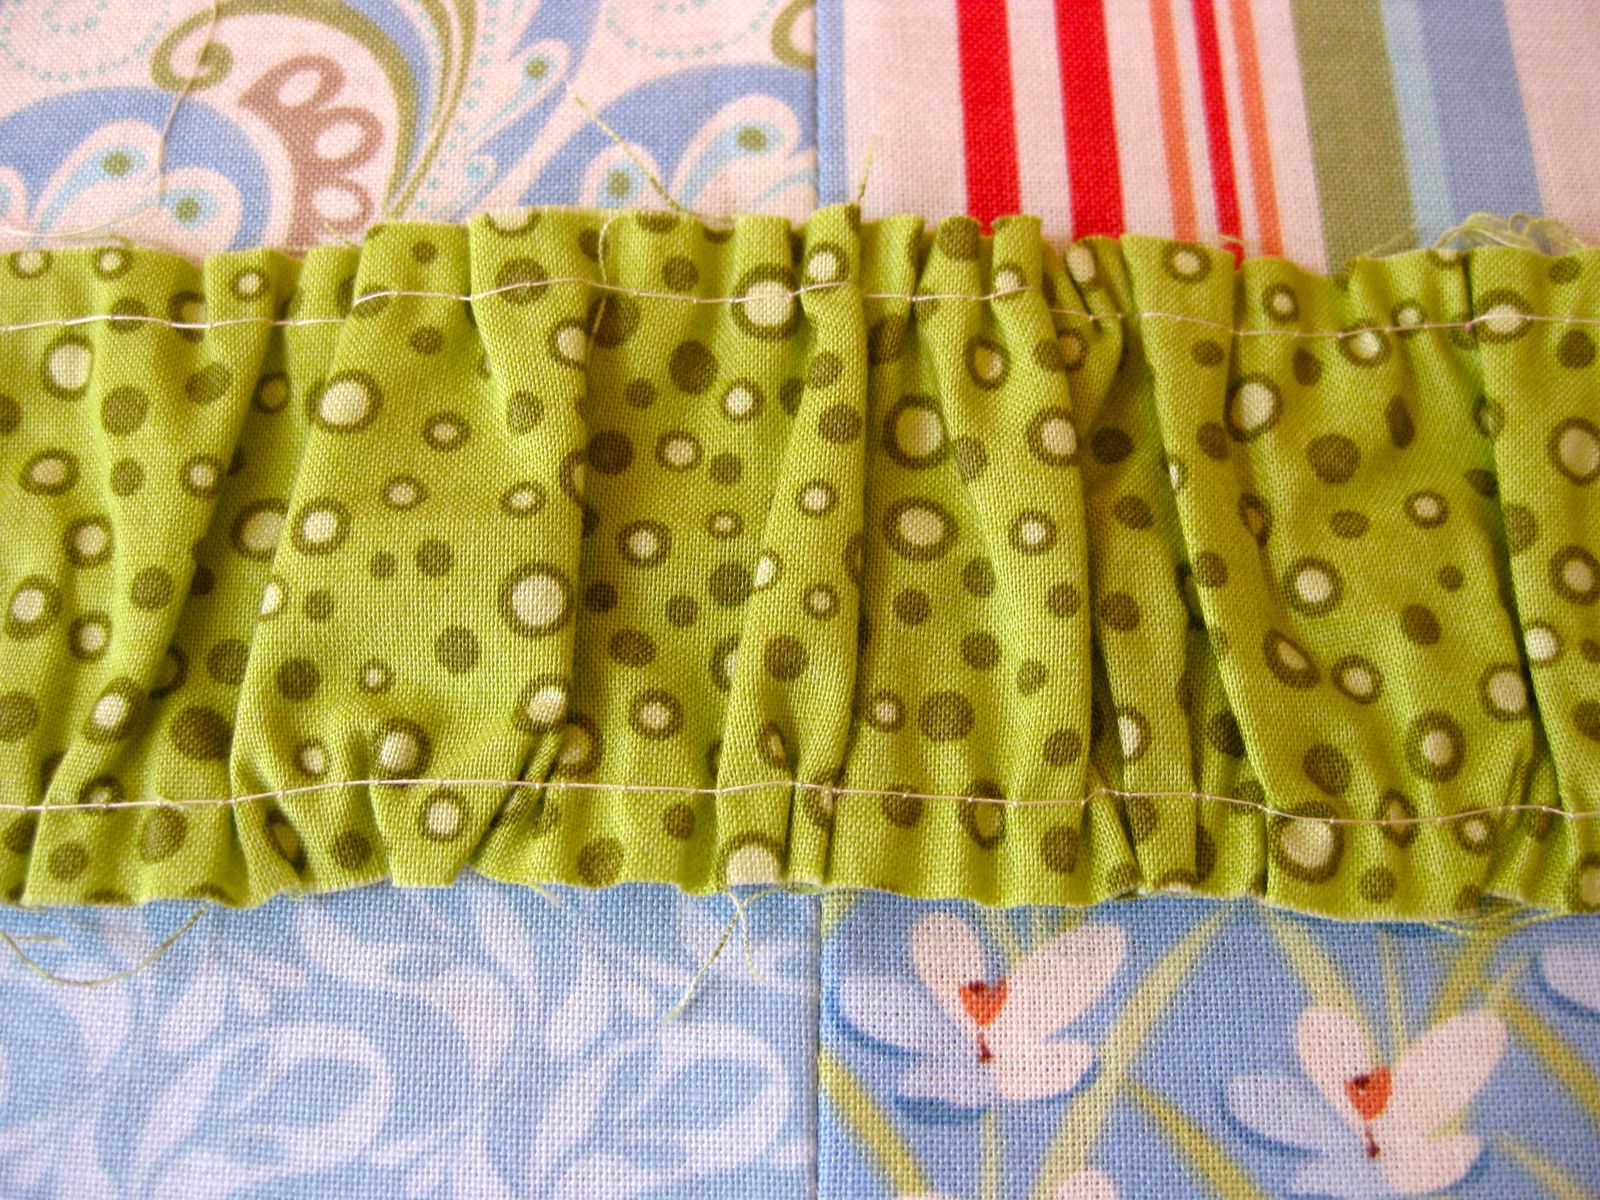
Pull from both sides and distribute the folds along the whole strip.
When the folds have been evenly distributed, iron the folds a bit, though this steps is not necessary.
You are now ready to piece the bag.
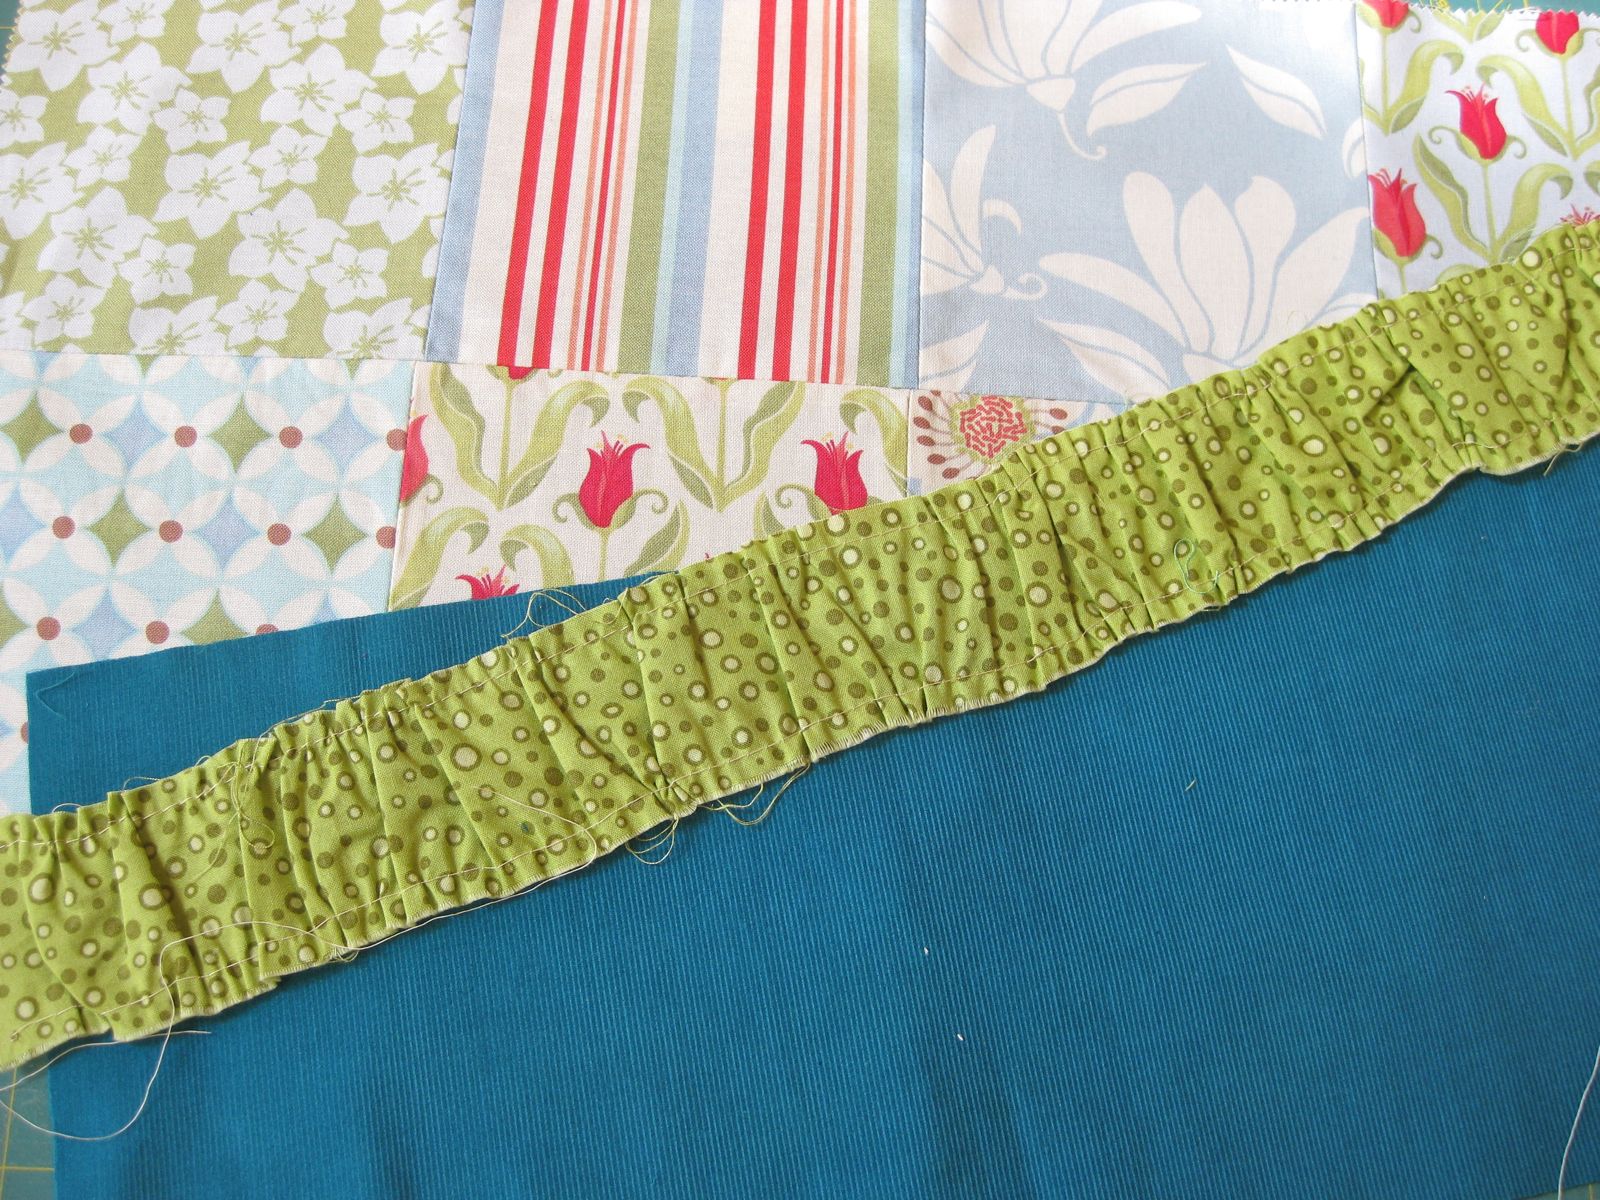
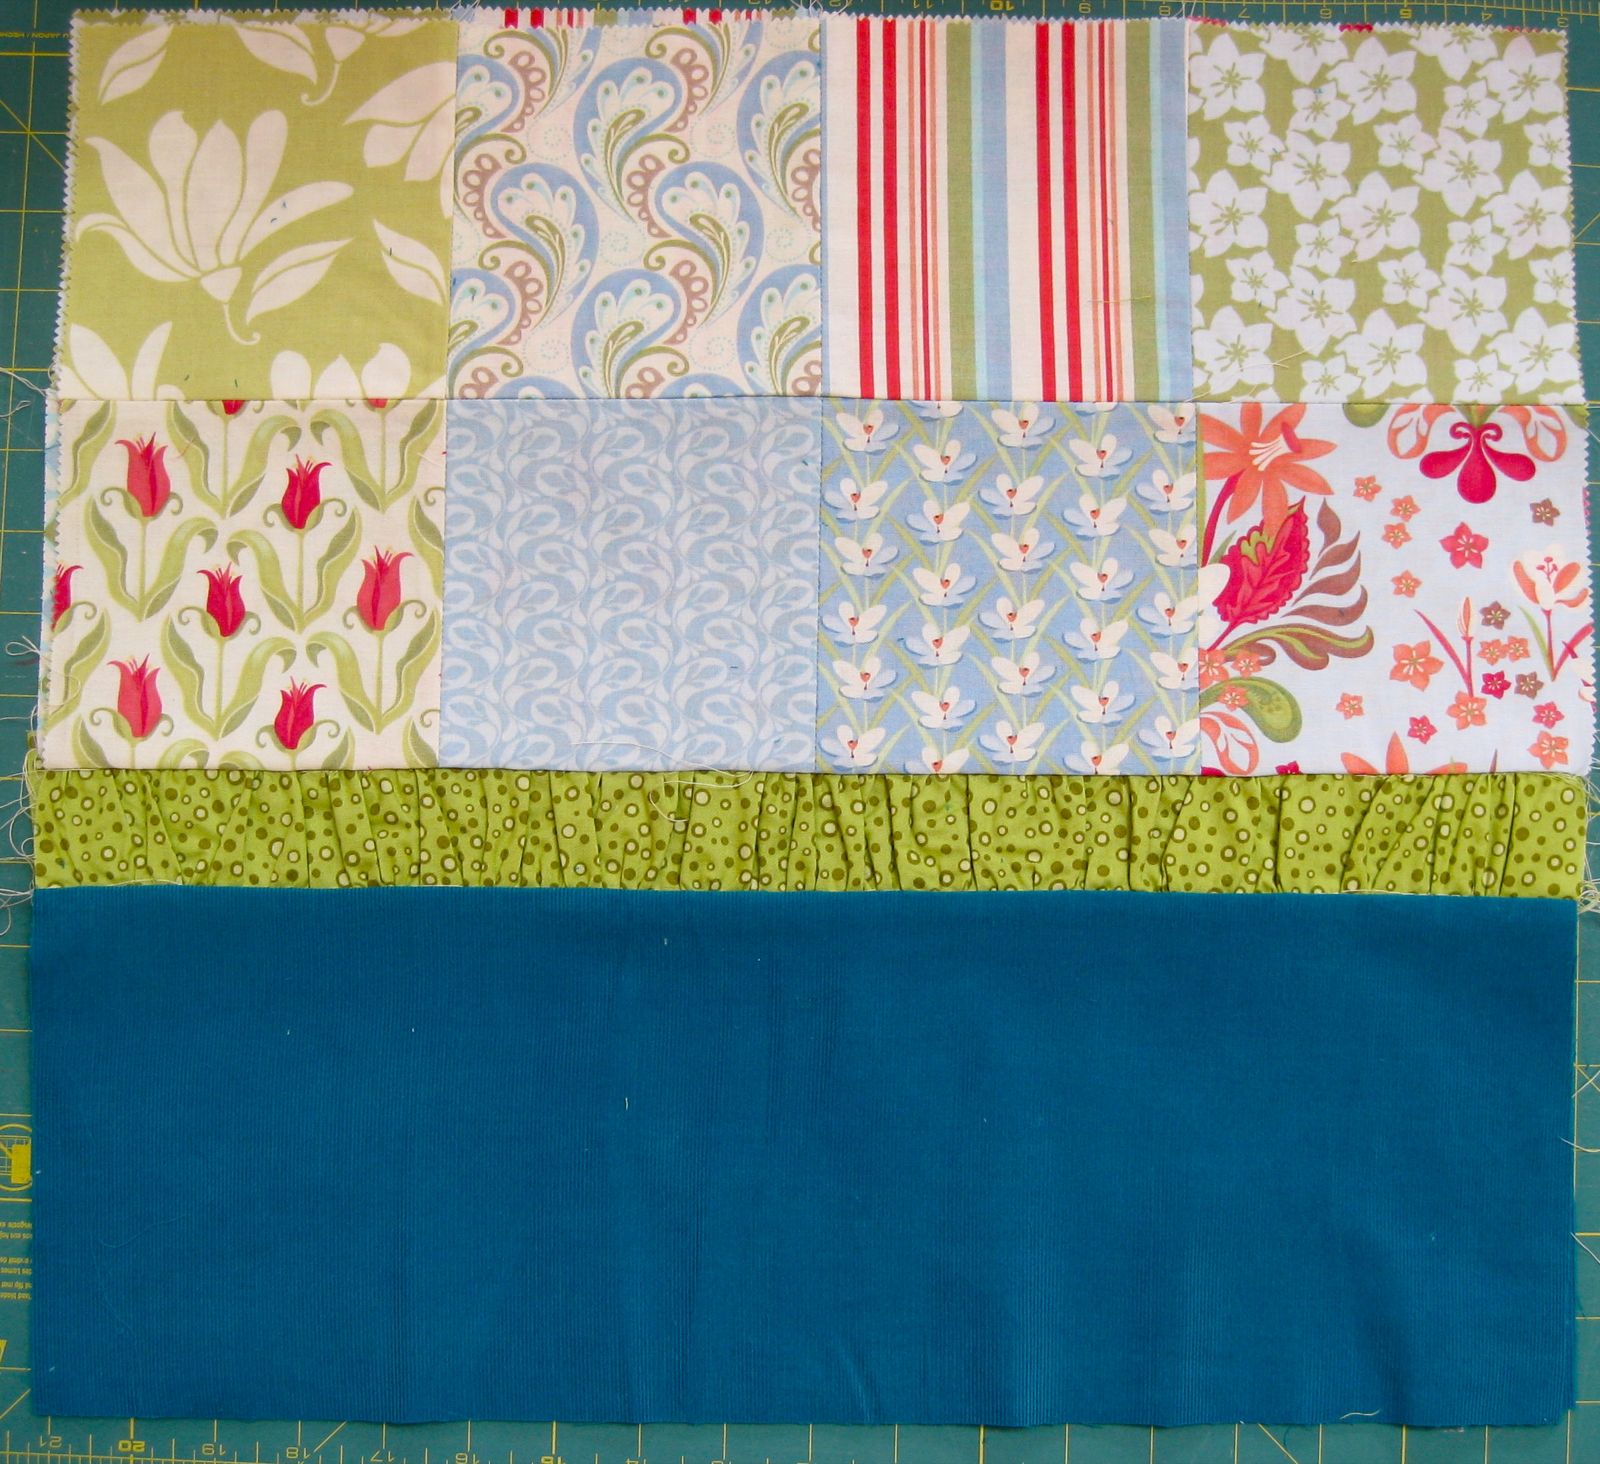
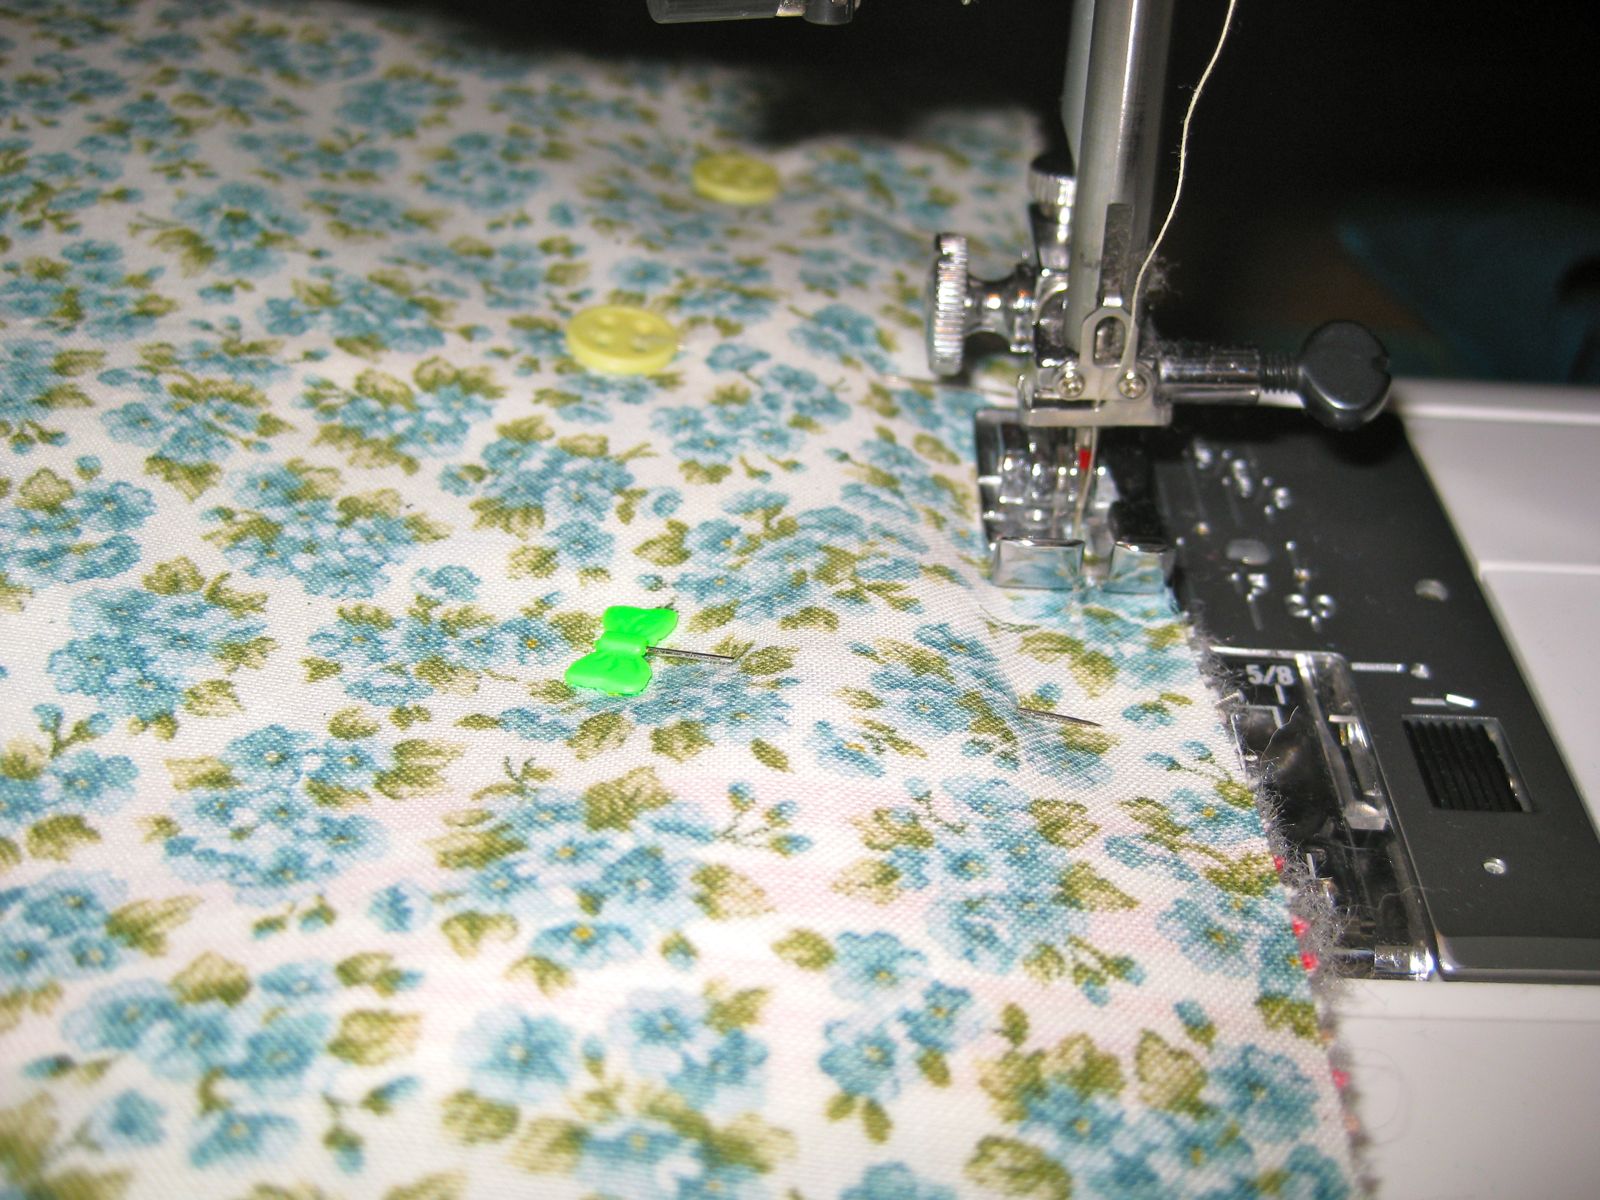
Pin the gathered strip of fabric to the charm packs which have already been pieced and stitch.
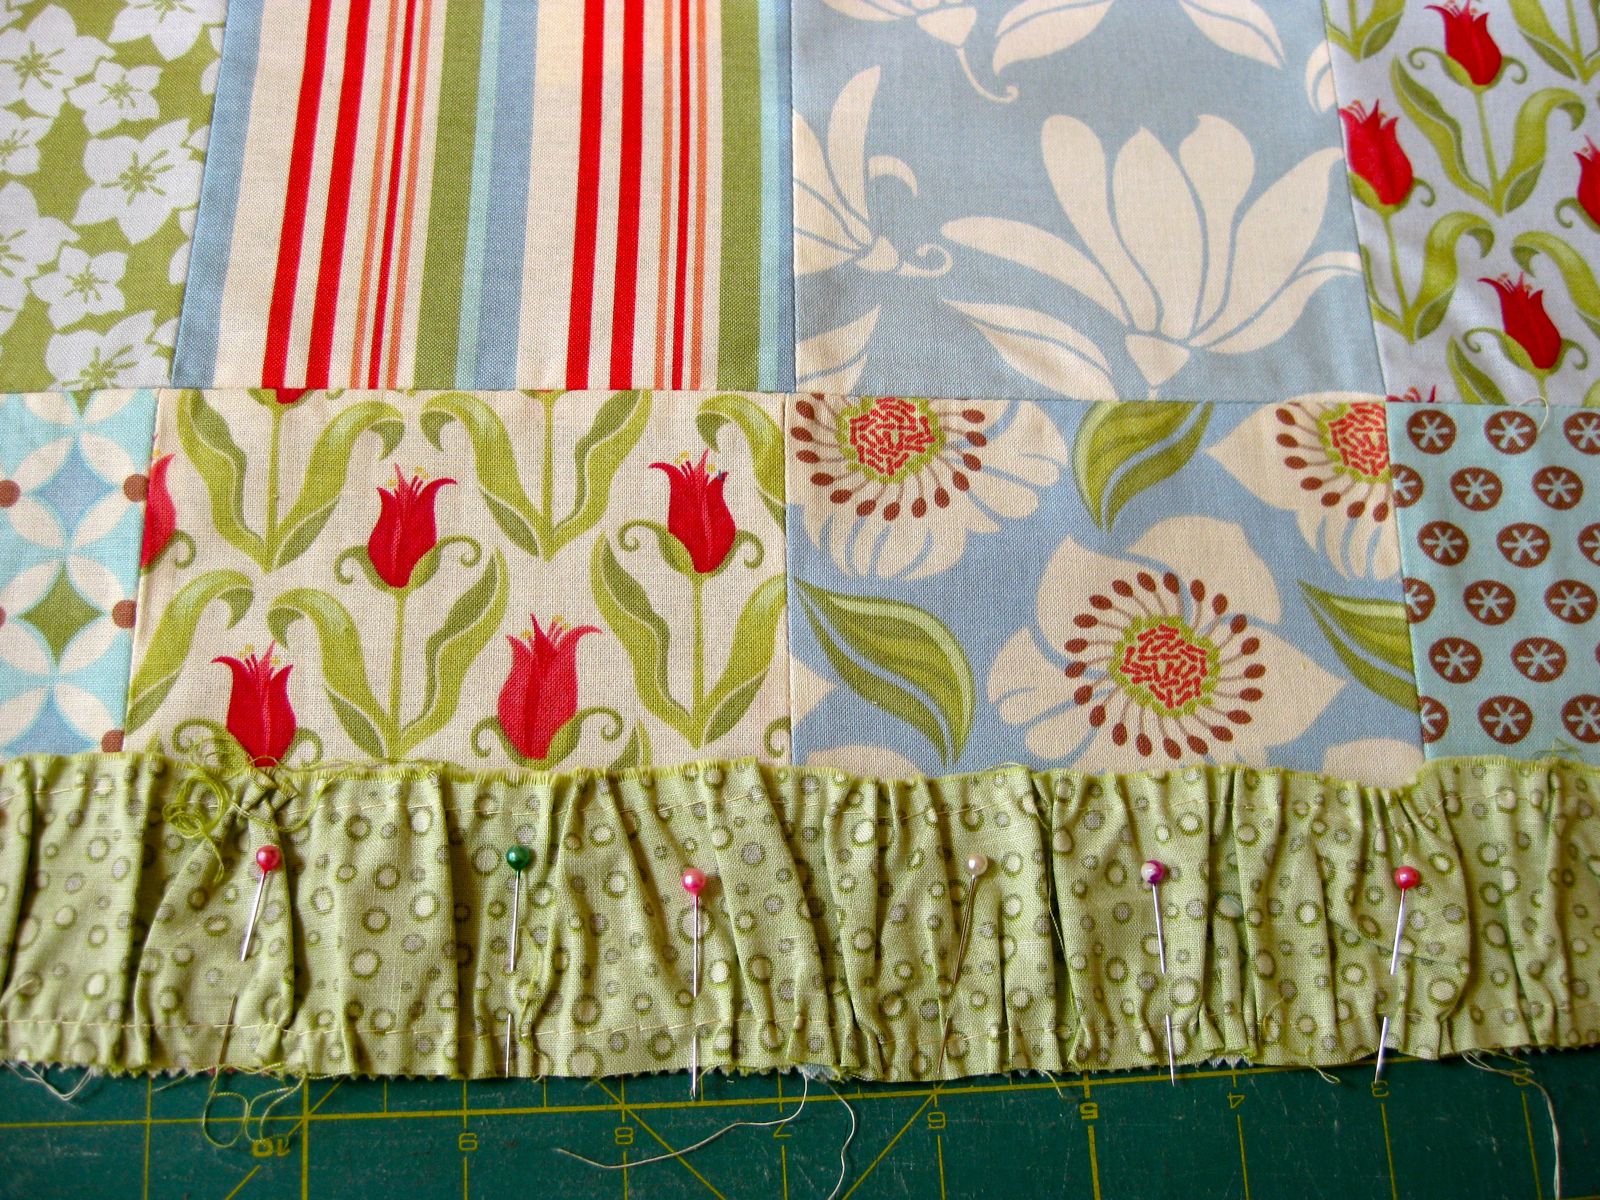
Pin the other side of the gathered fabric to the bottom fabric and stitch.
Now you have one side completed.
Do the same with the other side.
Adding Interfacing
Cut a piece of fusible interfacing (medium to heavy) 1/2 in smaller than the sides of the bag. Iron to the back of each side of the bag as per instructions.
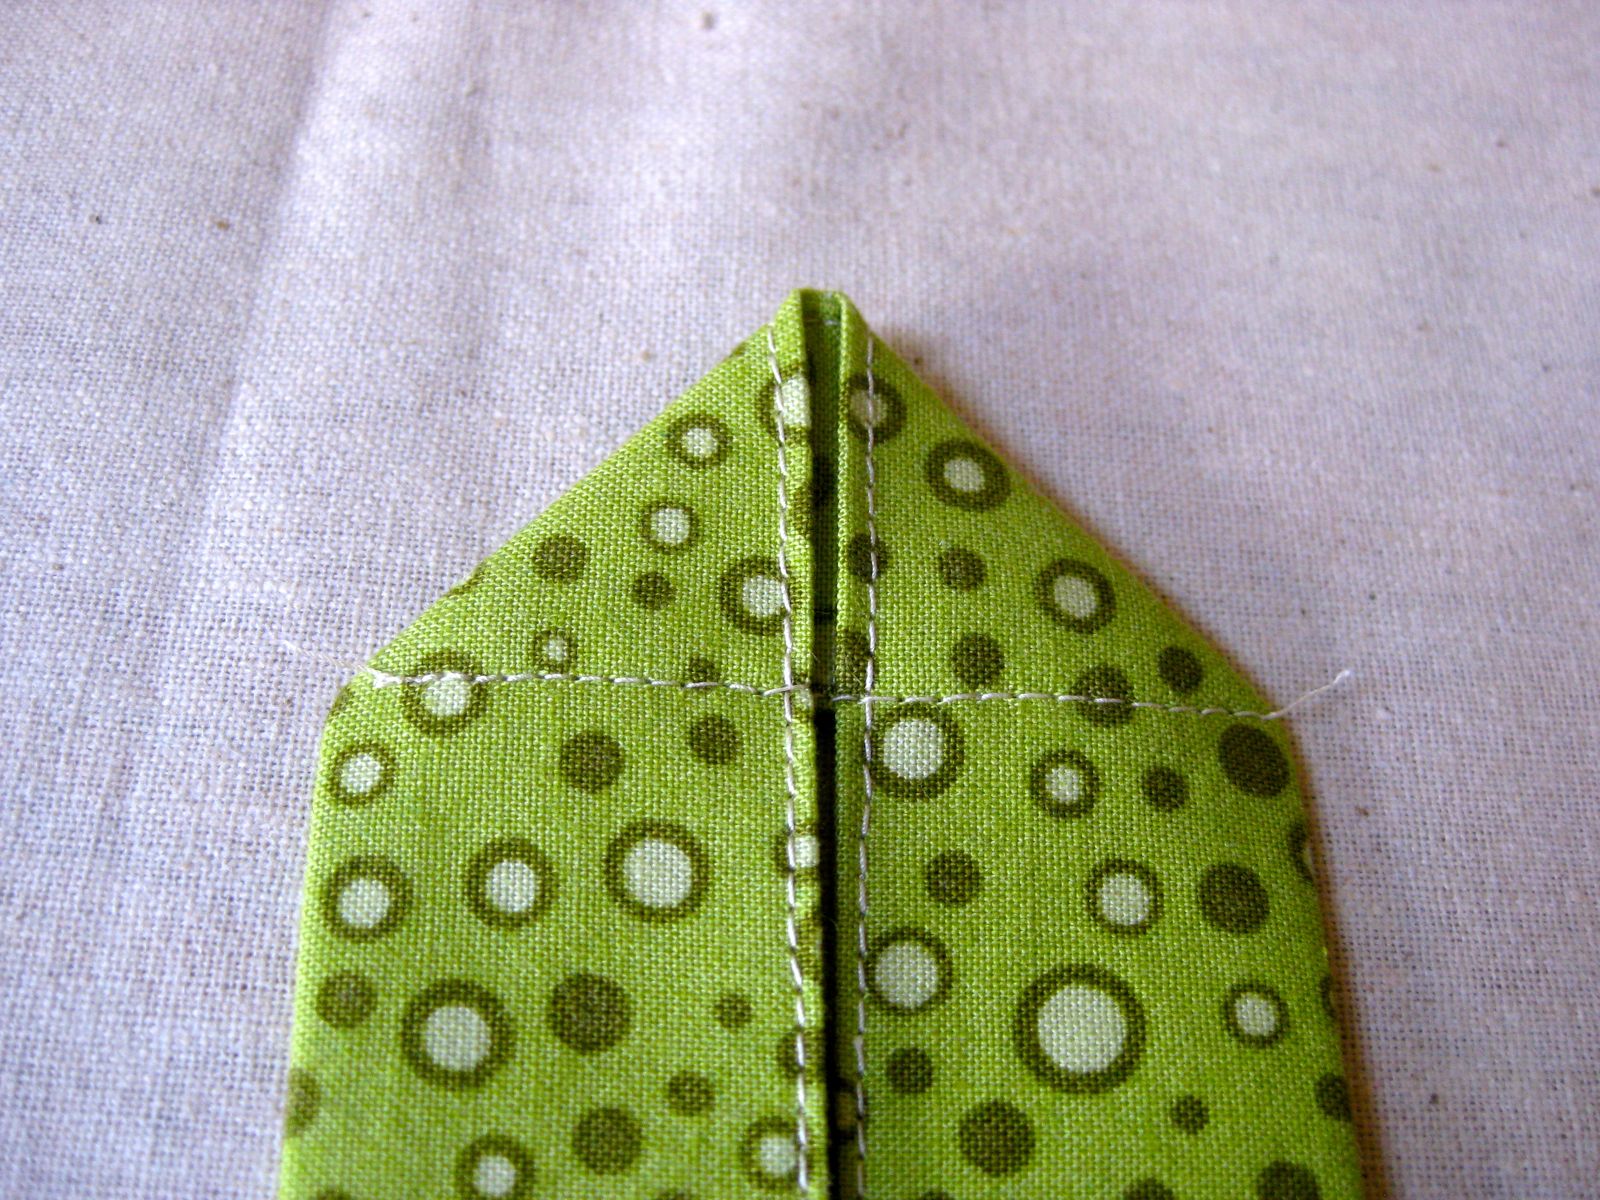
Make loop closure
Cut a rectangle measuring 6.5in x 4in for the loop closure. Make a tube as per handles instructions. Fold and stitch as per picture.
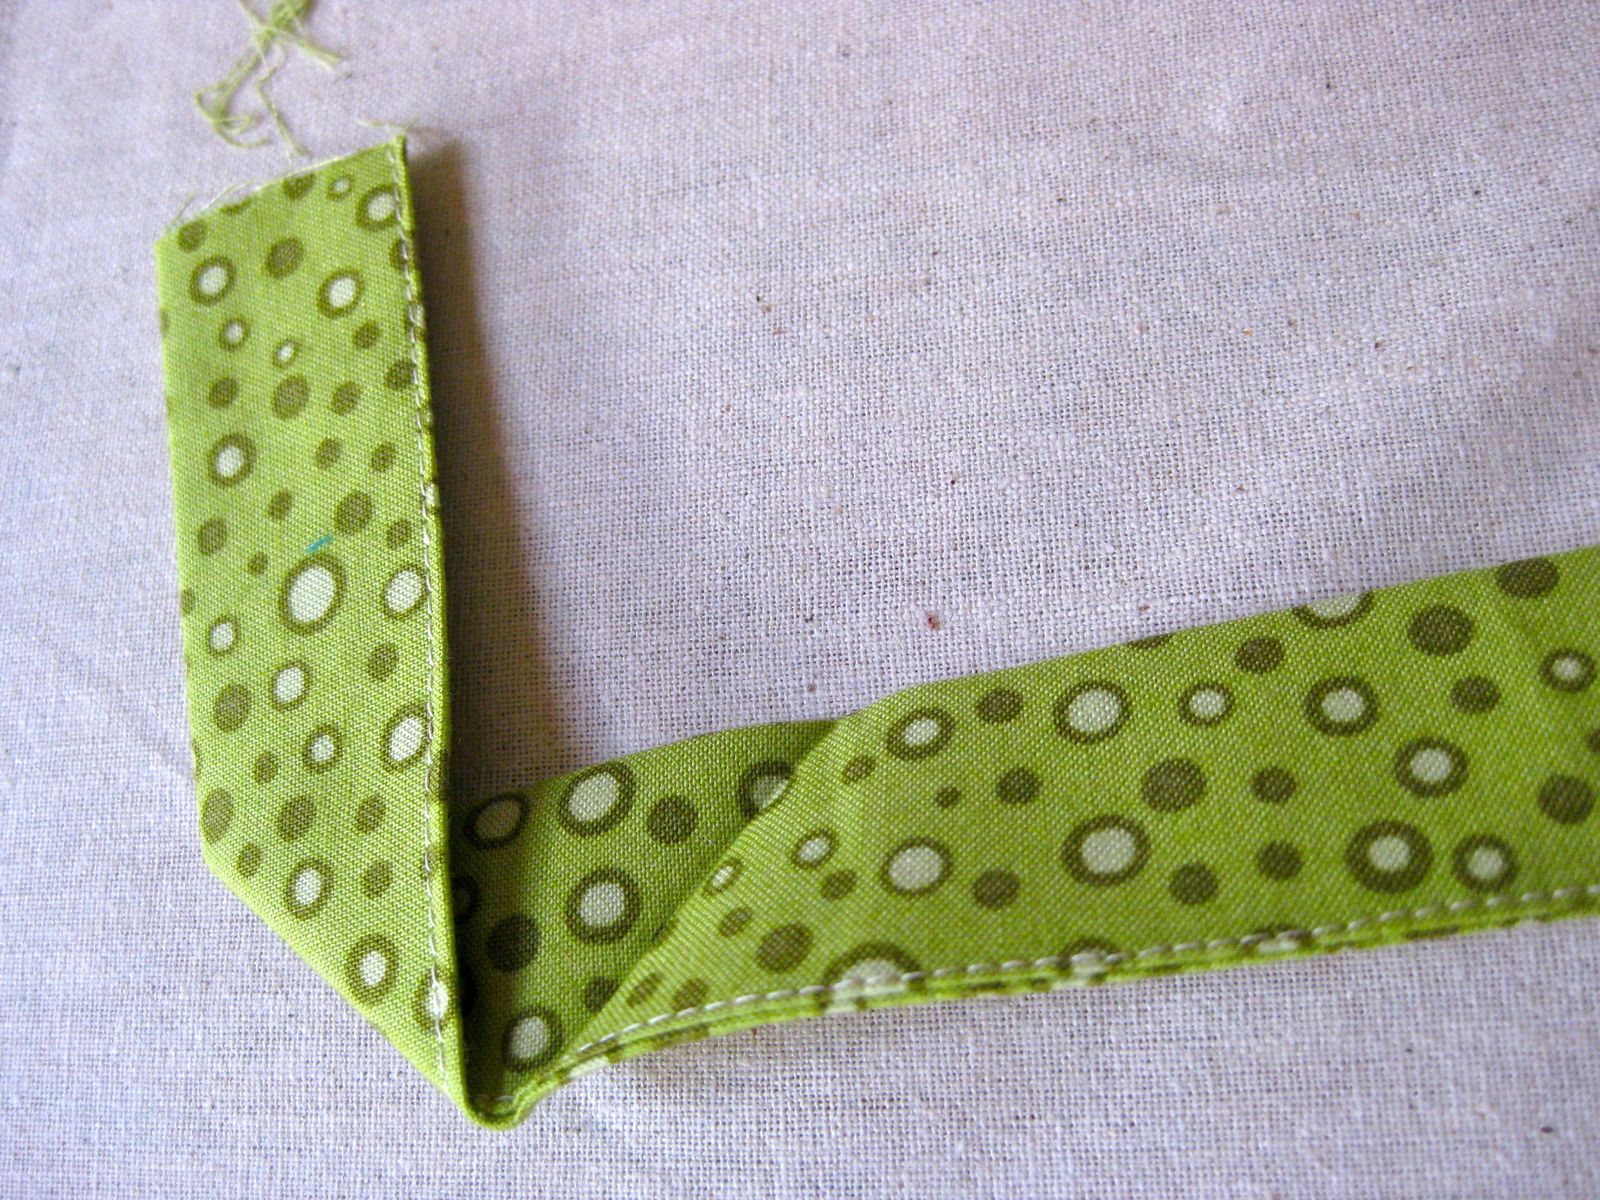

Stitch loop as per picture.
Batting
Cut a piece of batting slightly larger than the sides of the bag and pin. Stitch across the sewing lines from the right side of the fabric.

Put both sides together with right sides facing together and stitch around 3 sides leaving the side up open.
Fold the bag as per picture and make a 2 1/4 wide cut across.
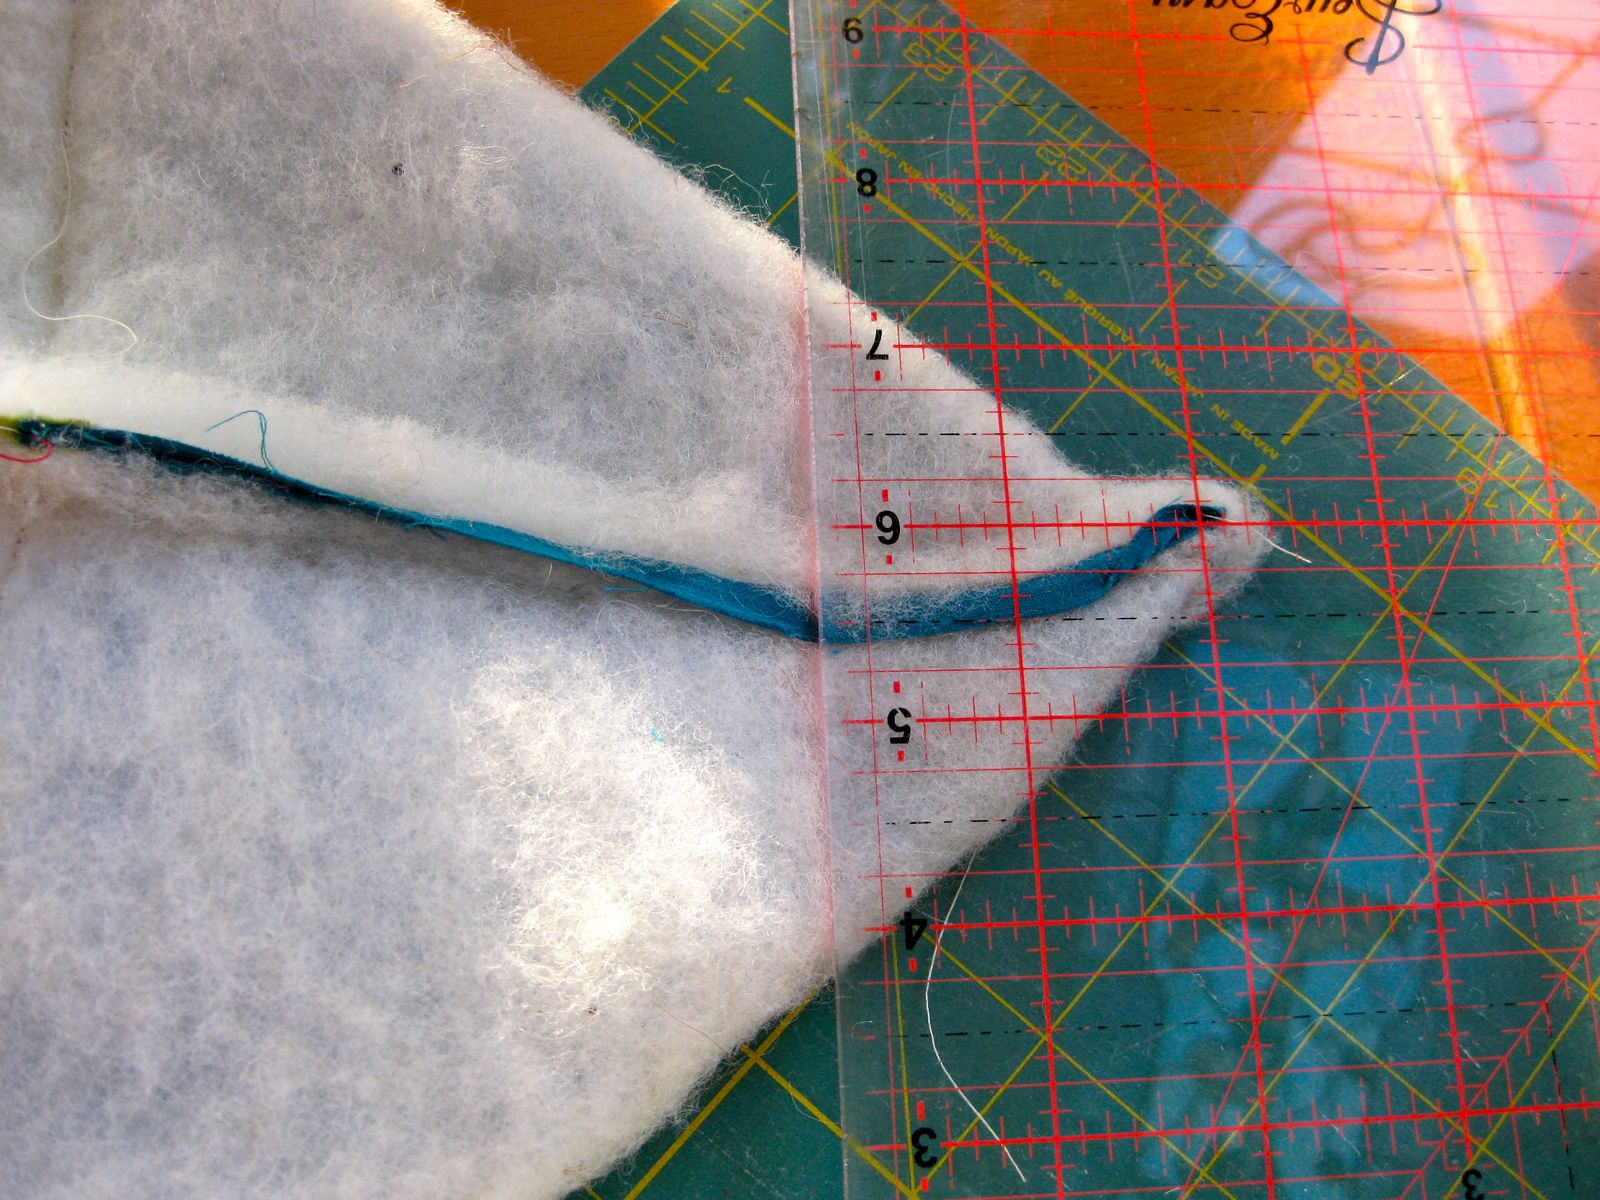
Stitch along the cut.

Turn inside out. You have finished the bag.

Lining
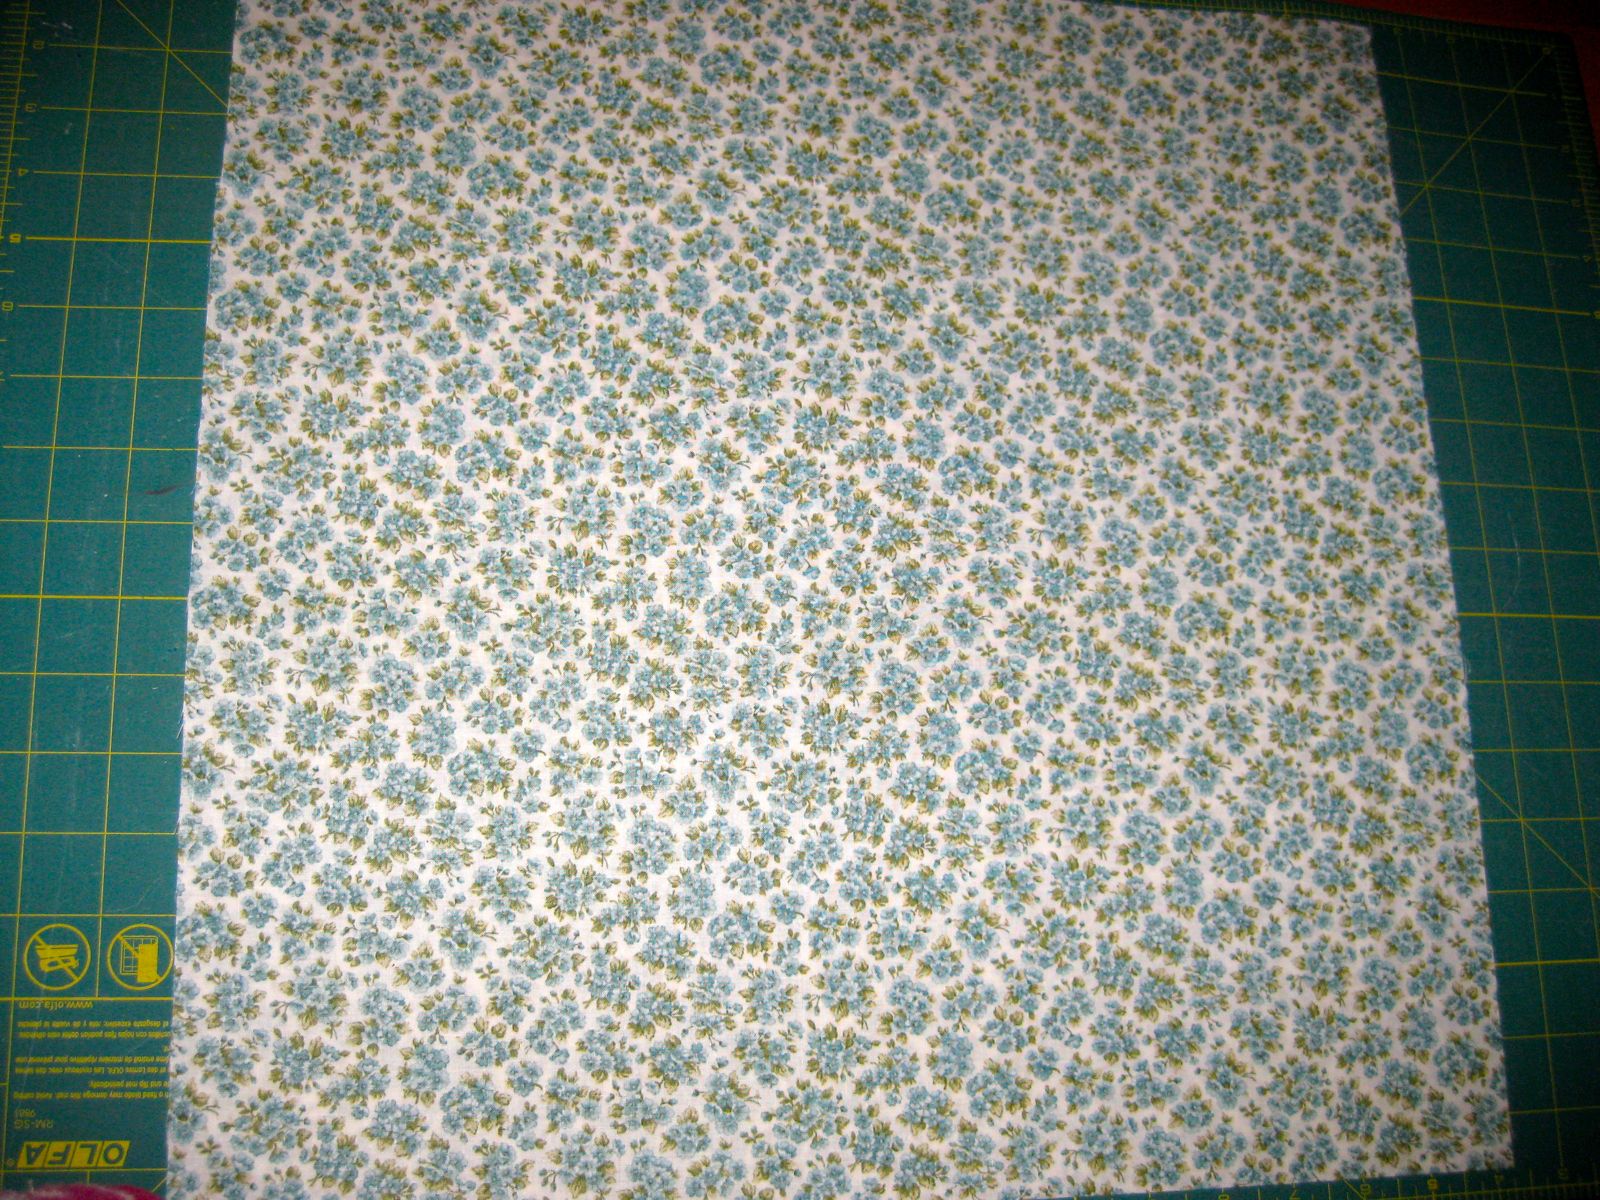
Cut 2 17.5in x 17.5in squares.
Place both pieces right side together and sew around the sides and bottom. Leave 4in opening on one of the sides to turn bag inside out.
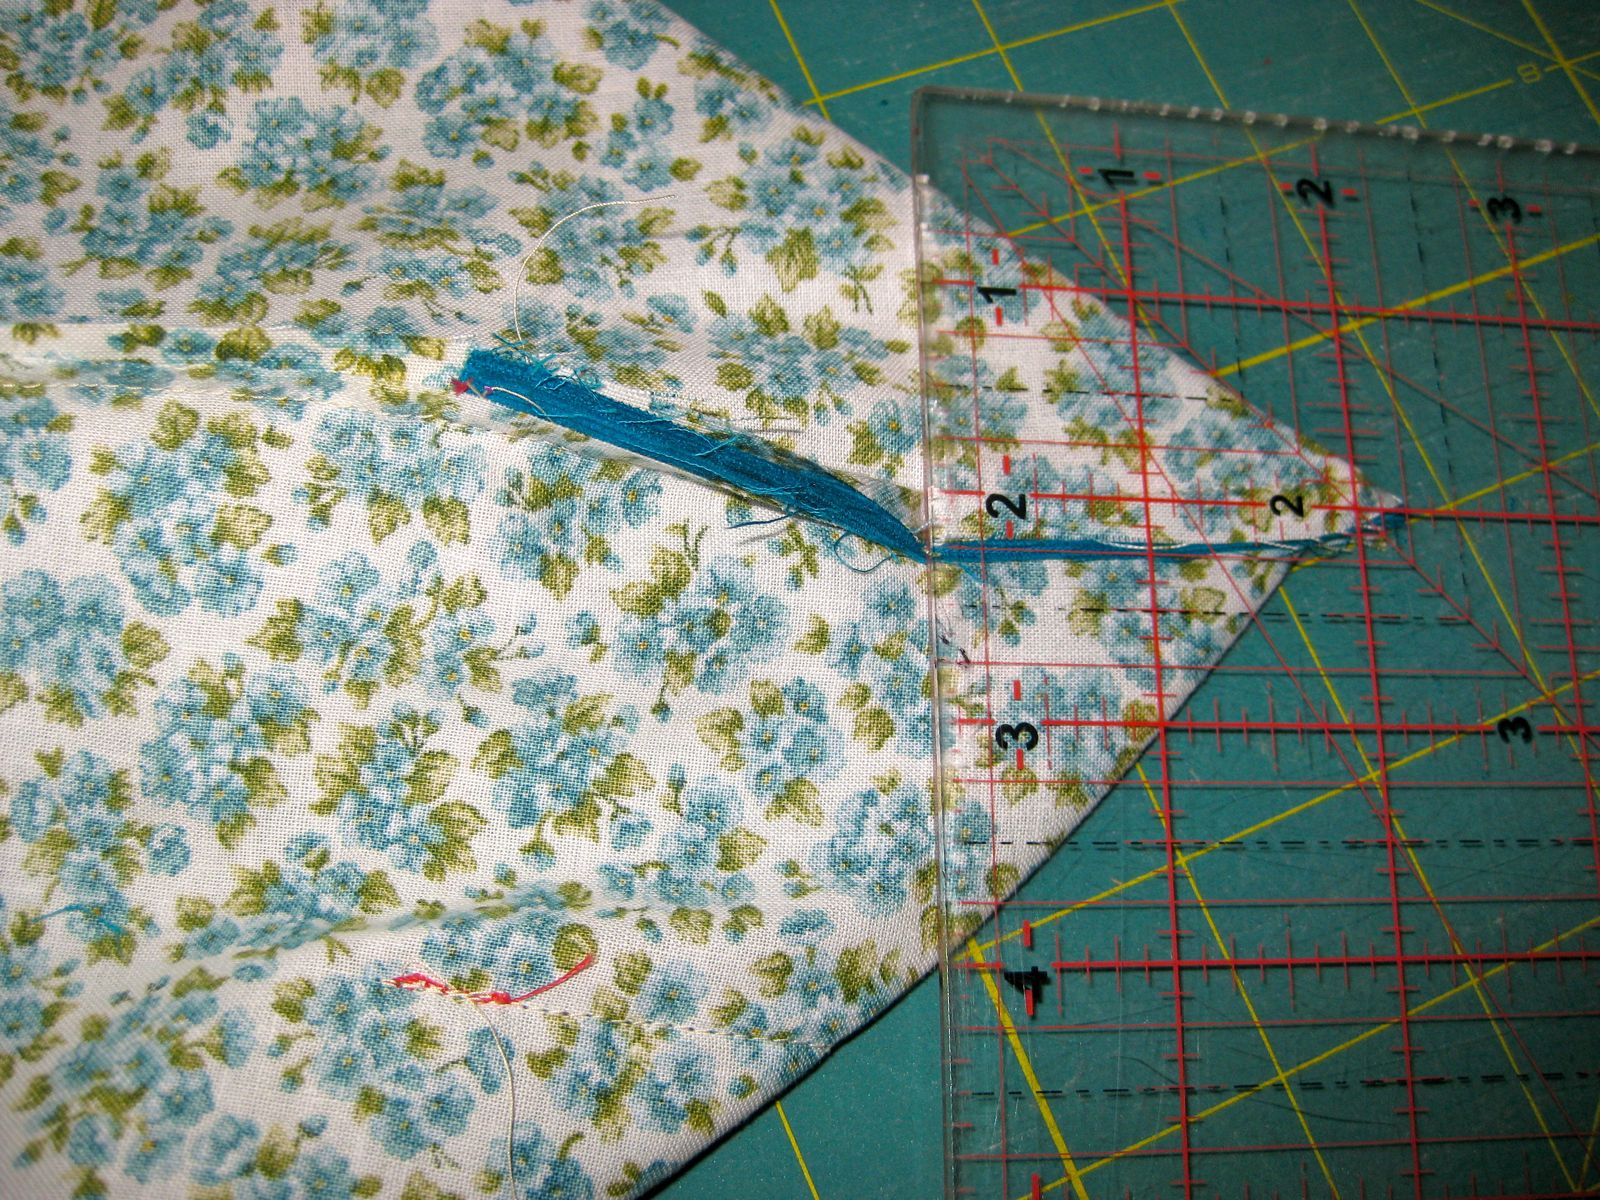
Then do as for the outside bag: cut across the corner 2 1/4 inches as per picture and stitch again.
Pin loop closure and handles to the bag as per photo.
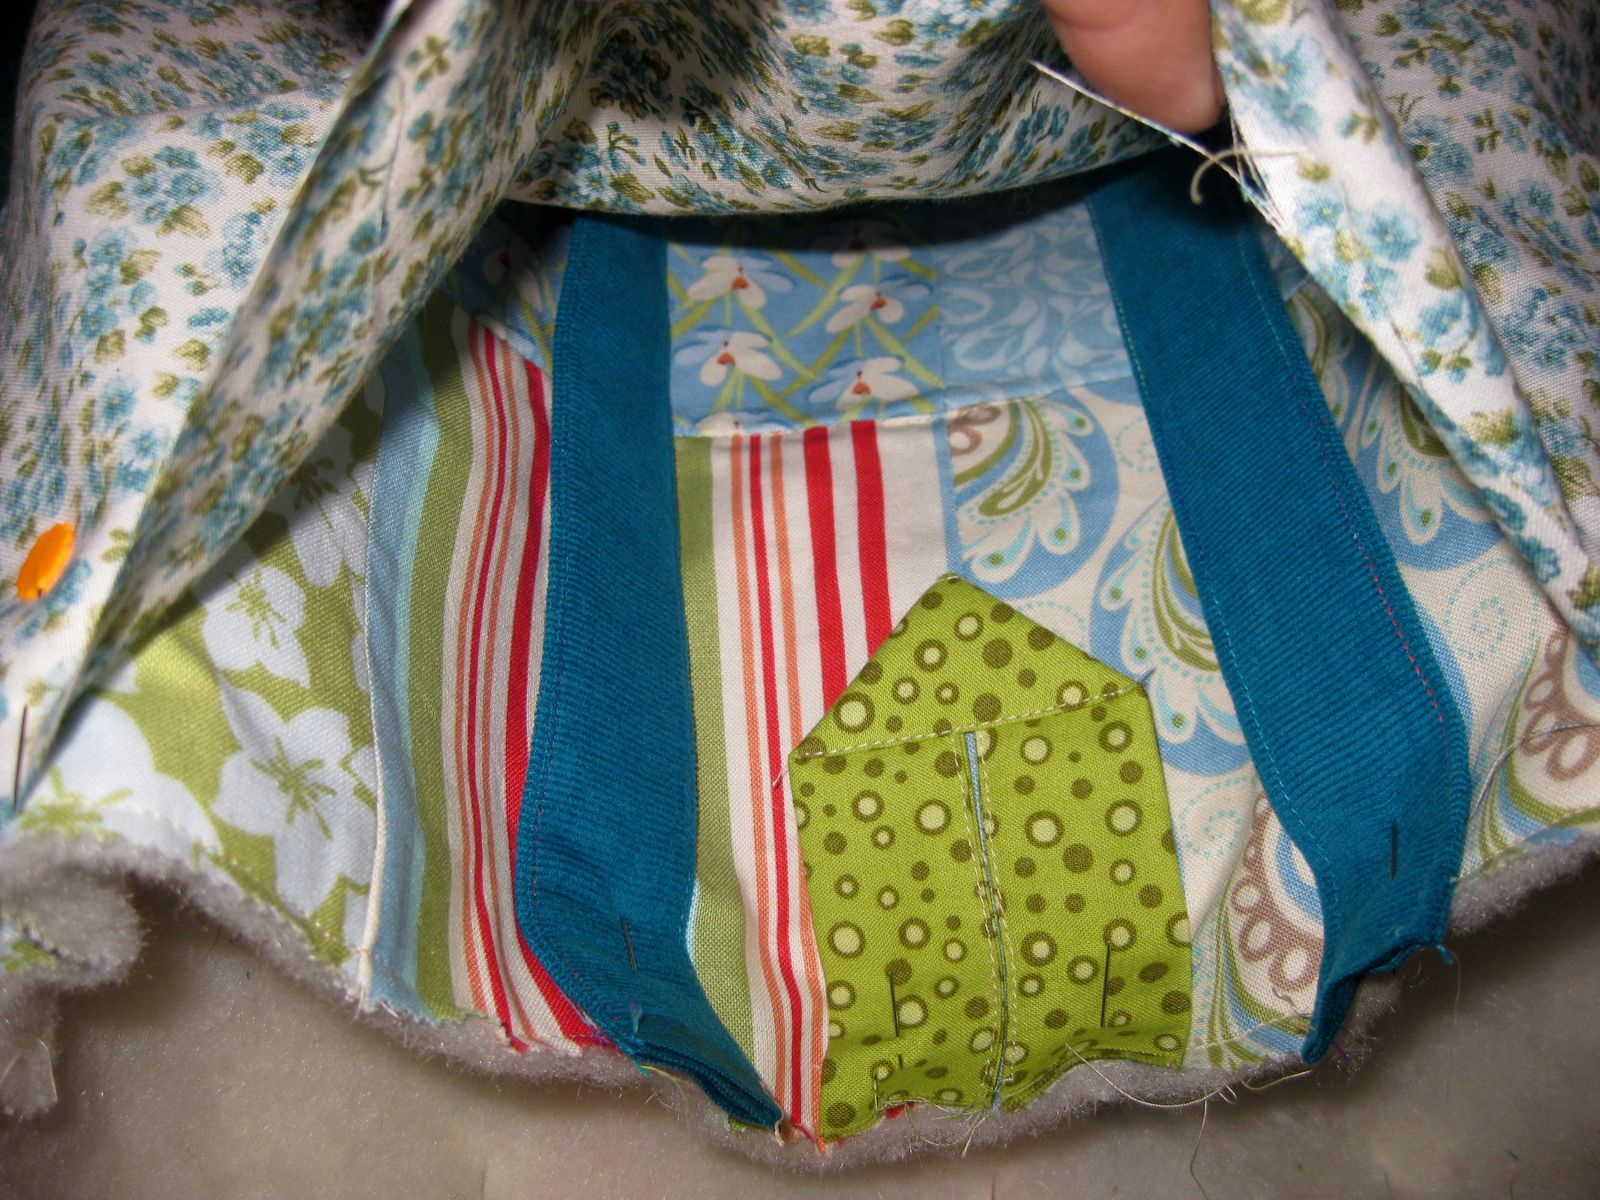
Place the lining over the outside bag as in the photo. The opening showing is the photo is about 4 inches wide and will be used to turn the bag inside out once the lining and the outside a sewn together.

Stitch lining and bag together.
Turn bag inside out through the opening in the lining.
Stitch the lining opening.
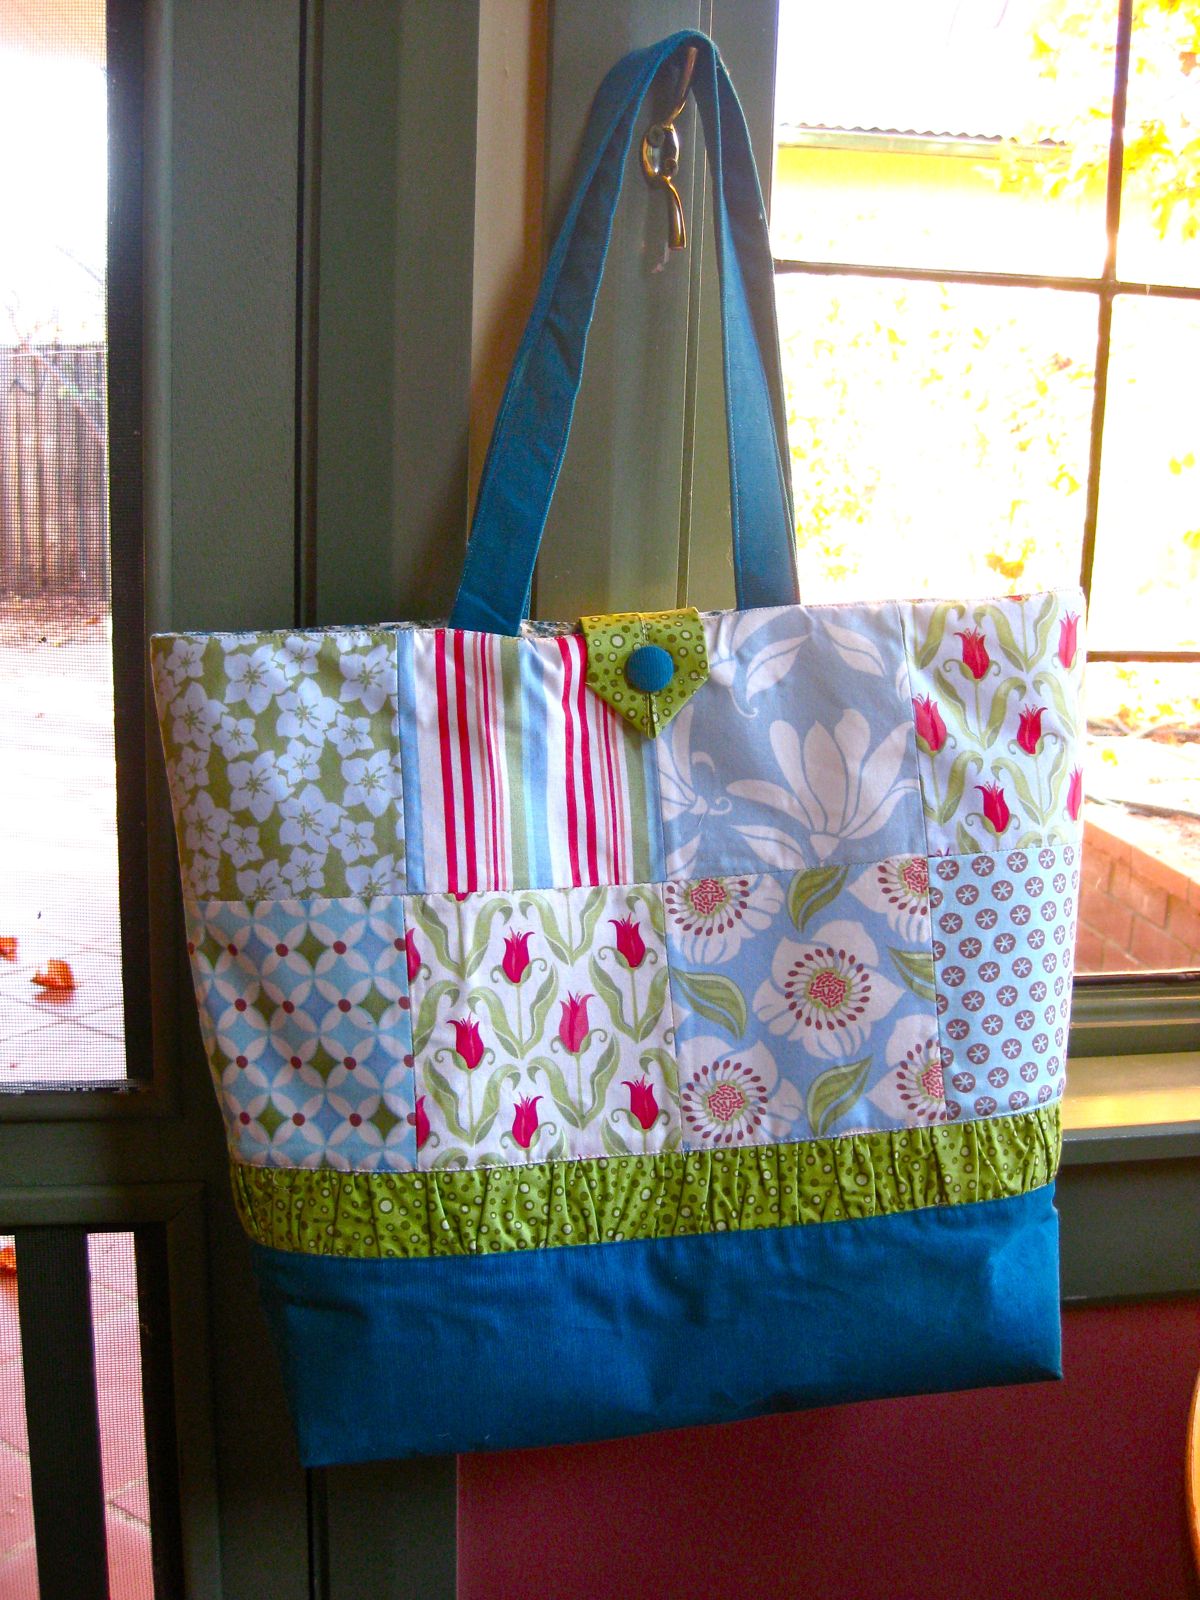
Stitch across the top of the bag as per picture.

The bag is finished.
credits to: mypatchwork.wordpress.com

Comments
Post a Comment