

My hard shell suitcases come with detachable pockets on the sides which I use to place small loose items such as file nails, battery chargers, eye mask, ear plugs and the like. The pockets are held with two hooks on the sides and often get unhooked. To overcome that problem a made this travel organizer.
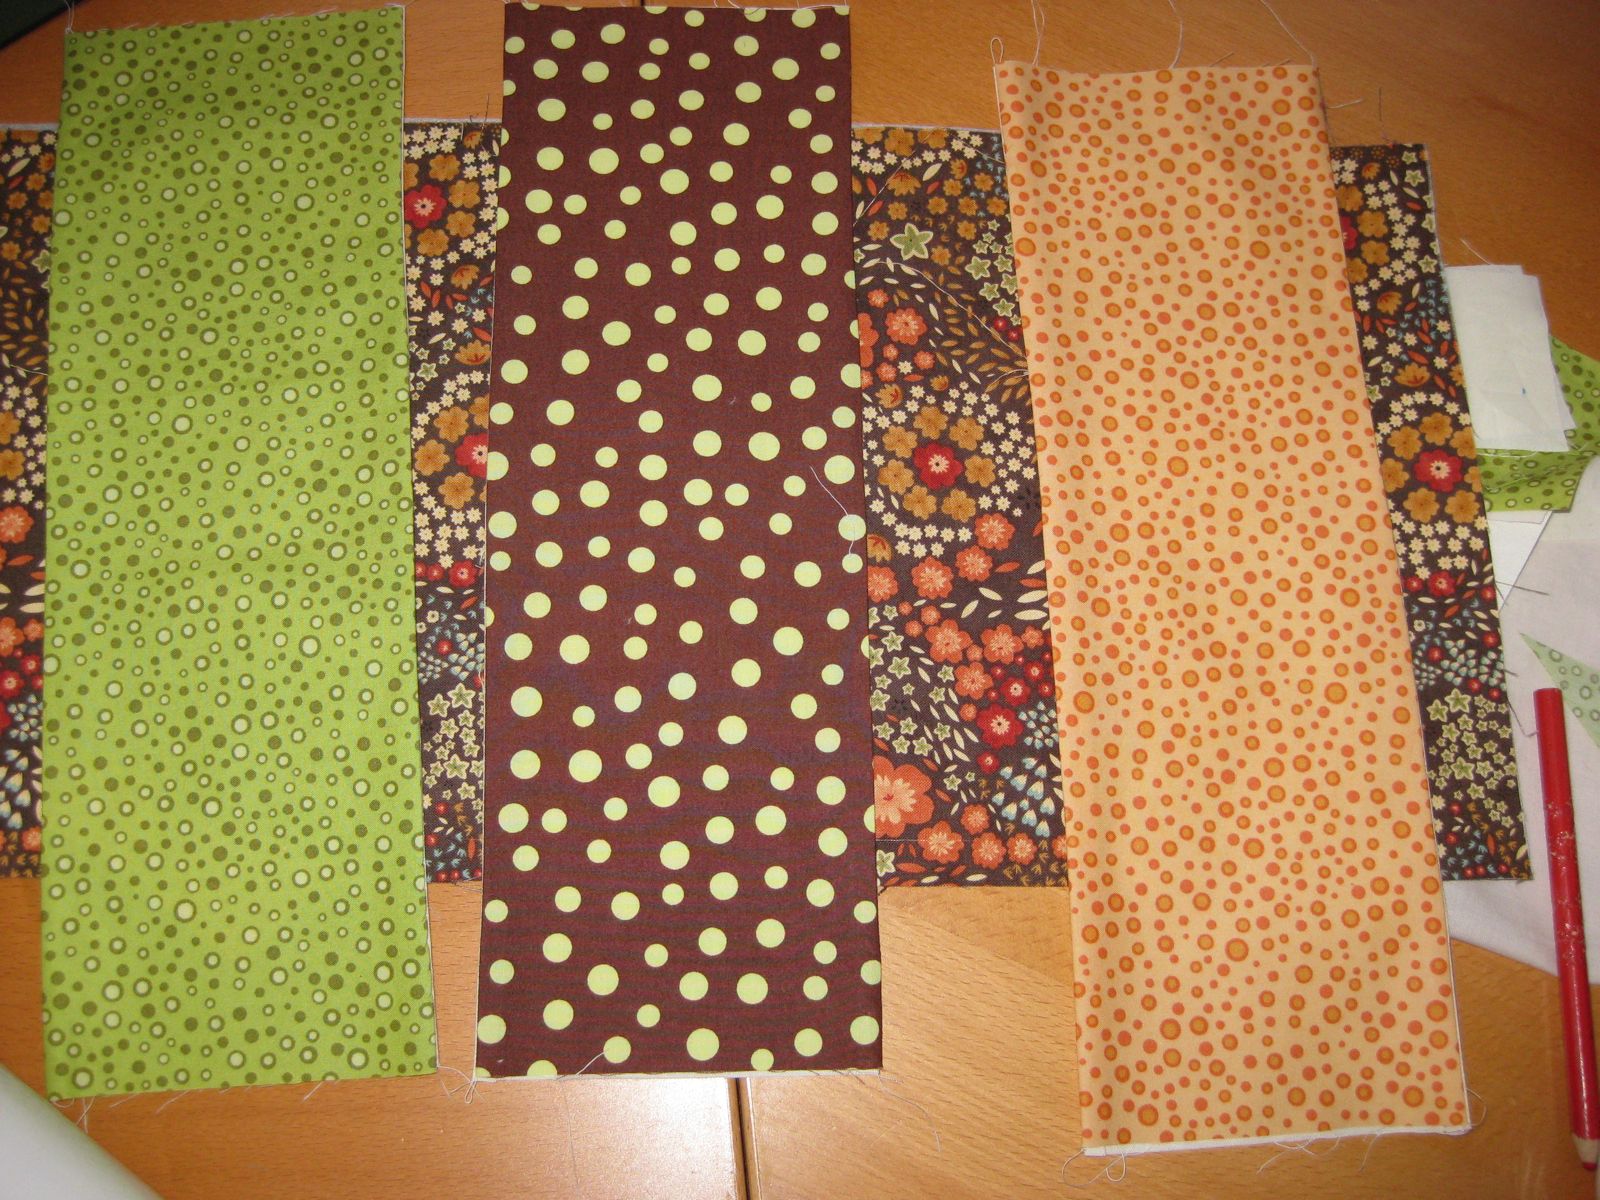
This project can be done with fabric scraps and fat quarters. Medium fusible interfacing was used for both back and front fabric pieces.
The finished size of the organizer is 9 in x 13 in. The height of the pocket is 4.5 in.
The organizer has 10 different pocket sizes. The size of the pockets is up to you to decide depending what you will fit in them.
Cut:
- One 13 1/2 x 9 1/2 piece in the back fabric and another piece in the front fabric
- 2 13 1/2 x 9 1/2 pieces of fusible interfacing
- 3 13 1/2 x 5 inch pieces in the front fabric (pockets)
- 3 13 1/2 x 5 inch pieces of lining fabric (pockets)

Iron the interfacing to the wrong side of each piece.
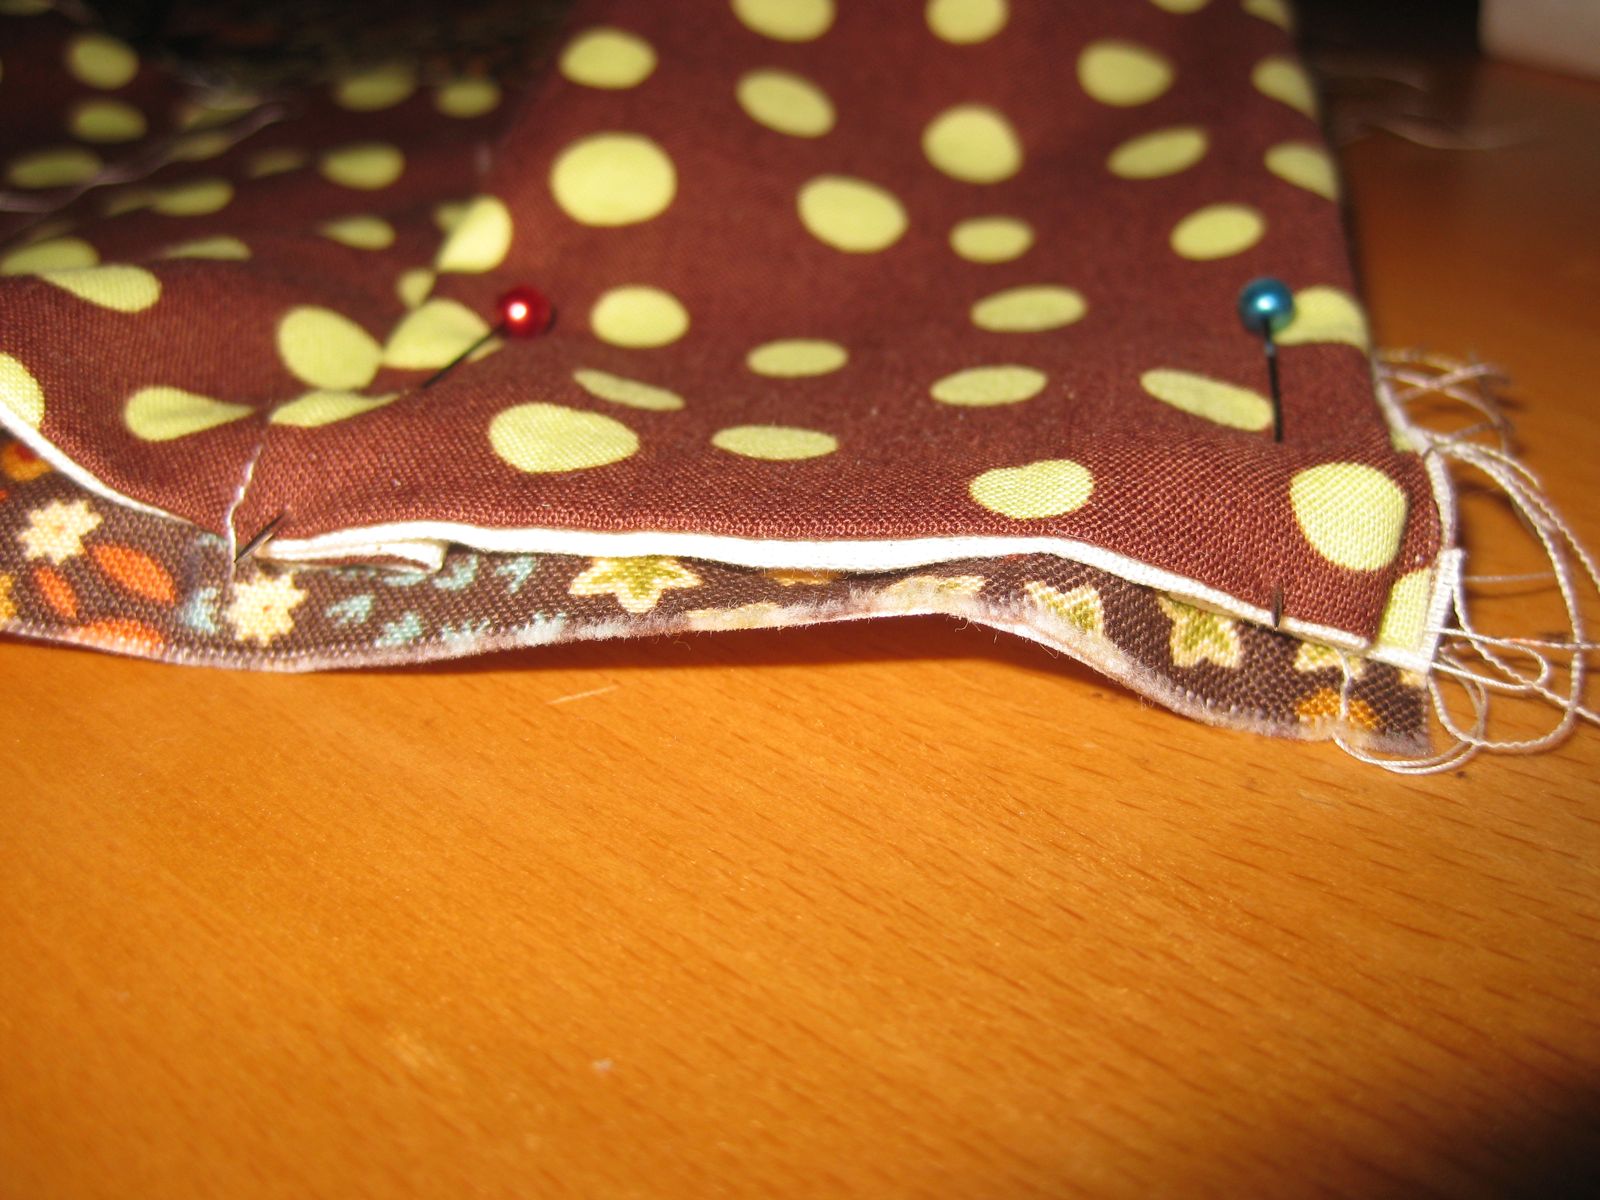
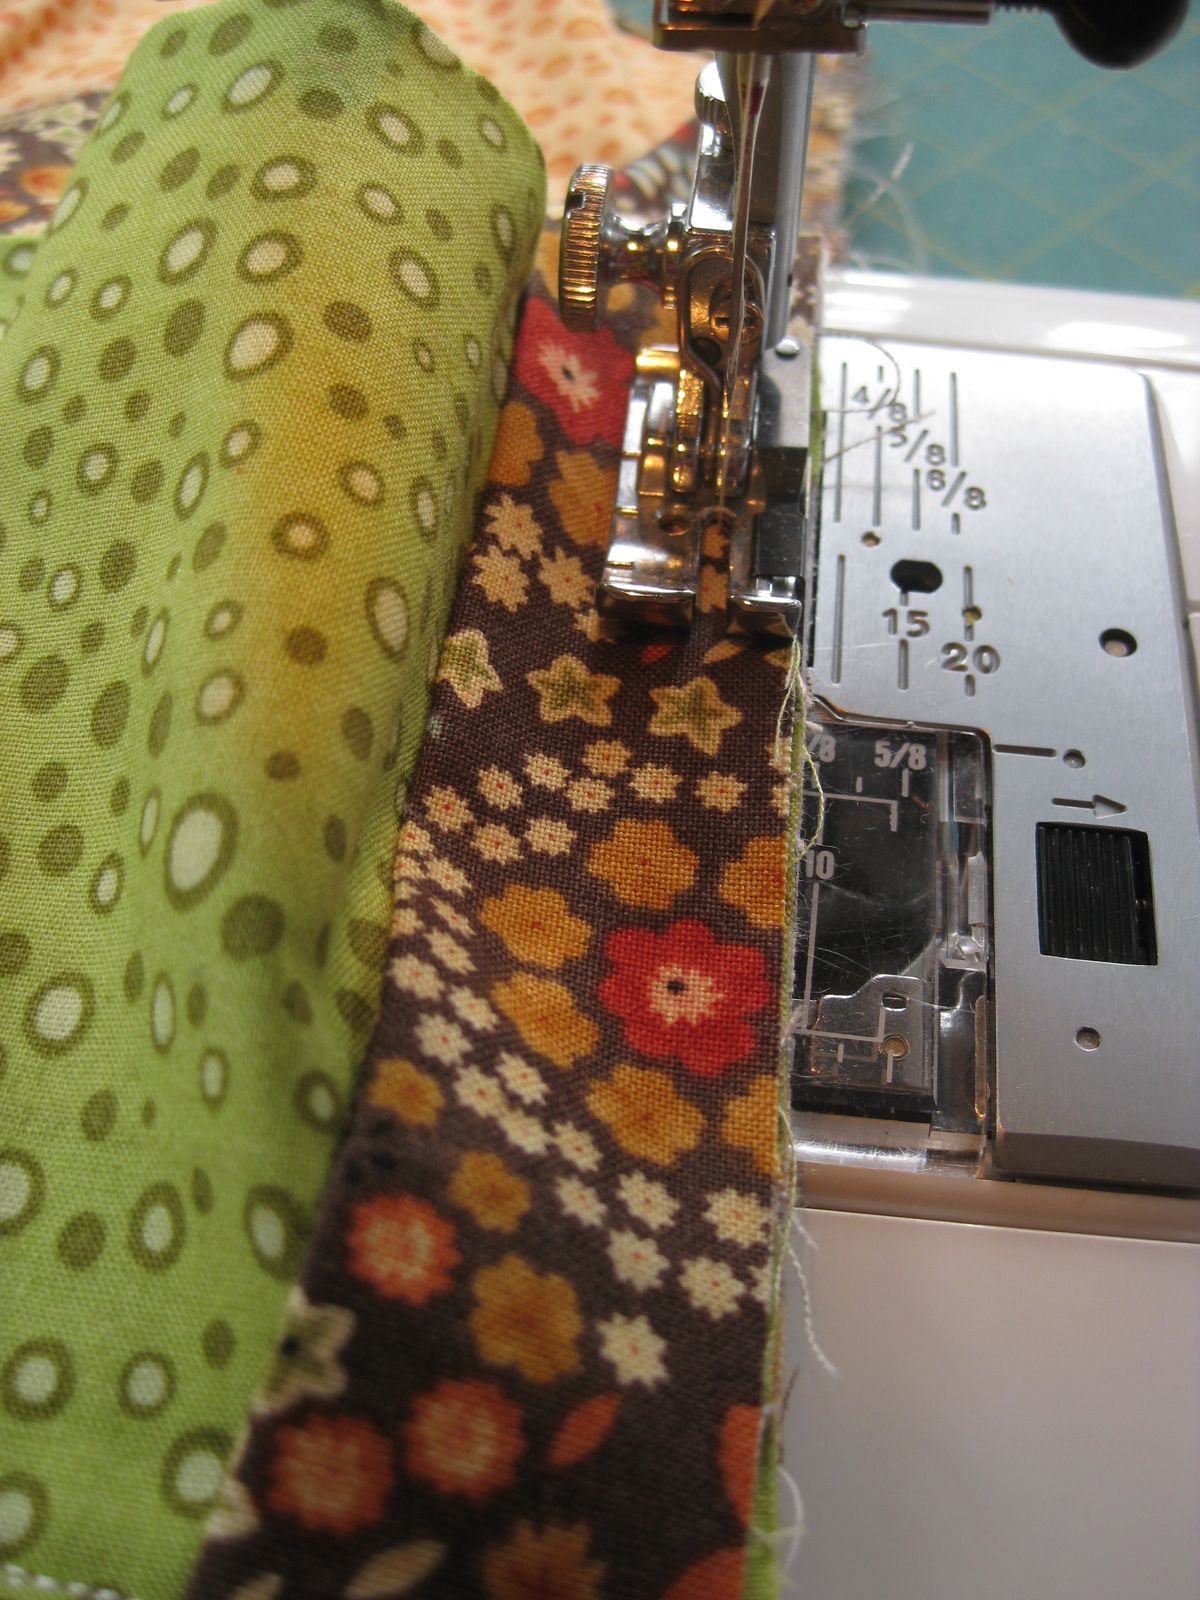
Place the pockets lining fabric and front fabric wrong side facing together and stitch leaving a 1/4 seam allowance along both long sides of the pocket leaving the short sides opened.

Turn the tube you made for the pockets inside out and iron flat.
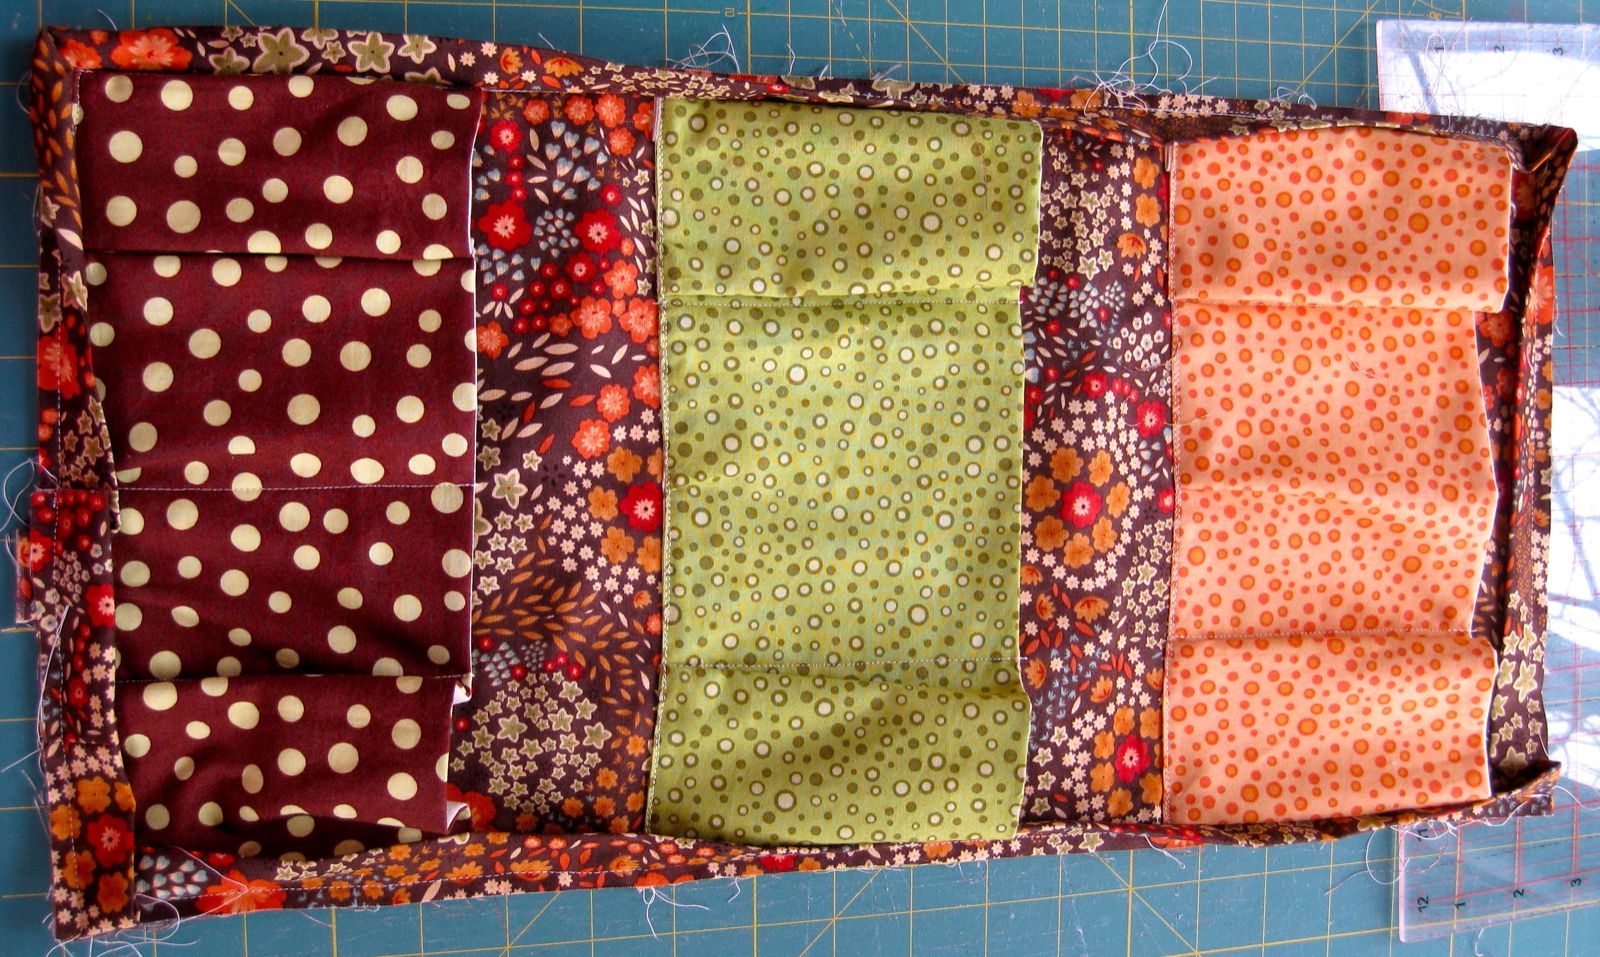
Placement of pocket pleats
This is a tricky one. You need to decide where each pocket will be sewn. Measure to your liking and make a marking on the lining of each pocket and on the facing fabric as per picture below. Match both markings and pin in place.

Pin the pockets on the sewing line.

For larger pockets you will be making a pleat at each side of the pocket as per picture below.

Pin the plate leaving enough space for the stitching line.
Stitch along the height of the pockets first.

Then stitch along the wide part of the pockets.
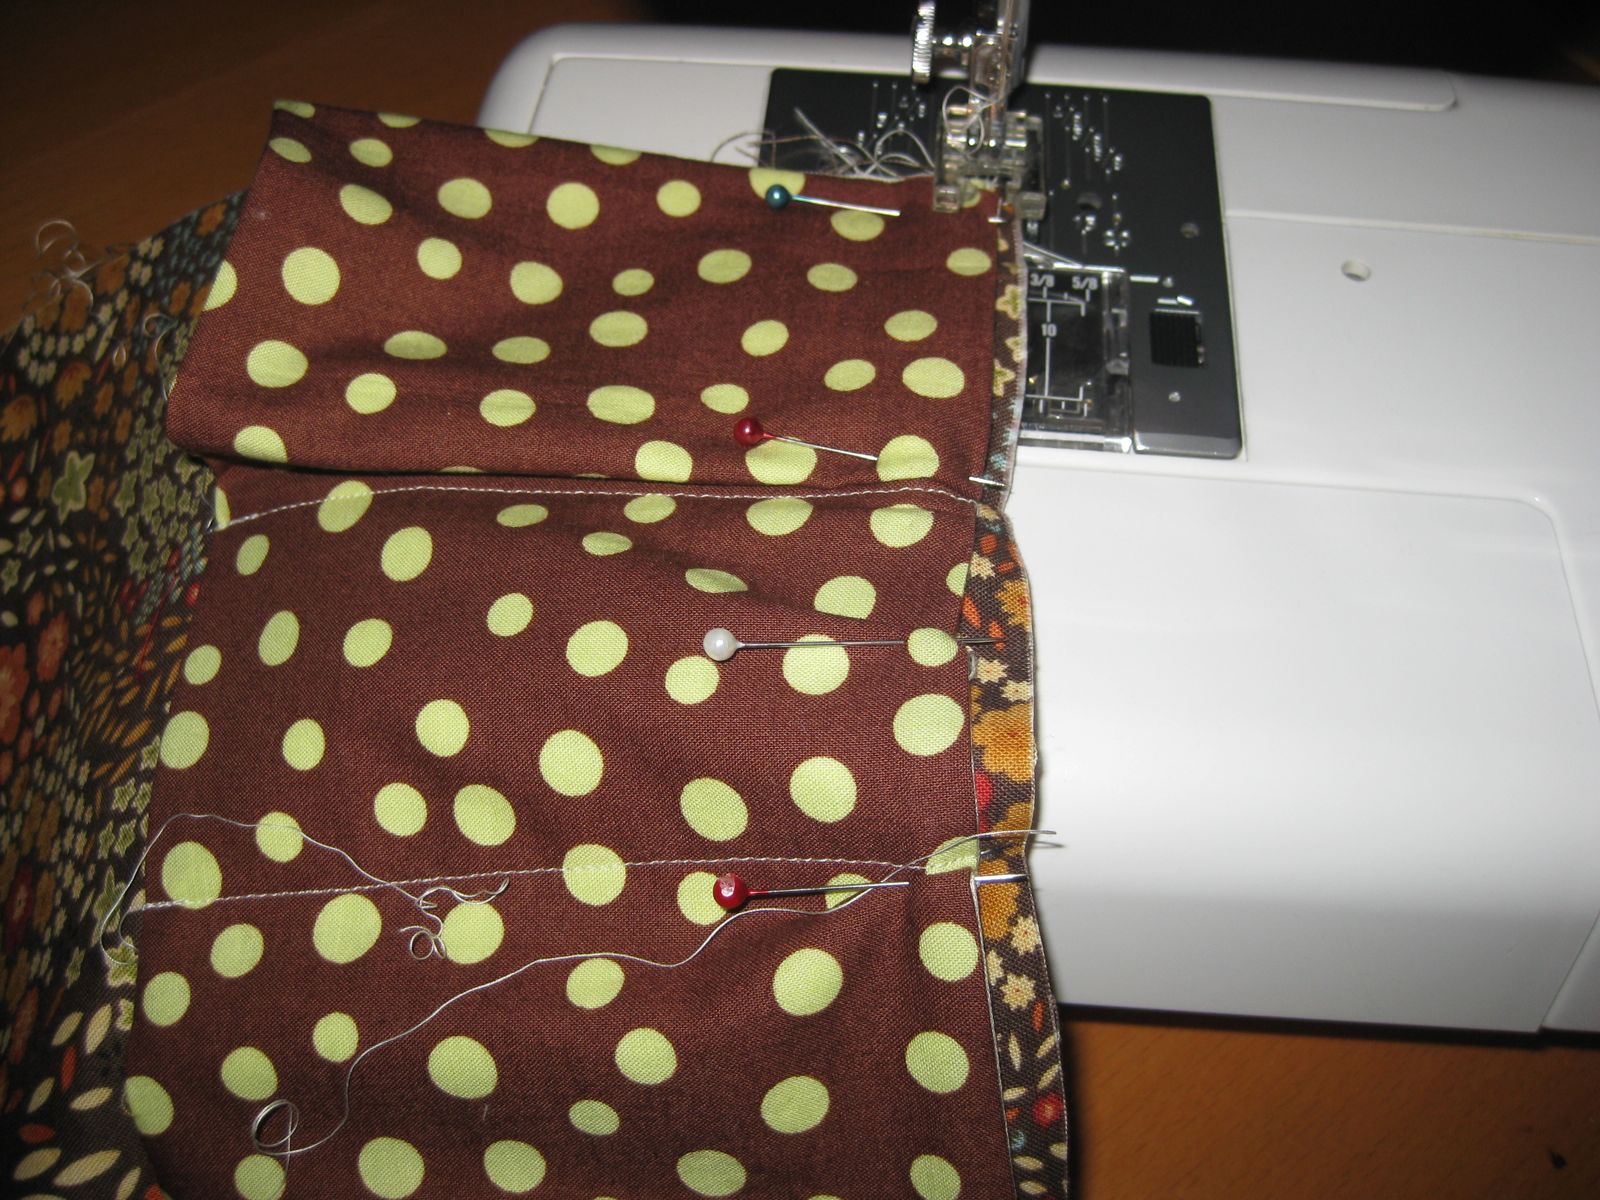
Do this for each pocket.
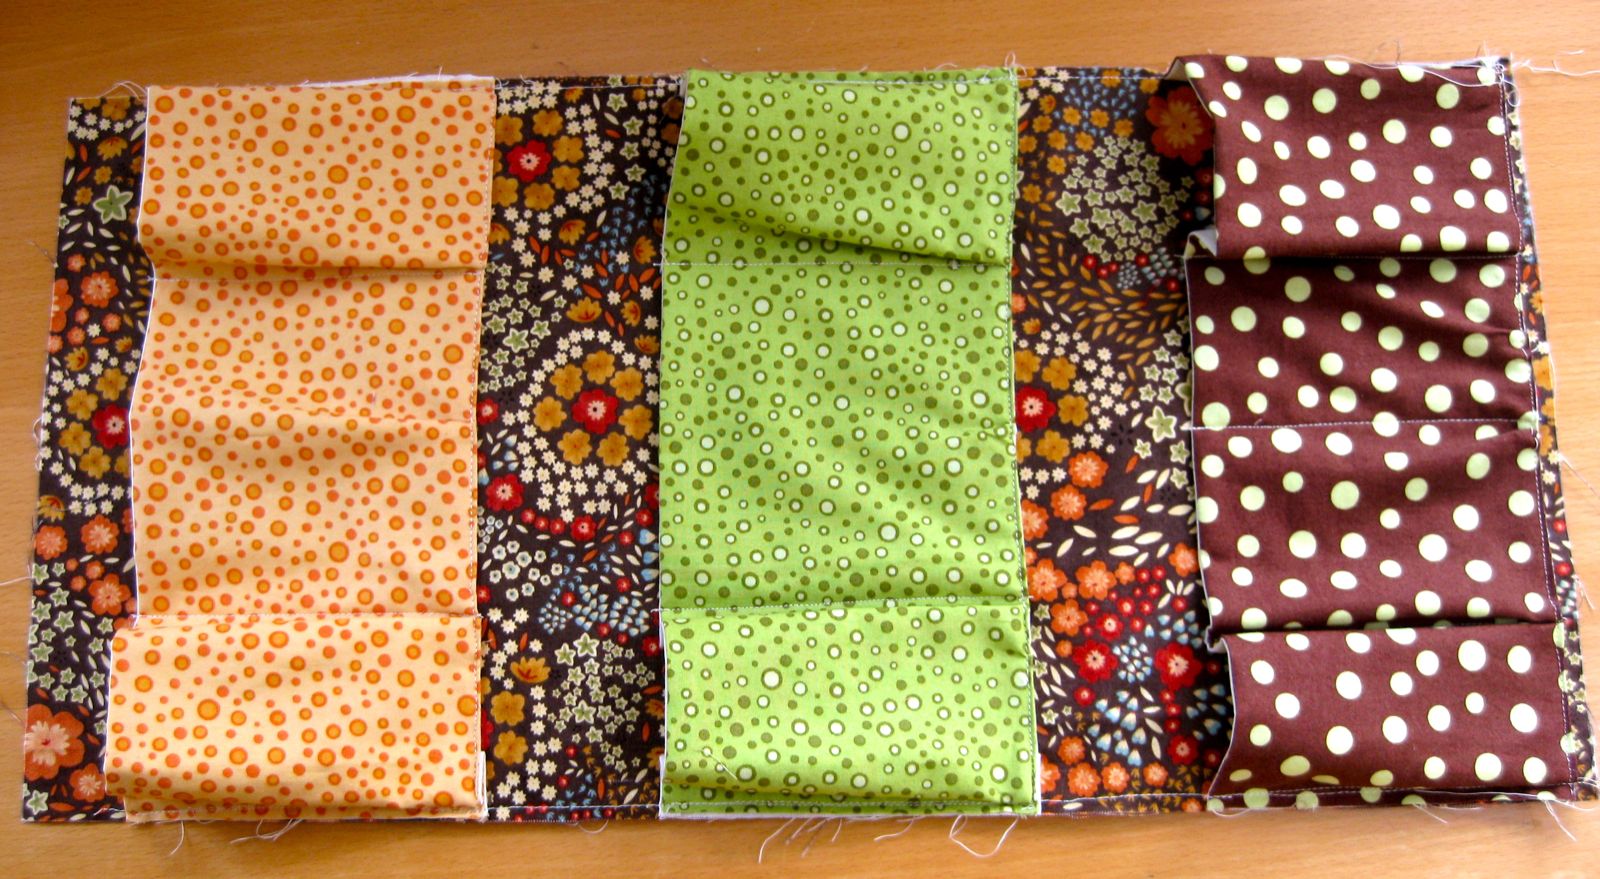
Now pin front and back of organizer and stitch all around. Stitch also along the pockets bottom line as well.

Apply fasteners to the organizer as per picture. A ribbon can be used instead and can be stitched at this time too before binding is applied.
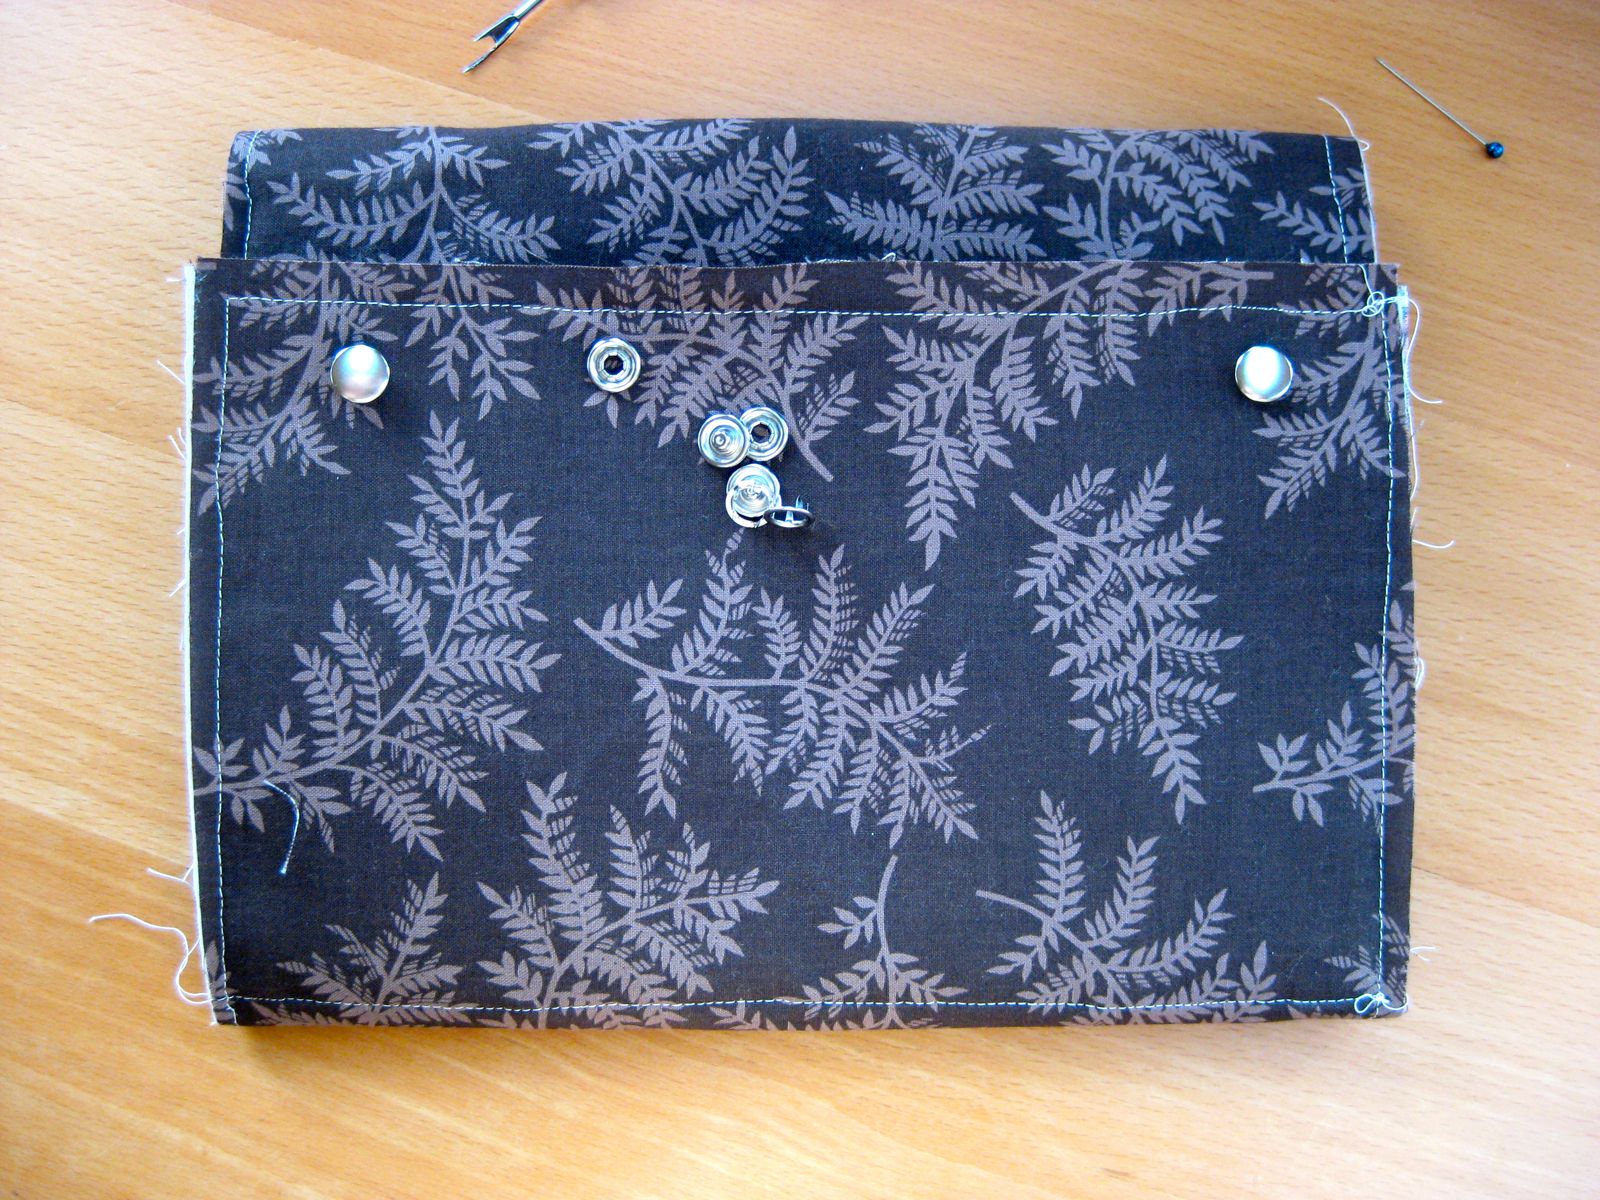
Detail of snap used.

My organizer is quite thin. If yours requires to hold larger pieces, adjust the position of the snaps.

Cut a long strip of fabric 2 in wide, long enough, around 48 in long.

Fold the strip of fabric in half and iron flat.
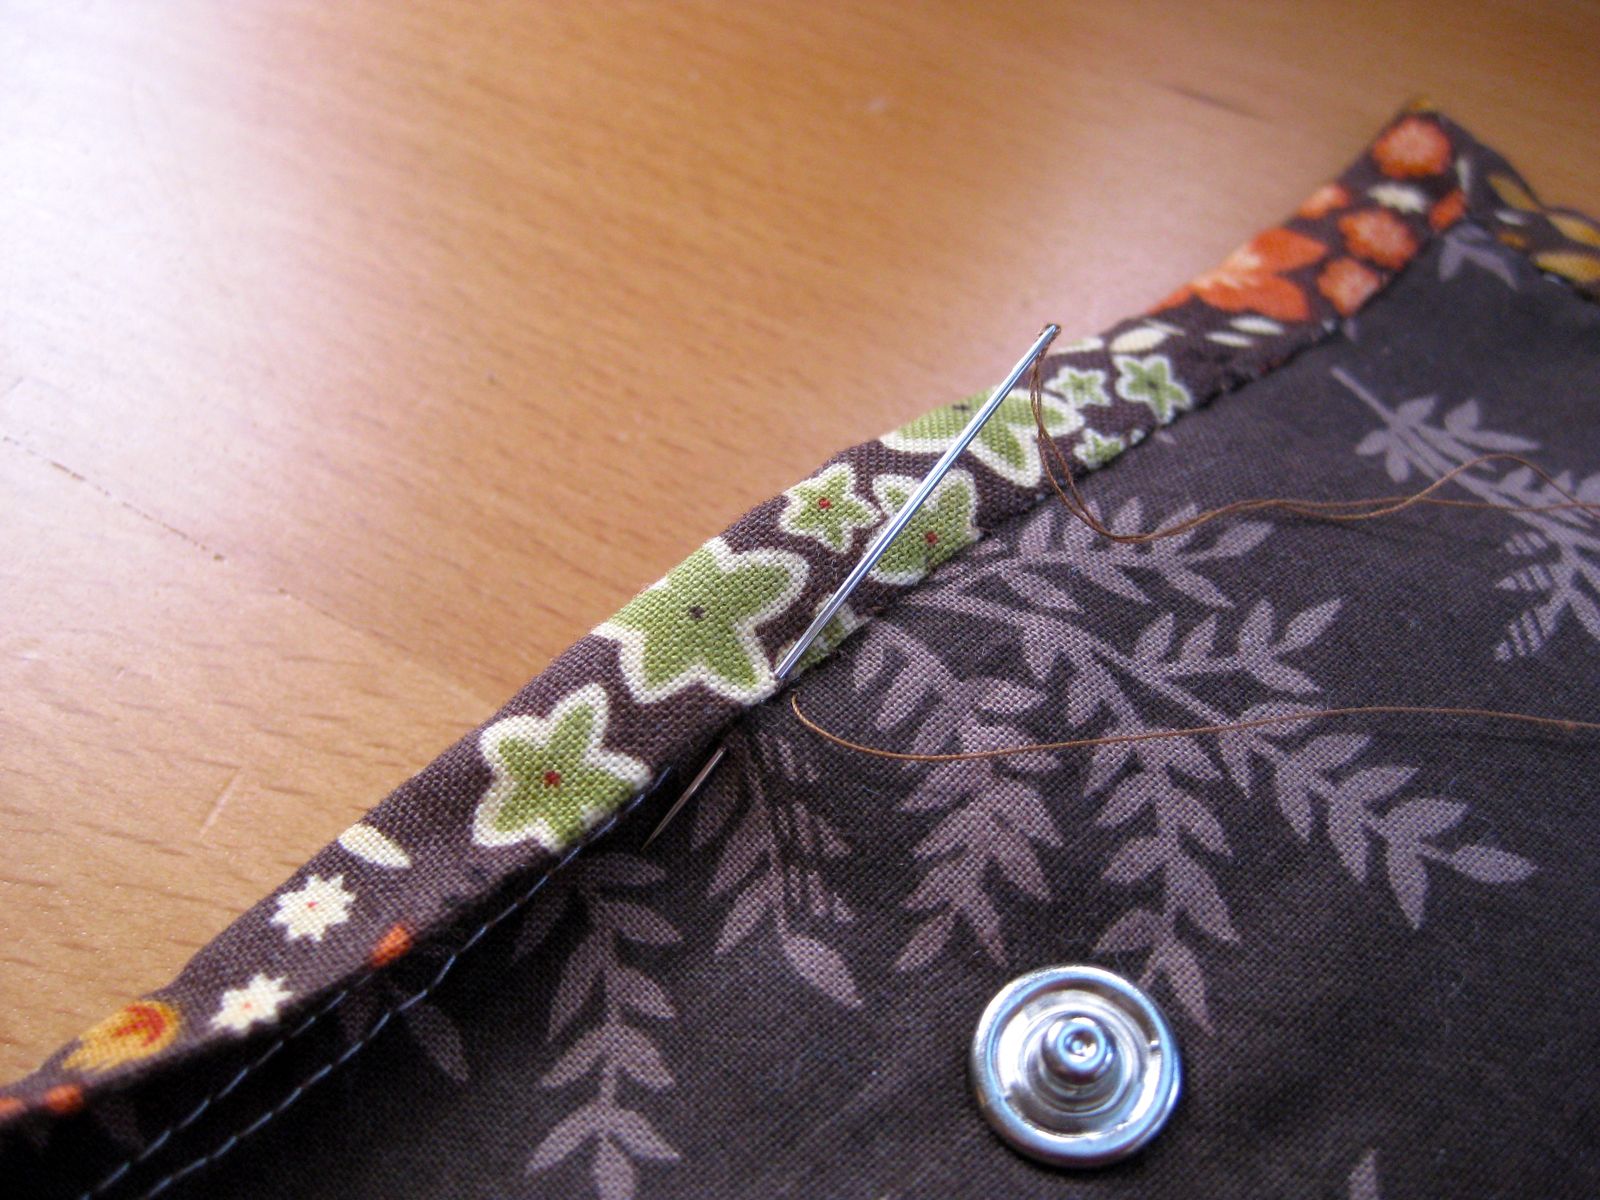
Stitch to the organizer as per photo.
Once the binding has been sewing on one side, turn around and hand sew to the back.
Use matching thread so that the stitches aren’t seen.
This is the final result.

Back of the organizer.

credits to: mypatchwork

Comments
Post a Comment