

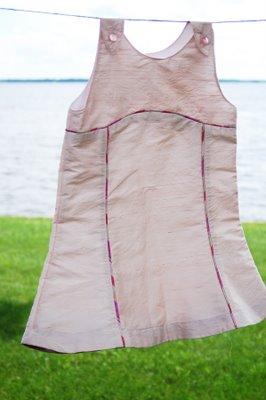
It all started with our very first pattern, the Tea Party sundress. I
strongly prefer neat, simple solutions to design problems and was
dreading the hem on the flared skirt of the sundress; in order to finish
it using conventional sewing methods, the excess fabric from the flared
skirt would need to be eased into the narrower part of the skirt when
the hem was folded up to finish it.
Generally, this results (for me,
anyway) in much gritting of teeth and, very commonly, a crummy-looking
hem, both on the outside and inside of the garment. It seemed much
simpler and cleaner to create a separate pattern piece for the hem.
And it worked so well, now we use it on many of our other patterns,
too! Here is a little demonstration of the hem to show you how it is
sewn:
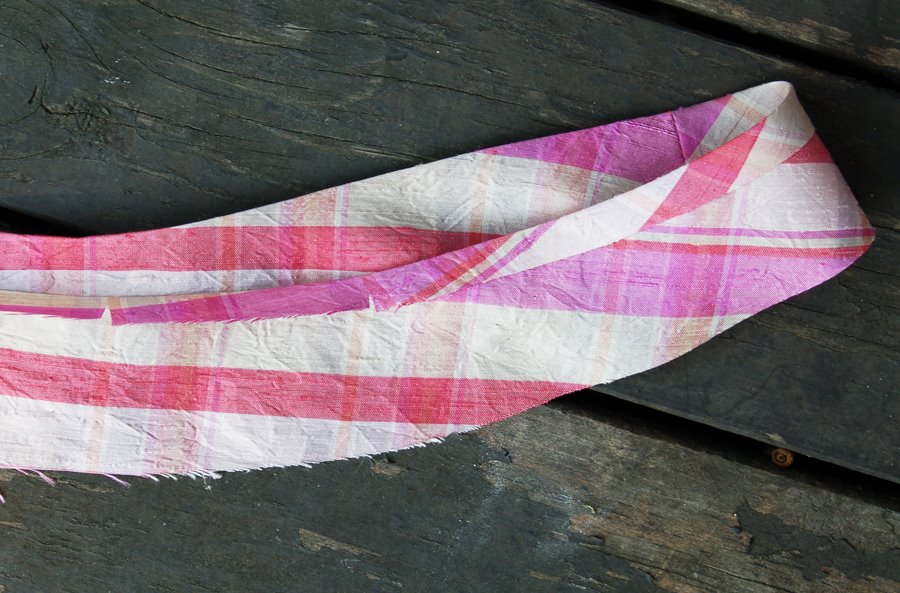
1. First, the facing pieces are sewn together at the side seams,
right sides together, to create a loop that matches the contour of the
skirt hem itself. Press the seam allowances open. Then fold and press
the top 1/2″ edge of the joined hem facing to the wrong side so the
upper edge of the facing will have a clean finish.
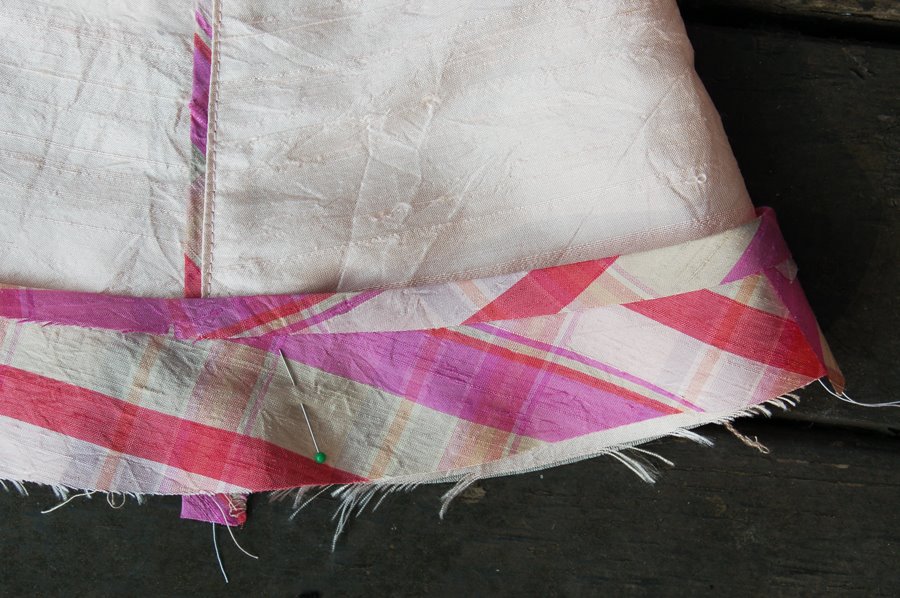
2. With right sides together and the hem facing’s folded edge
positioned at the top, pin the hem facing to the bottom edge of the
dress, matching the hem facing’s seams with the dress’s seams. Sew the
facing to the dress with a 1/2″ seam.

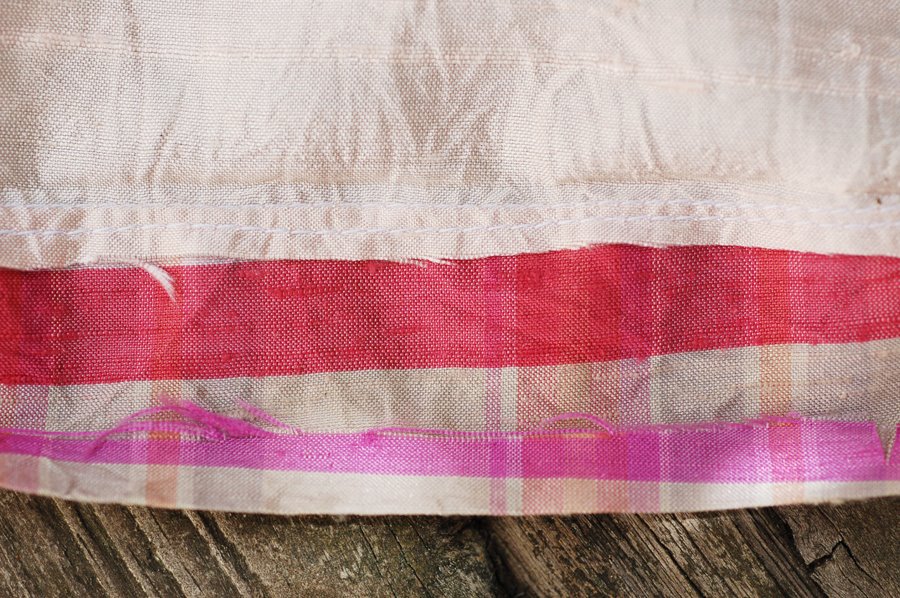
3. Press the hem facing away from the skirt, toward the seam allowances.
Then understitch the seam allowances on the hem facing and dress,
stitching them to the facing 1/8″ from the hem seam. To understitch,
you’ll edgestitch on the hem facing close to the seam, sewing through
the facing and the seam allowances. Understitching helps to keep the
seam and the facing inside the garment, and prevents them from showing
when the garment is worn.
 understitching from the outside of the dress
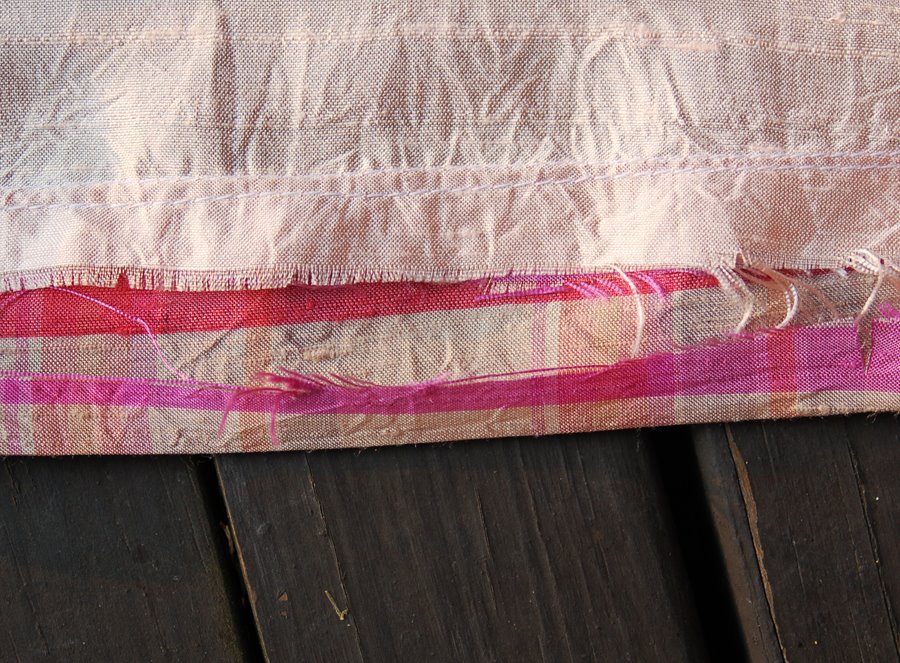 understitching from the inside of the dress
4. Trim the seam allowances at the hem about 1/8″ from the
understitching. Turn and press the hem facing to the inside of the
dress, pressing the seam slightly to the inside so it doesn’t show on
the finished dress. The entire facing is now inside the dress, with none
of it showing from the outside.
seam allowances trimmed
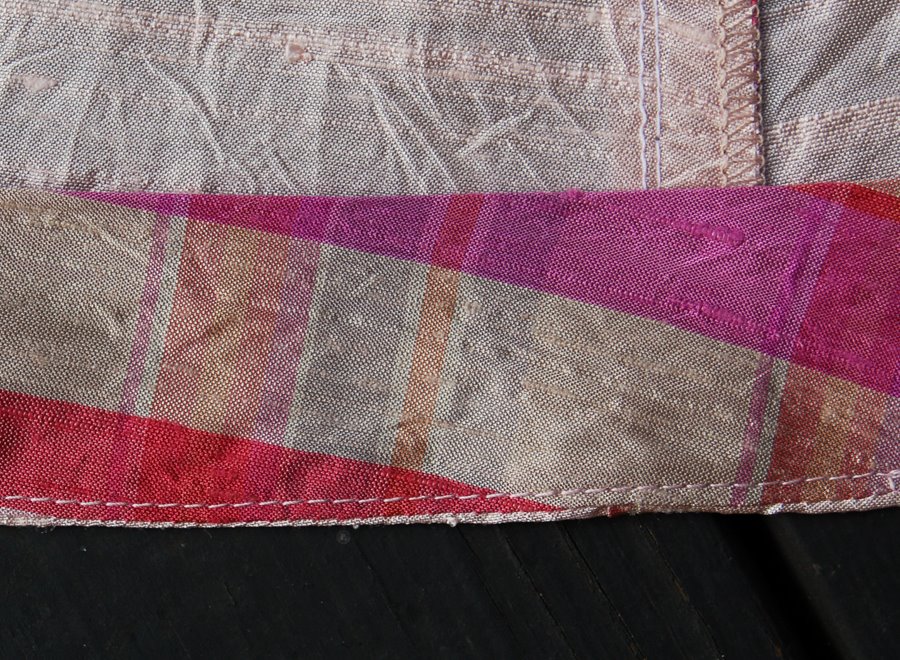
hem facing from the inside of the dress
 hem facing from the outside of the dress (doesn’t show!)
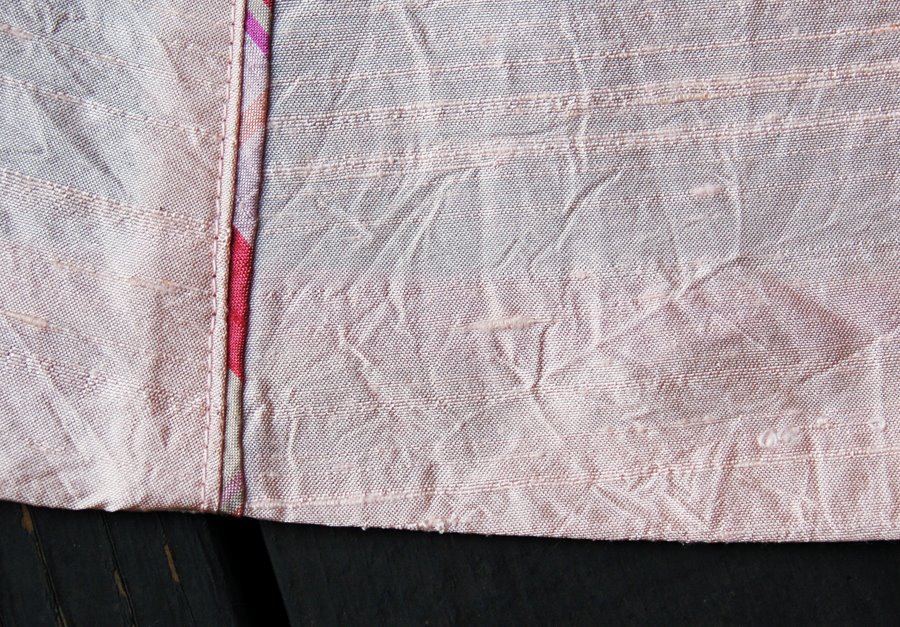
5. Use a blindstitch to hand-sew the folded top edge of the hem facing to the wrong side of the skirt to finish the hem.
The hem facing works especially well on flared hems, but it could be
used on straight hems also. If your garment is made from a heavy fabric,
you might want to consider using a lighter-weight fabric for the
facings so that you don’t add a lot of bulk to the bottom seam. I like
to use a fabric that contrasts or compliments the rest of the garment
like the plaid facing shown in the photos. The hem facing can be a
little surprise when it peeks out, and you could do all sorts of
interesting things with it, including embroidering it or using other
embellishments to give it extra interest. Have fun with it!
credits to: oliverands.com

Comments
Post a Comment