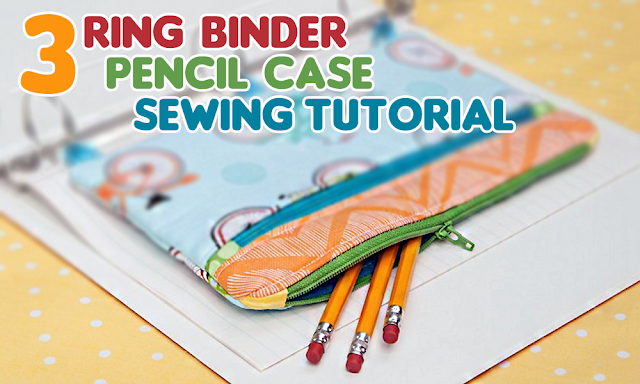
I am so excited to be here today to share a tutorial for my three ring binder pencil case!
This case would be a great gift for someone in middle or high school going back to school. I remember needing three ring binders for most of my classes back then. This little case would be a fun and convenient place for them to keep all their school supplies. It could also be made without the loops on the bottom if you don’t use binders.
This case would be a great gift for someone in middle or high school going back to school. I remember needing three ring binders for most of my classes back then. This little case would be a fun and convenient place for them to keep all their school supplies. It could also be made without the loops on the bottom if you don’t use binders.
This case is really simple to make. It does have two zippers, but even if you have never sewn a zipper don’t run away, they are easy…I promise.
So let’s get started!
To make this case, you will need some coordinating fabrics (see below for sizes), fusible fleece, two 9″ zippers, and a sewing machine with a zipper foot.
Cut your fabric to the following sizes:
Iron the three pieces of fusible fleece to the three corresponding outer fabric pieces.
Prepare your zippers by first trimming the ends close to the zipper teeth. With the zipper open a bit, sandwich the end of the zipper with two pieces of the fabric you cut for the zipper ends. The right sides of the fabric should be facing the zipper on both sides and the edge of the fabric should line up with the edge of the zipper. Sew in place with a 1/2″ seam allowance. Press the zipper end out. Repeat on all of your zipper ends.
Position the zipper pull on one zipper somewhere in the middle and place the zipper face down on the right side of your front bottom piece. Place the front pouch lining right side down on top of it lining up the edges, sandwiching the zipper in the middle. Pin along the edge.
With your zipper foot on your machine, sew along the edge you have pinned. Sew up to the zipper pull, then back stitch a little, lift your machines foot and slide the zipper pull behind the needle so it is out of the way. Then put the foot back down and continue sewing all the way across.
Flip the zipper right side out, press and top stitch along the zipper.
Next, re-position the zipper pull somewhere in the middle, lay the top front piece right side down on top of the zipper. Flip everything over and fold the lining up so the bottom edge of the lining lines up with the edge of the zipper. Your zipper should be sandwiched between your top front piece and your lining. Pin and sew in place.
Flip the top front up and press. Top stitch along the zipper.
Prepare the loops by pressing the ends of your 1″ strip towards the middle. Then press in half and sew, encasing the raw edges.
Cut the strip into three 2.5″ pieces. Find the center of your case and pin one loop in the middle. Then pin the other loops 1″ from each side. Baste along the bottom securing the loops and also basting the front lining in place.
Almost done!
Lay your top zipper face down on top of your front piece, sandwich the zipper with the one of the lining pieces, pin and sew in place. Remember to move your zipper pull out of the way when you are sewing. Press the zipper right side out and top stitch.
Sandwich the other side of the zipper with your back piece and your last lining piece. The right side of the back piece should be facing the front of the pouch, and the right side of the lining should be facing the other lining piece. Pin and sew in place, then press and top stitch. You should now have your zipper in the middle with the outer fabrics on one side and the lining fabrics on the other.
This step is important! Open your zipper! Your will need the zipper open to turn the case right side out, so check and double check that it is open. If you forget this step, get out your seam ripper!
Flip your pouch so that the outer pieces are together and the lining pieces are together. Pin along the edges. Pinch the zipper folding it towards the outer fabrics and pin. Sew around the edge, leaving a 3″ opening at the bottom.
Turn the pouch right side out through the opening in the bottom. Sew the opening shut and tuck the lining inside the case.
I hope you all love this little 3 ring binder pencil case as much as I do!


Comments
Post a Comment