


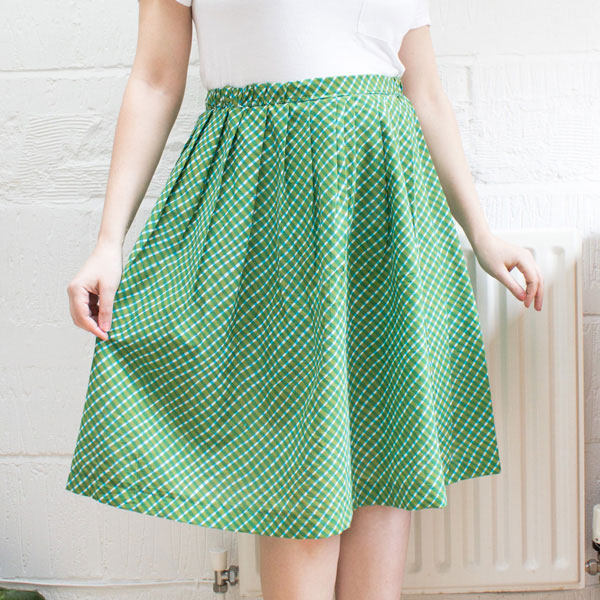
What You'll Be Creating
Add a classic staple to your wardrobe with this simple gathered skirt. In this tutorial, you’ll learn how to use a few measurements to create your own skirt, perfect for spring days.
Supplies

- 3m Medium-Weight Fabric (ie. Cotton)
- 1m to 1.5m 20mm Elastic Tape
- Measuring Tape
- Fabric Scissors
- Pins
- Thread
- Sewing Machine
Instructions
1. Prepare Your Elastic Band
Step 1
Start by measuring your waist (or where you would like the skirt to sit). Write this number down. This will be your waist measure.
Add 1cm to your waist measure. This will be your elastic length. Cut the elastic tape so that it is as long as your elastic length.

Step 2
Overlap the two ends of the elastic by 1cm. Make sure there are no kinks or turns in the elastic. Sew in place using a zigzag stitch.

2. Prepare Your Waistband
Step 1
Add 10cm to your waist measure. This will be your waistband length. Cut a rectangle that is your waistband length across and 5.5cm tall.
Step 2
With the right sides together, fold the fabric in half lengthwise, so that the two short ends are touching.
Sew using a 1.5cm seam allowance. Press the seam open.

3. Assemble Your Waistband
Step 1
Place the elastic band around the fabric waistband. The fabric waistband should have the wrong side facing out.

Step 2
Position the elastic band so that it is 1.5cm from the bottom edge of the fabric waistband.
Fold the waistband so that it covers the elastic band. Match the raw edges of the fabric waistband and pin in place.

Step 3
Sew the waistband closed using a 1.5cm allowance and a zigzag stitch.

4. Prepare Your Skirt
Step 1
Decide how long you would like the skirt to be. Measure from your waist (or where you would like the skirt to sit) to the point where you would like the skirt to end. Add 3cm. This is your skirt height.

Step 2
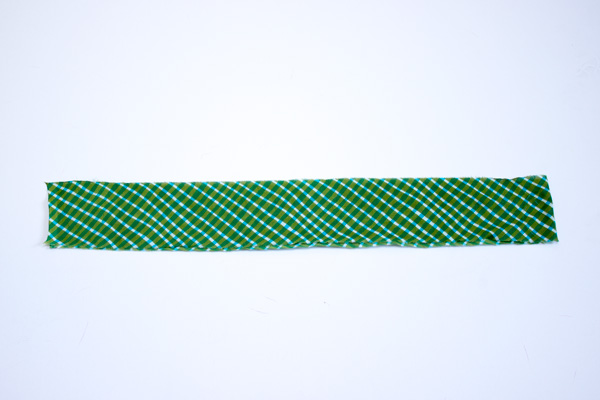
Cut a rectangle that is 2.5m long and as tall as your skirt height.
Fold in half lengthwise so the two shorter sides are touching. Right sides should be together. Sew using a 1.5cm seam allowance.
Press the seam open.

4. Attach the Waistband to the Skirt
Step 1
Mark the four corners of your waistband. Do this by laying the waistband out flat and marking the centre back point, centre front point, and two side points as well.
Repeat for the top edge of the skirt.

Step 2
Place the waistband over the skirt, with right sides together. Match the raw edge of the waistband to the raw edge of the skirt.

Step 3
Match the four pins of the waistband to the four pins of the skirt. Pin in place.
Gather the excess fabric between these four pins. Pin the excess fabric in place.

Step 4
Sew around the skirt using a zigzag stitch to attach the waistband to the skirt.

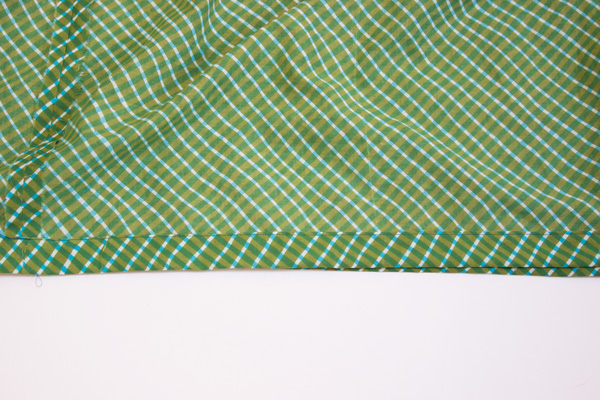
5. Hem Your Skirt
Step 1
Turn the skirt so the wrong side is facing out. Fold the bottom of the skirt over by 1.5cm. Press.

Step 2
Fold the bottom of the skirt over by another 1.5cm. Press.

Step 3
Sew around the top of the fold using a straight stitch.
Wear Your New Skirt
And you’re finished. Well done!
This is such a simple skirt. You could make it up in lots of different colours in a relatively short time. It would look great in gingham for a picnic, or floral for a summer’s day.

Do you like making your own clothes? How did you find this tutorial? Let us know in the comments section below – we’d love to hear from you.
credits to: crafts.tutsplus.com

Comments
Post a Comment