Leftover Fabric: Woven Pincushion
Tutorial
Basket weaving is nothing new in fact, this technique is making a comeback and we thought it would be fun to put a personal spin on it. So, let’s do some fabric weaving today.
This project is for all levels.
Skill Level- Beginner
Supplies:
Tools:
Basic Instructions:
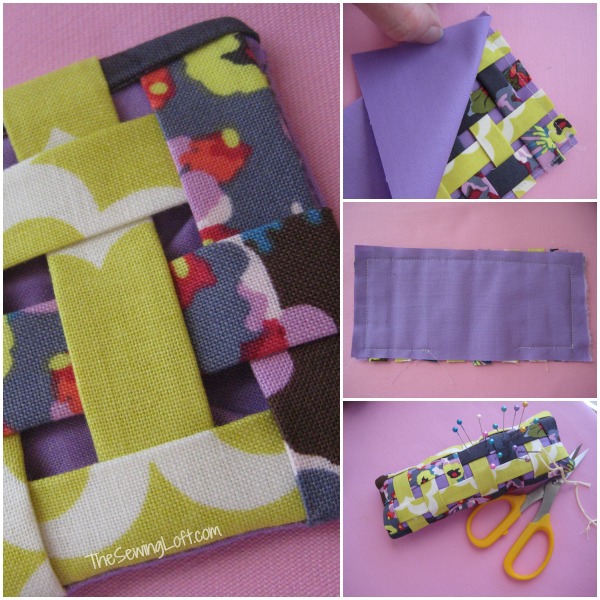
- Cut 2 3 1/2″ x 8″ rectangles for the top and bottom of your pincushion. 6 strips 1 1/2″ wide by 22″ will be your fabric strips to create the fabric weave pattern. (I cut 3 strips from 2 different fabrics.)Fold, fold, fold….press, press, press. This triple fold will create clean edges on the sides. To keep things in place, I used steam a seam and sandwiched it together. I gave each fabric strip extra body. (total bonus.) Cut strips in half to create 12 1/2″ x 11″ strips.
- Lay all of your horizontal pieces and pin in place. To keep things easy for me, ran a quick row of straight sticking along the edge. Then start weaving in your vertical strips. Alternating rows and pinning as I worked across the fabric. Since I wanted the purple to peek through, I left 1/4″ spacing between each row.
- Once you have everything woven in place, run a quick stitch all around and trim away excess fabric strips.
- Then your pincushion is pretty straight forward. Just like sewing a pillow together. Pin right sides together; stitch around 3 sides leaving an opening for turning. Clip corners and turn right side out.
- Stuff, stuff, stuff!! I like to over stuff my pincushions. Stitch the opening closed with needle and matching thread. A simple ladder stitch is perfect for this last step. Need a refresher on the ladder stitch? Click here.
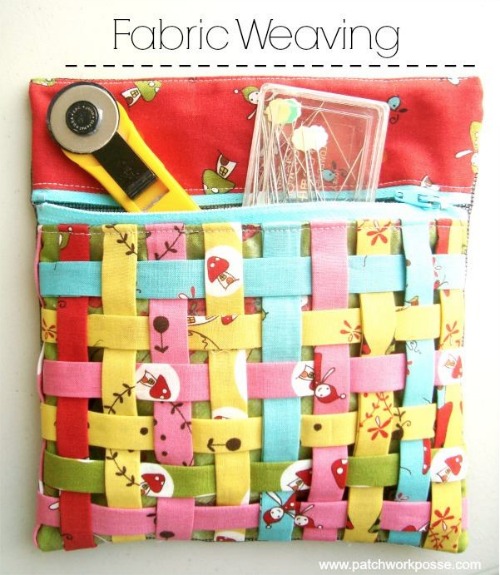
So, how did I do? Do you think fabric weaving will make a come back? Or should the technique be left to baskets and hemp? To keep the conversation going, I have teamed up with a few friends! Becky from Patchwork Posse
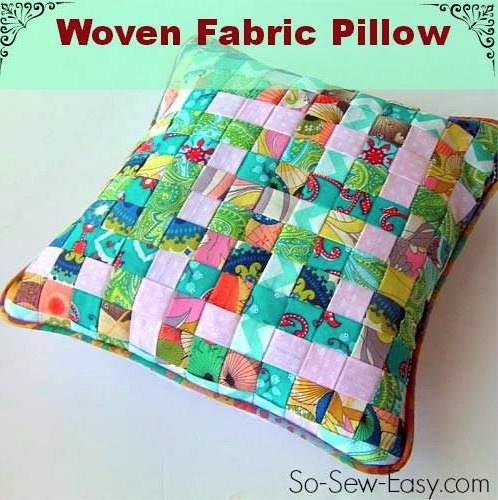
Deby from So-Sew-Easy.
Be sure to check out what fun things these gals made with their fabric strips.


Comments
Post a Comment