As mentioned previously here, bias tape is pretty, useful, and adds a unique touch to garments. It’s also a fabulous way to use up scrap fabric from other sewing projects. After sorting through pictures for inspiration, I want to hole up in the studio and transform pieces of leftover fabric into enough bias tape to reach the moon! Luckily, this tutorial simplifies the process of making bias tape by allowing you to avoid stitching each individual strip together, hence the name continuous bias tape. The benefit of the continuous loop method is that it’s much faster because there’s less pinning and sewing.
Also, note that I used a 10″ x 10″ square of fabric for this particular tutorial, but if you have less material to work with that’s okay, too! Just make sure you have enough fabric to cut out a perfect square.
You will need:
- 10″ x 10″ square of fabric
- a ruler
- fabric pen or chalk
- scissors
- a Clover bias tape maker in 1/2″
- thread
- a sewing machine
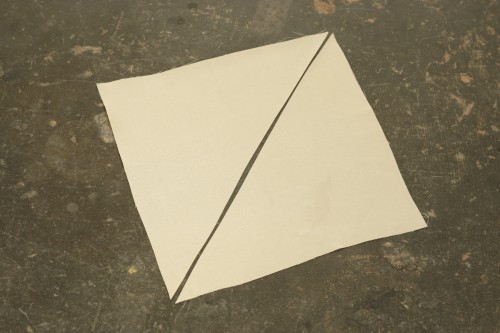
Step 1: Cut a 10″ x 10″ square piece of fabric, then cut it in half diagonally, along the bias.
Middle school geometry nerd alert! These triangles are technically isosceles right triangles.
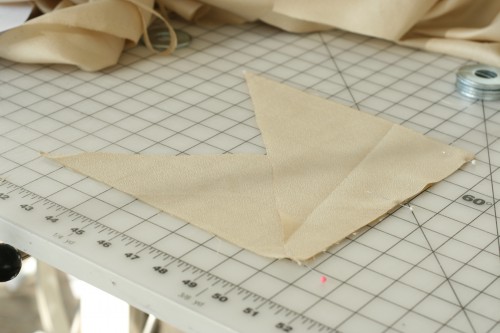
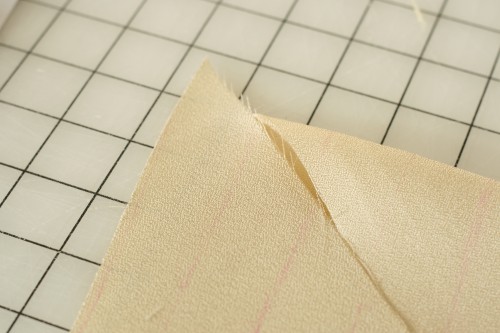
Step 2: With right sides together, pin the two triangles together at either of the straight sides (not the diagonal side), as shown in the photo. Edgestitch the two pieces together.
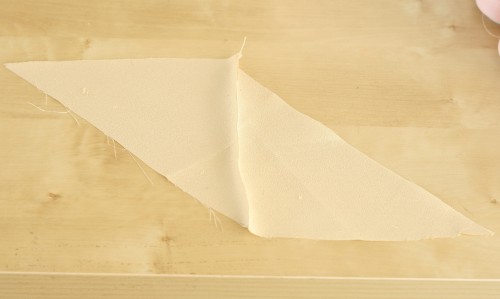
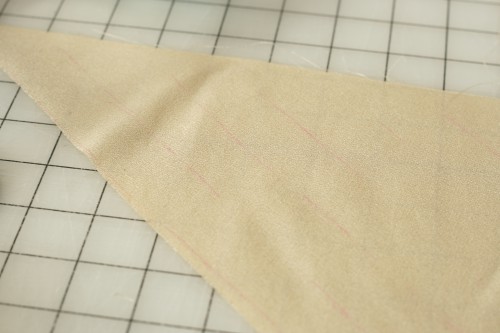
Step 3: Open up the fabric pieces and press seam apart (aka bust with the iron). The fabric should be the shape of a parallelogram.
Step 4: Starting at the edge of the fabric, mark 1″ lines in washable fabric pen. These diagonal lines will be parallel to the fabric edge and will be drawn on the wrong side of the fabric. Don’t cut yet!
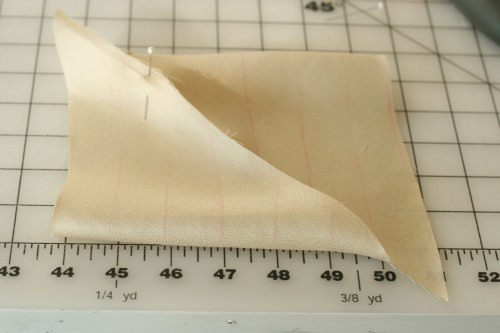
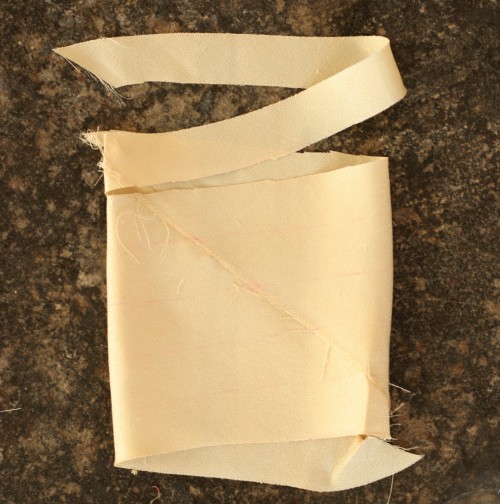
Step 5: With right sides together, fold the narrow tips of your parallelogram lengthwise to make a small square.
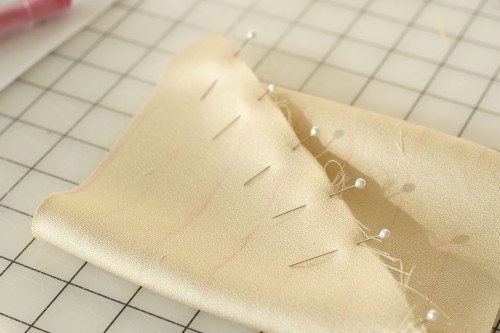
Steps 5 and 6: Fold tips inward and offset by one row of lines
Step 6: Once folded, offset the 1st row and pin in place. Then, match up the following lines while pinning in place with right sides together. You will be sewing these pieces together t 1/4″, so be sure to match the lines at the seam line (1/4″ in from the edges) not at the raw edges.
You should now have a tube-like shape with 1″ of fabric offset at each end. Sew a narrow 1/4″ seam. Press seam open.
Step 7: Starting at the first offset row of drawn lines, cut until you reach the end.
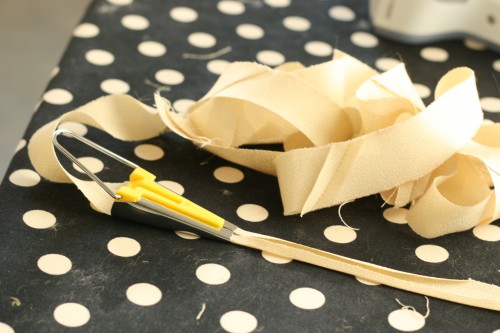
Step 8: You’re almost done!! Now pull your continuous bias tape strip through your bias tape maker while pressing the folds with your iron. This should produce nearly 100″ of bias tape, depending on how accurately you mark each line in Step 4.
There you have it! Let us know in the comments below if you tried this method!

Comments
Post a Comment