
New sewists are often thrown tons of cryptic terminology when they begin sewing; at some point it sort of all sounds the same! I am here to solve the mystery of these three similar-sounding terms: edgestitching, topstitching, and understitching.
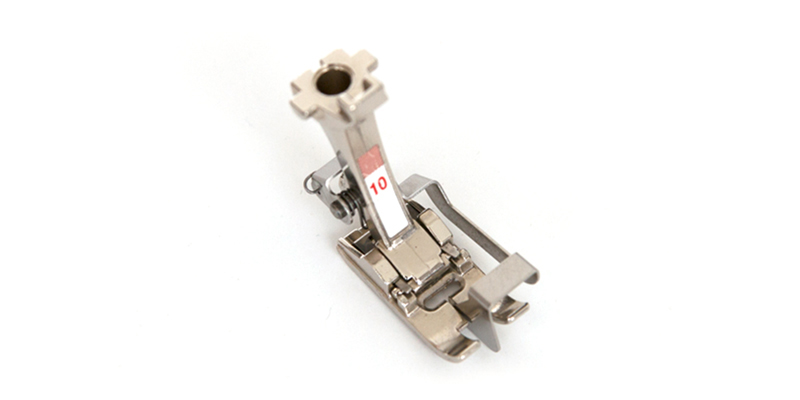
First and foremost, say hello to your new best friend—the edgestitch foot. This little guy is a godsend for any sewist who wants consistently straight stitches. On the edgestitch foot, there is a blunt blade in the center of the foot that acts as a bumper while sewing.
To use the edgestitch foot, align the edge of your seamline or fabric edge to the blade, move your needle position to the desired width away from the center blade, and stitch away! The key is to keep your fabric edge aligned with the center blade while sewing.
If you do not have an edgestitch foot, you can still accomplish all of the following types of stitching. All it takes is some determination and a good eye. Other presser feet do have edgestitching aids, check your machine manual for individualized instructions.
Edgestitching vs. topstitching
Topstitching and edgestitching are both visible on the right side of the garment. They are both decorative as well as functional. For example, a patch pocket is usually attached to a garment with a topstitch. In this instance, the stitching secures the pocket in place and also highlights the style lines of the pocket with an outline.
There are two key differences between edgestitching and topstitching: distance from edge and stitch length.
Edgestitching
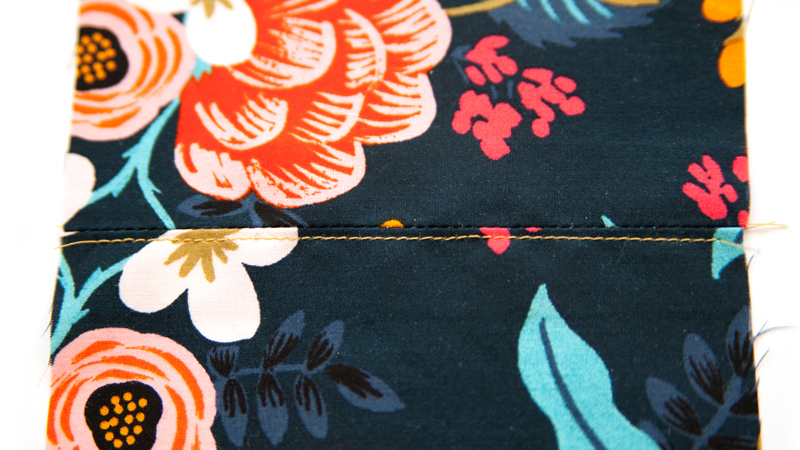
Edgestitching is traditionally sewn between 1/8″ and 3/8″ away from an edge at a regular stitch length. This narrow stitching is used on waistbands, necklines, binding, and anywhere a garment needs subtle stitching. Sometimes it is just decorative and other times is vital to keep the garment together and seams from shifting.
Side note: Understitching is an edgestitch due to its proximity to the seam, yet edgestitching is not necessarily understitching. So nerdy, I know.
Topstitching
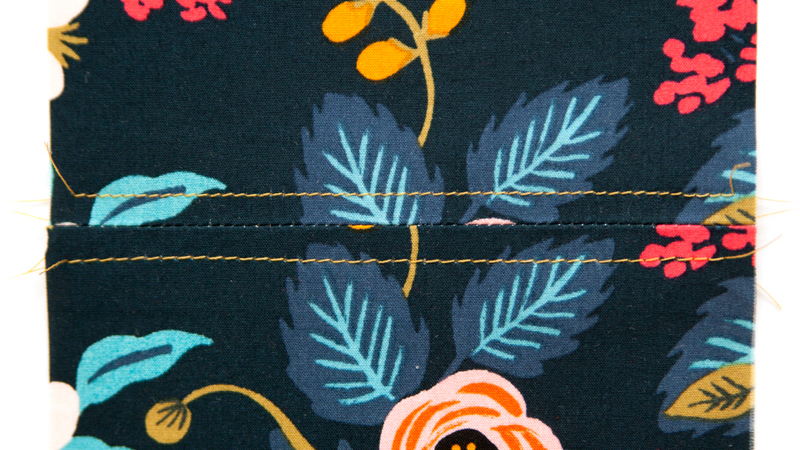
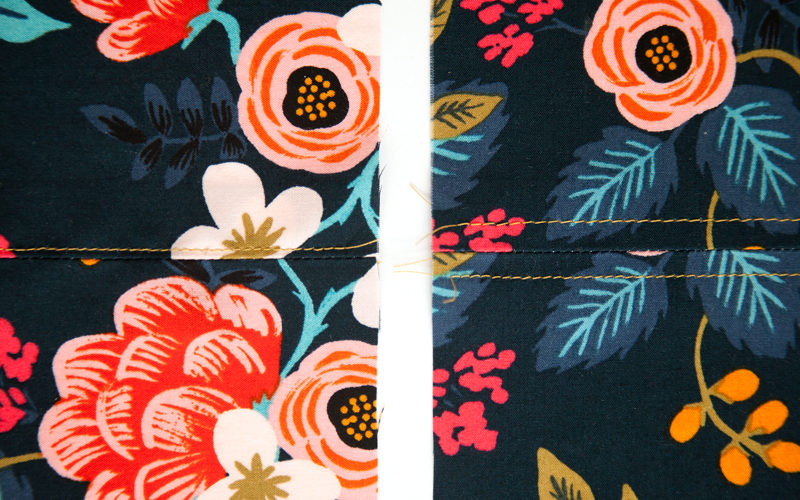
Topstitching is sewn 1/4″ away from an edge, and the stitch length is set slightly longer than the stitch length used for the rest of the garment. In the photo above, the lower stitching has a slightly longer stitch length than the upper stitching, which you can see, helps the stitching stand out. You may also choose to use topstitching thread, which is thicker and is designed to contrast with the outer fabric of a garment.
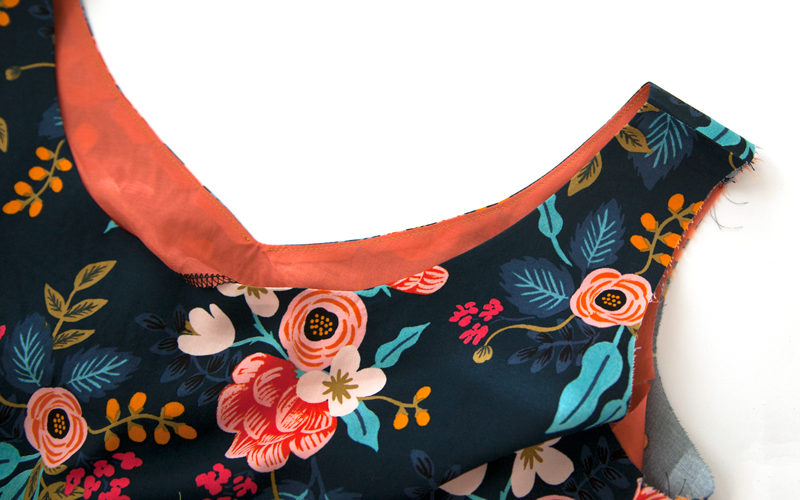
Understitching
Understitching is a row of machine stitching along the edge of a seam that sews the two trimmed seam allowances to the facing. This technique prevents edges from rolling out, curling, and showing on the right side of the garment. Understitching is most often seen on the inside of the garment along necklines, faced edges around armholes, under lapels, or under collars and cuffs.
How to understitch:
1.) Stitch the two pieces together with right sides facing, following the pattern’s seam allowance.
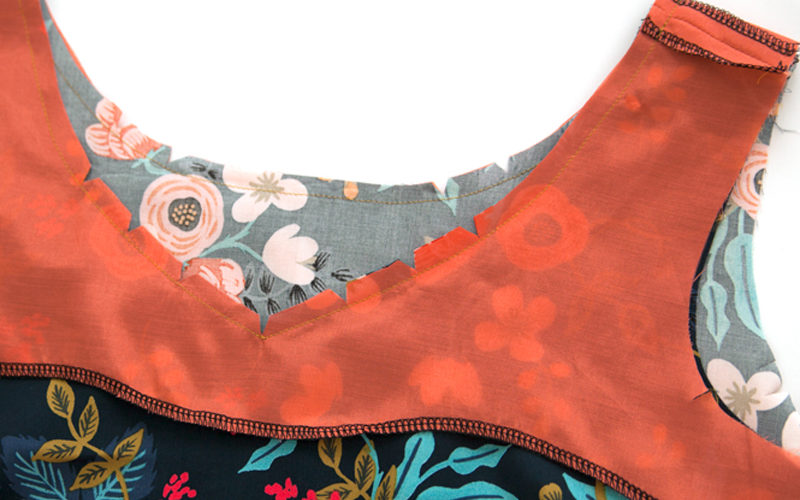
2.) Once the seam has been stitched, trim the seam allowance and clip or notch any curves.
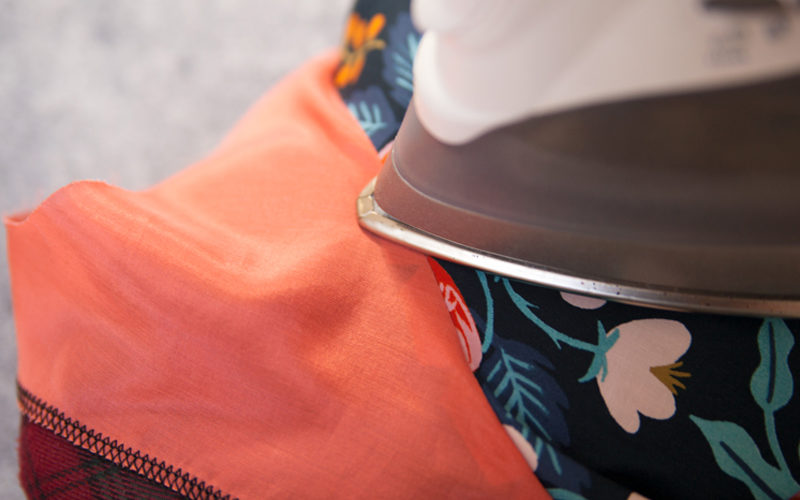
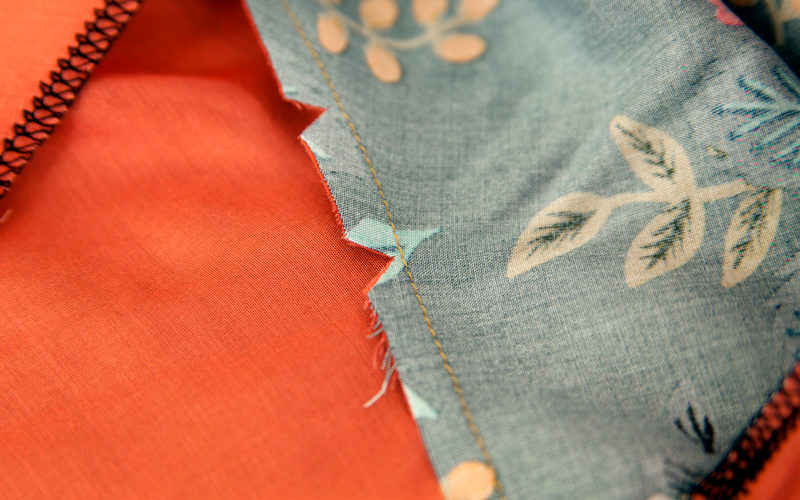
3.) Press the seam allowance toward the facing or lining.
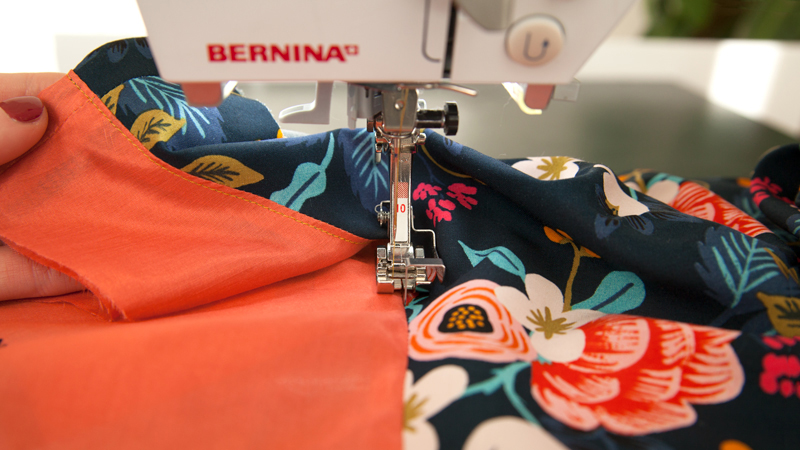
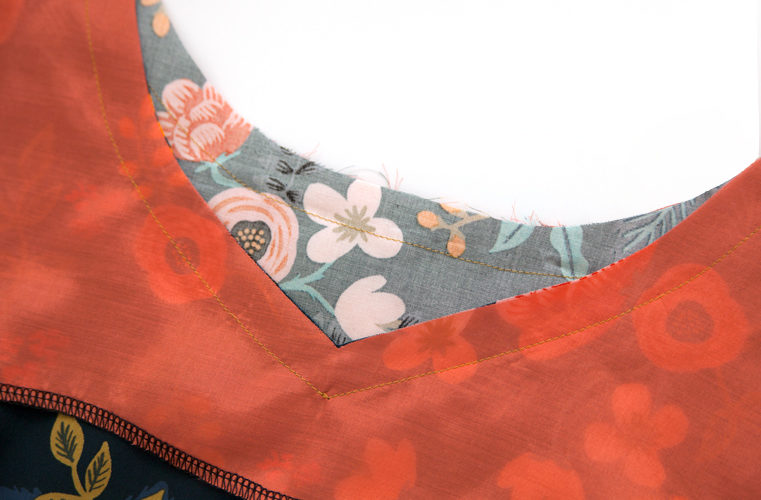
4.) Stitch between 1/8″ to 1/4″ away from the seam line on the facing. Align the blade of the edgestitch foot with the well of the seam.
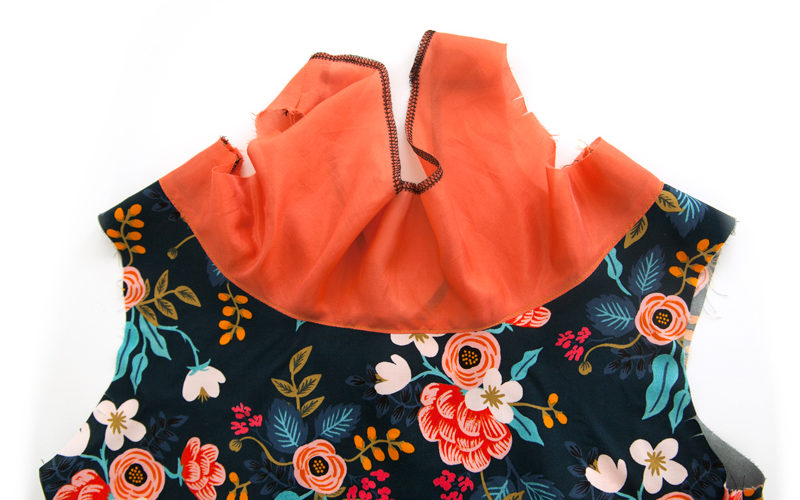
5.) Continue stitching along the seam line. In certain circumstances, the entire seam may not be able to be understitched due to the neckline shape or variations in closures. See your pattern’s instructions for where to start and end your understitching.
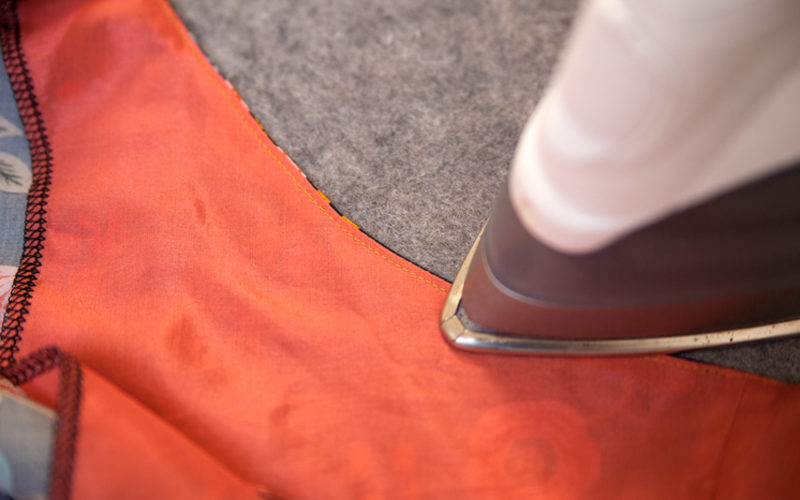
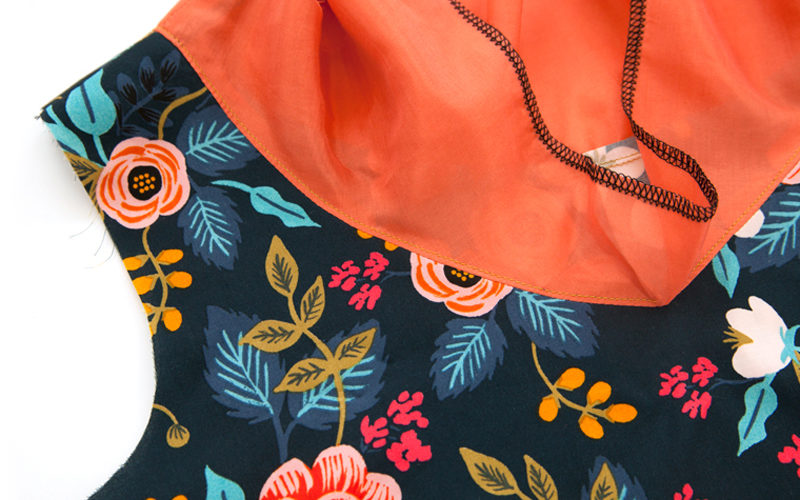
6.) Press the facing toward the inside of the garment.

Your facing will now lay flat with a crisp edge, preventing it from rolling out of place.
Comments
Post a Comment