
During the process of quilting, the final step is binding. This consists of long strips of fabric that are cut to size, sewn together, and used to cover the unfinished edges on a quilt. Oftentimes, the binding fabric is folded in half and sewn to the top of the quilt by machine. Then it’s folded over the unfinished edges and stitched by hand to the backside of the quilt. Not only does the binding hold together all of the raw edges, it creates the perfect finishing touch by framing the quilt.

Most quilters love or hate hand sewing the binding a quilt. I am one of those who absolutely love it! Nothing makes me happier than binding on the couch with a cup of coffee and a good movie. I admit that hand sewing can be a tedious task, but there are a few tricks that can make it go a bit easier.
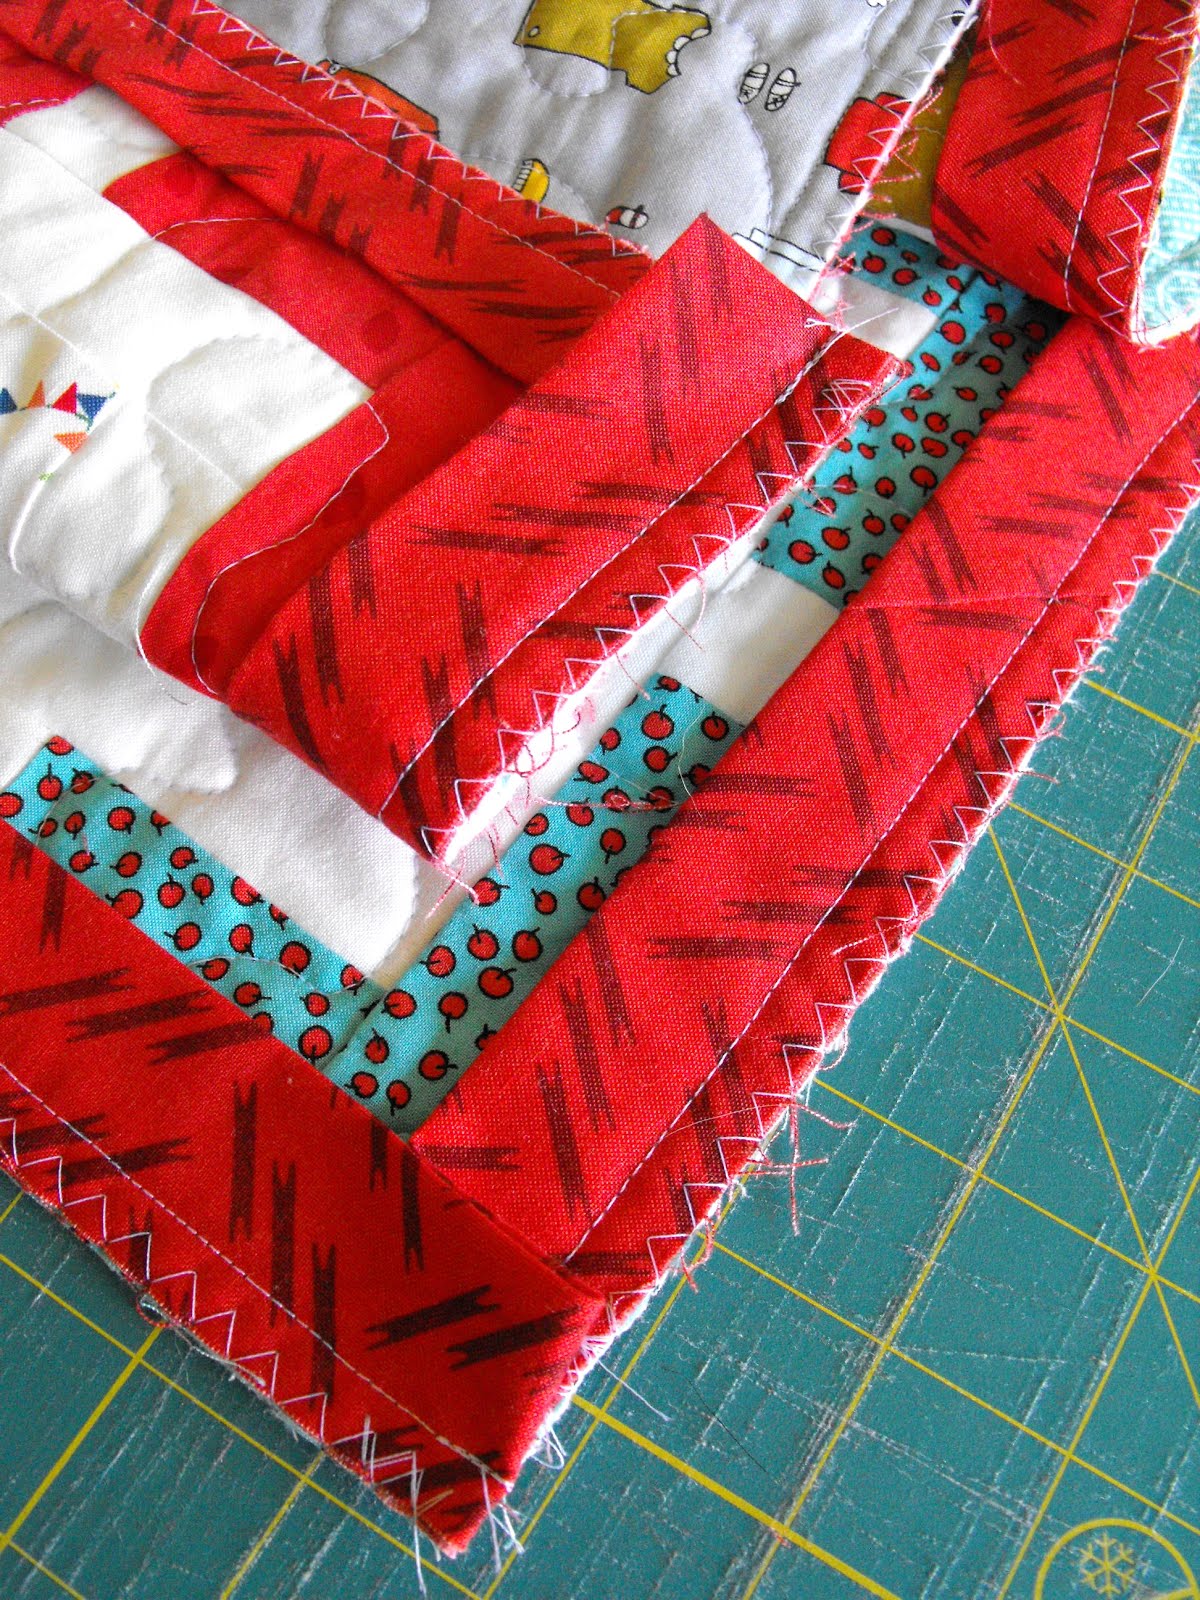
The raw edges of the unfinished quilt are rather thick, aren’t they? The quilt top, batting and backing are layered, and the edges are squeezed together inside of the binding fabric. This can make hand sewing very difficult.
IF YOU FINISH THE QUILT EDGE AFTER THE BINDING IS SEWN ONTO THE FRONT, HAND SEWING IS A WHOLE LOT EASIER. THIS IS HOW I LIKE TO DO IT!
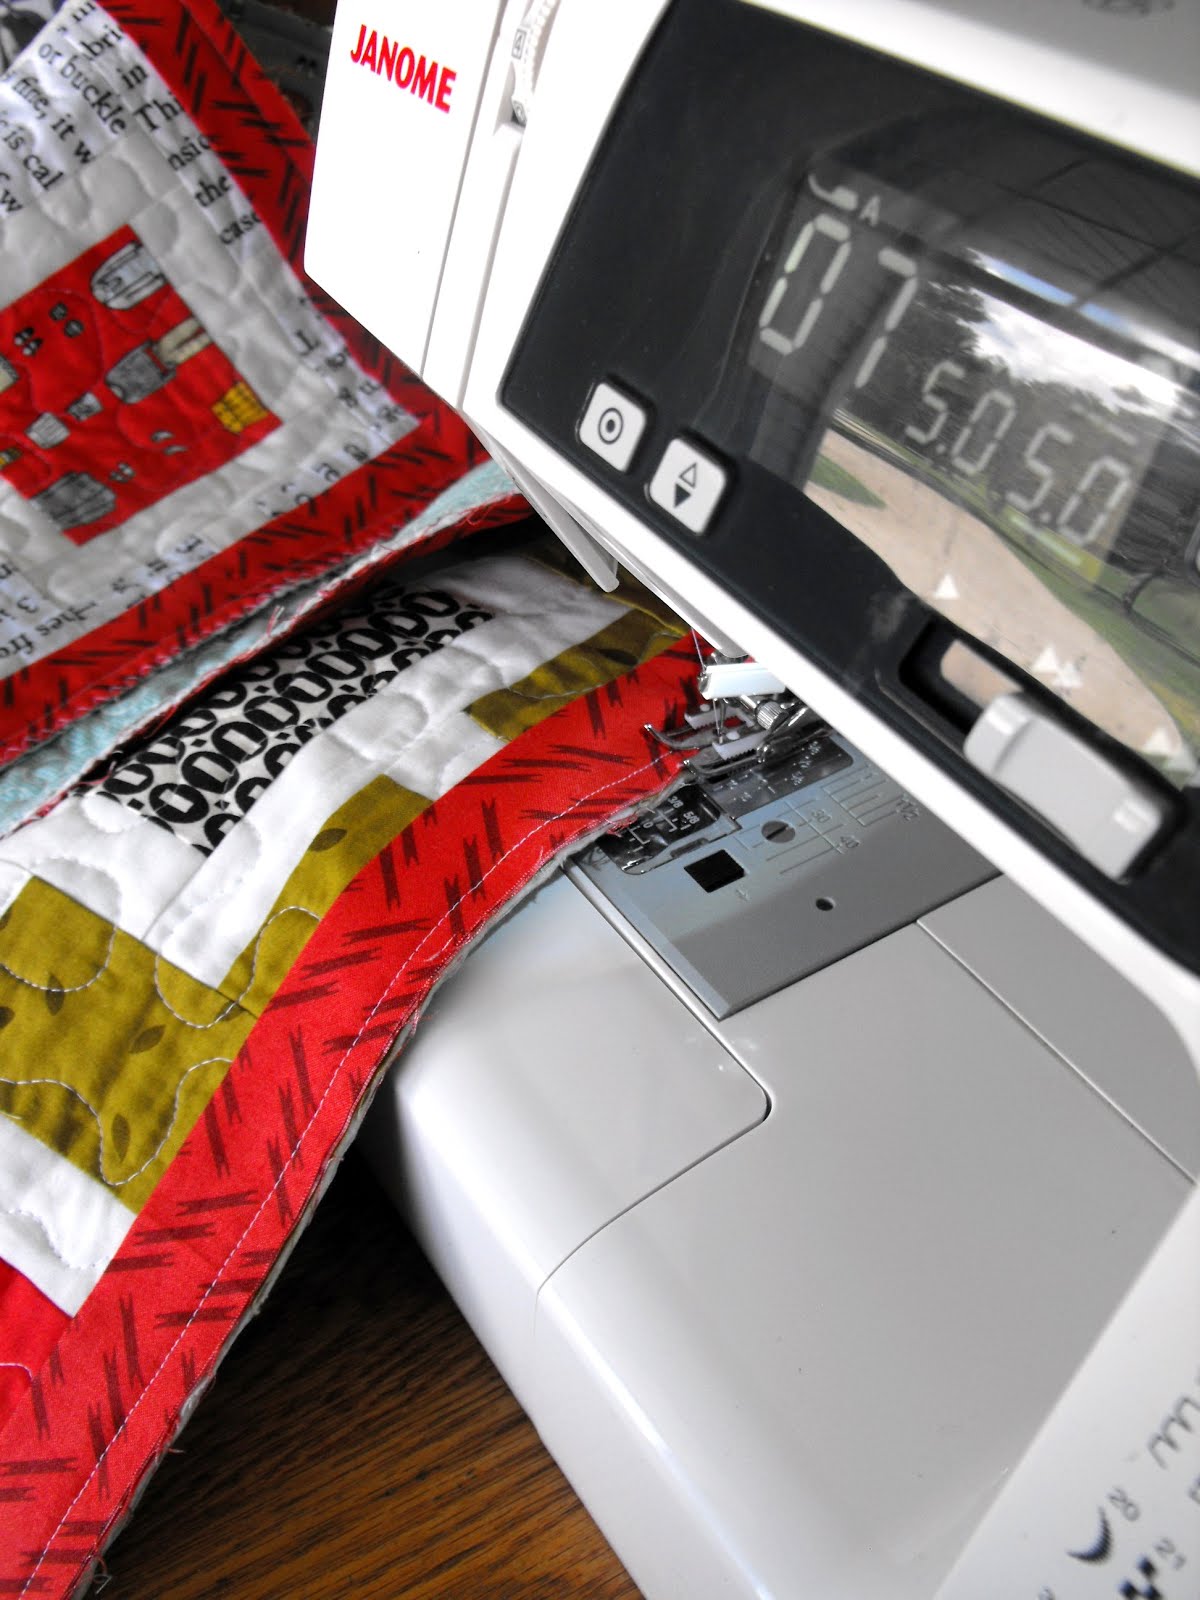
STEP 1:
Begin by sewing the binding to the front of the quilt in the usual manner. Once that is finished, change your machine stitch to a long, wide zigzag. The settings I use can be seen in the photo above.
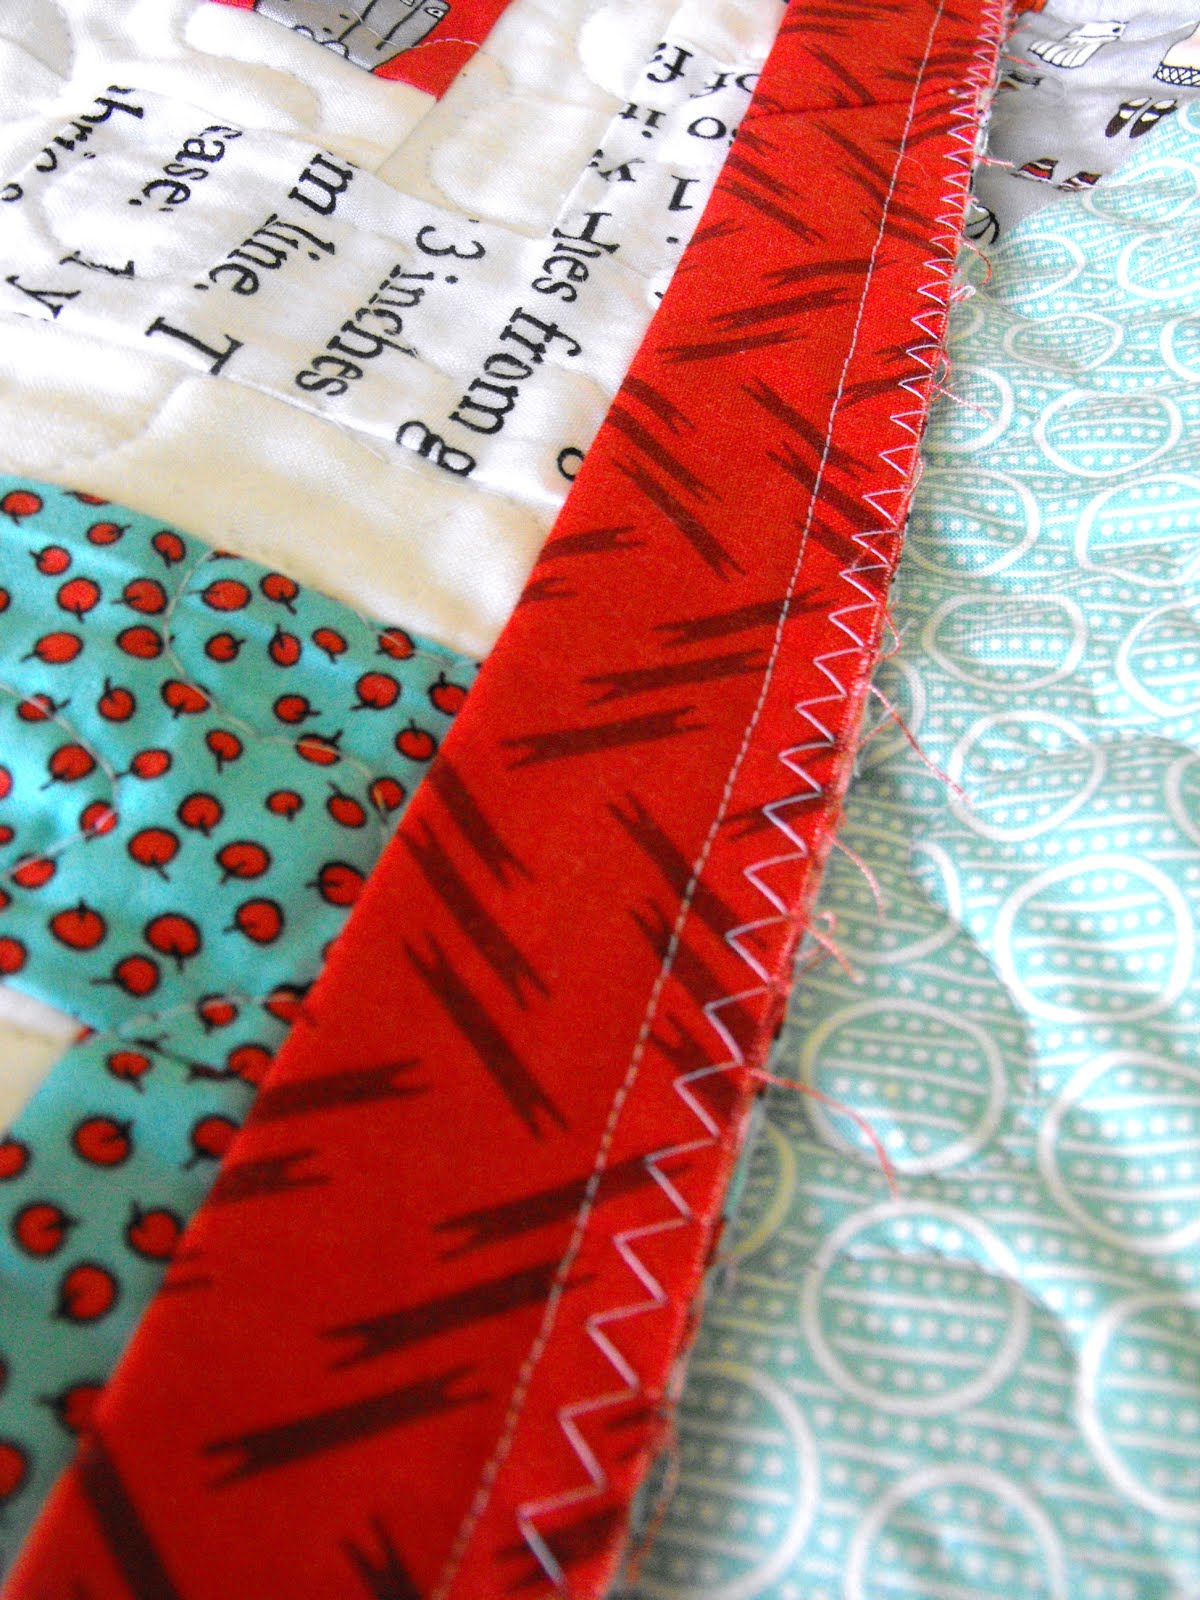
STEP 2:
Zigzag stitch down each side of the quilt, backstitching at the beginning and end of each side. Do not stitch over the folded corners.
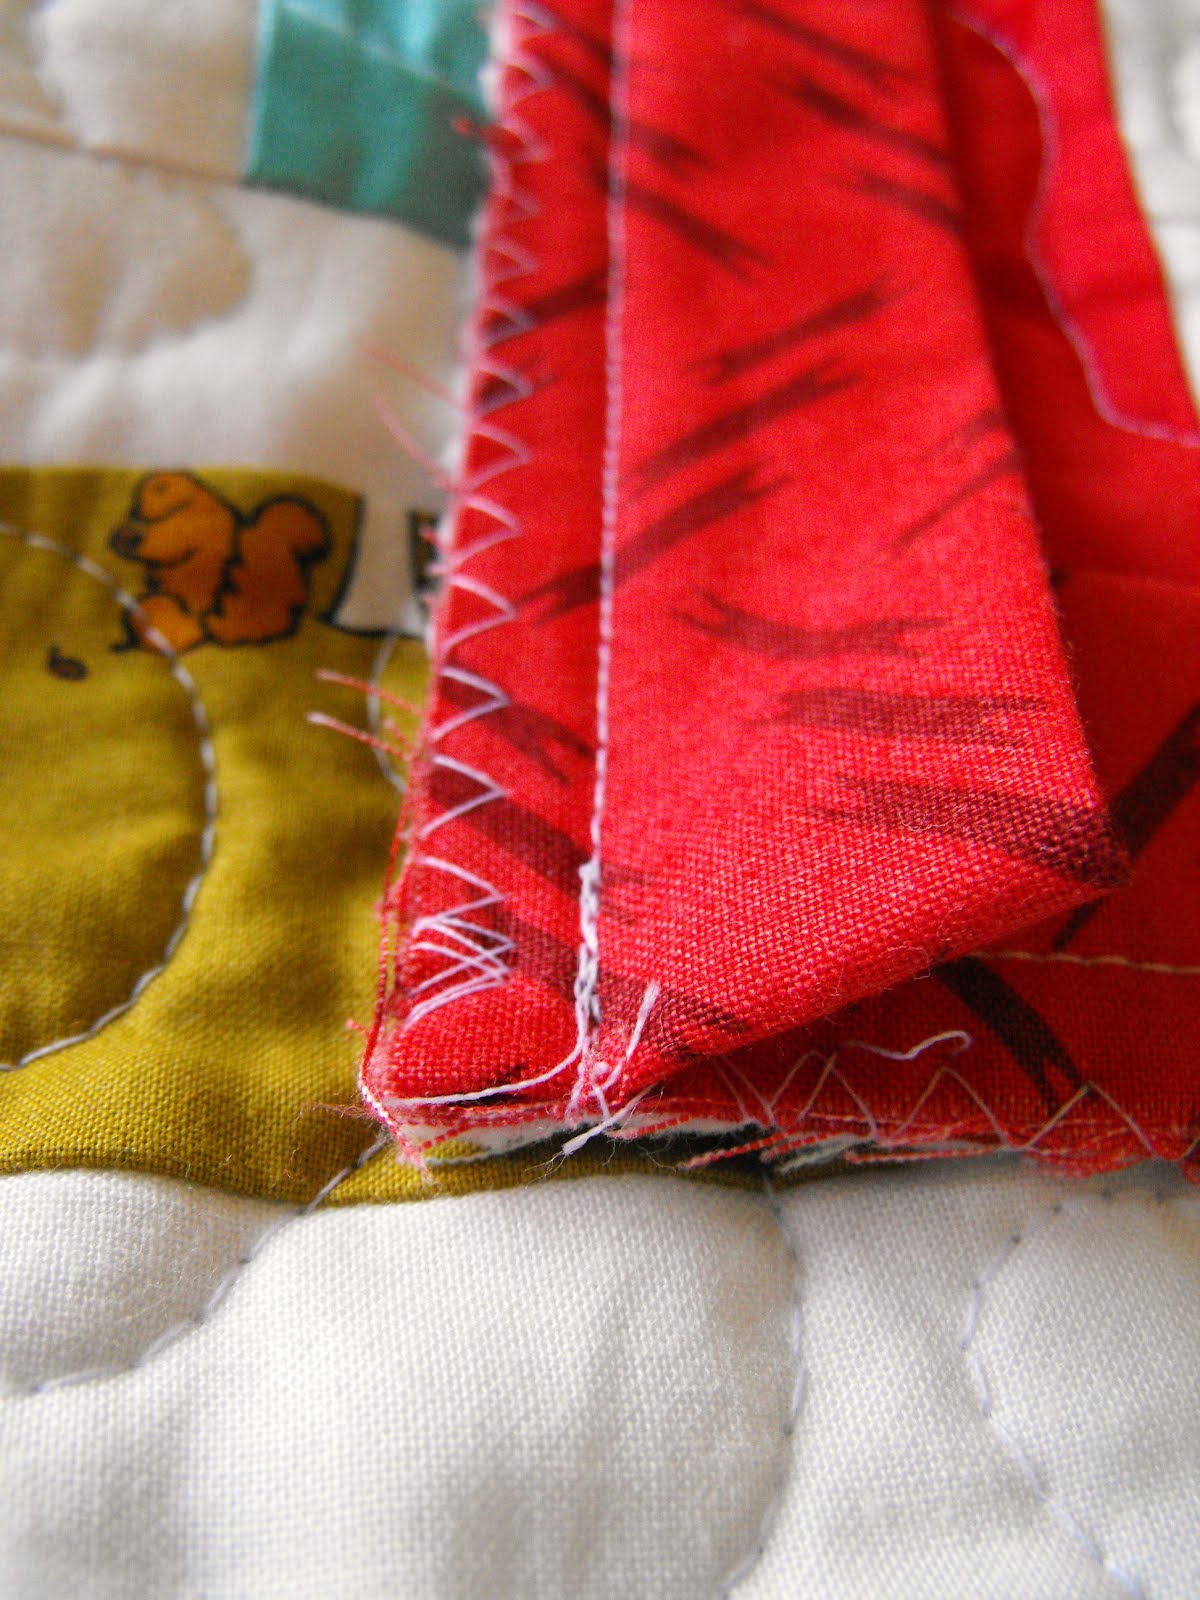
STEP 3:
Snip extra threads and check out your finished edges. See how tidy they are? Now they are much easier to work with! From here I like to use my iron to press the binding away from the quilt top, fold it over the raw edge, and then hold in place using Clover Wonder Clips. Now the binding is ready to be be easily sewn down by hand.
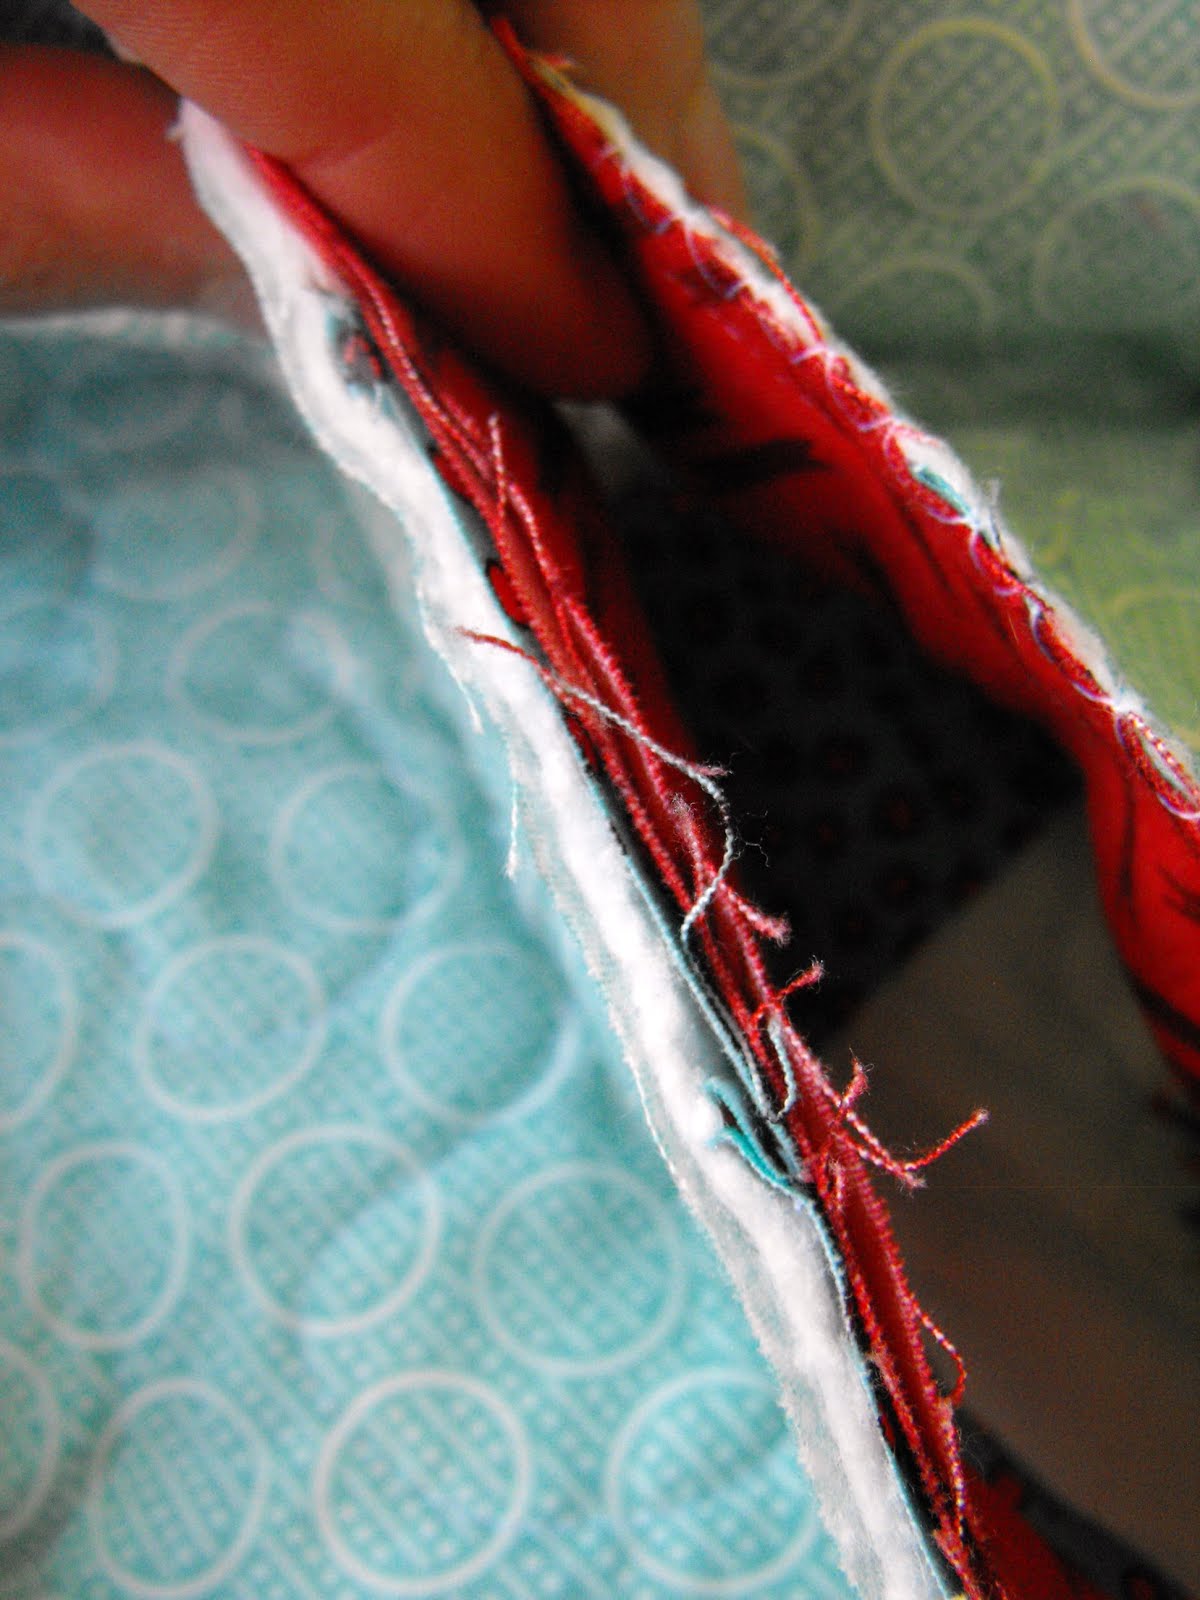
STEP 4:
If you have a serger, feel free to use that to finish the edges in place of a zigzag stitch. Yes, this extra step takes a bit more time, but the ease it creates makes it well worth it.
Comments
Post a Comment