
Mistakes happen to the best of us. Anyone who sews understands that some seams just weren't meant to be. The good news: ripping out a seam and starting over is something we all do. With a little care and patience, it's an easy fix and no one but you is ever likely to know it happened. The majority of woven fabrics, such as the popular quilting cottons, are very forgiving; a ripped-out and re-done seam is rarely noticeable on the finished project. It's better to start over if your first attempt fails. You'll always be happier in the end.

The best way to rip out a seam is with a sharp seam ripper. There are a myriad of choices in size, grip style, even options with lights.
This article features Janome branded seam ripper. It has a special plastic end that grabs and removes excess threads without marking or sticking to the fabric.
Though, if you are unable to find a similar one, here are two alternatives to the Janome branded seam ripper.
1. 3 High Quality Seam Rippers Pack
2. Clover Seam Ripper

Keep in mind that seam rippers, like any blade, eventually become dull. They need to be replaced on a regular basis as they can't be sharpened. Just like a dull pair of scissors, you can damage the fabric and cause more harm than good. A dull seam ripper can jam or slip, slicing or tearing a hole in the fabric... now you have a bad seam and a hole. Seam rippers are inexpensive; replace them often!
First, a few sewing basics to help keep the seam-ripping-out to a minimum.
- Whenever possible, use some kind of a seam guide to sew straight and accurate seams. You can follow the seam lines on the machine's throat plate, use a quilt bar (shown in the photo below), or use a specialty presser foot, such as a Quarter Inch Seam foot, Edge Guide foot, Sliding Guide foot, and similar feet with guides or flanges built in.

- Always sew a test seam on a scrap of your actual project fabric to confirm your stitch settings, needle, and tension are correct and everything is stitching nicely.
Instructions:
1. You may need to shorten your stitch length on sheer or slippery fabrics to avoid puckering in the seam. In the image below, the seam on the left is 2.4mm and the seam on the right is 1.8mm.

2. For thick or bulky fabrics, the stitch length usually needs to be lengthened. This allows the thread to form a better stitch to accommodate the depth of the fabric. In the image below, the seam on the left is 2.4mm and the seam on the right is 3mm.

3. Even with good preparation, some seams will still need to be un-sewn. Here, our seam went off track in the middle.

4. Remove the first few stitches at the end of the seam with the long, sharp tip of the seam ripper. This step is the same whether you're starting at the edge of the fabric as we show in the photo below, or if you have to rip out the middle of the seam. Just gently pick out a few stitches, working from both sides of the seam allowance if possible.

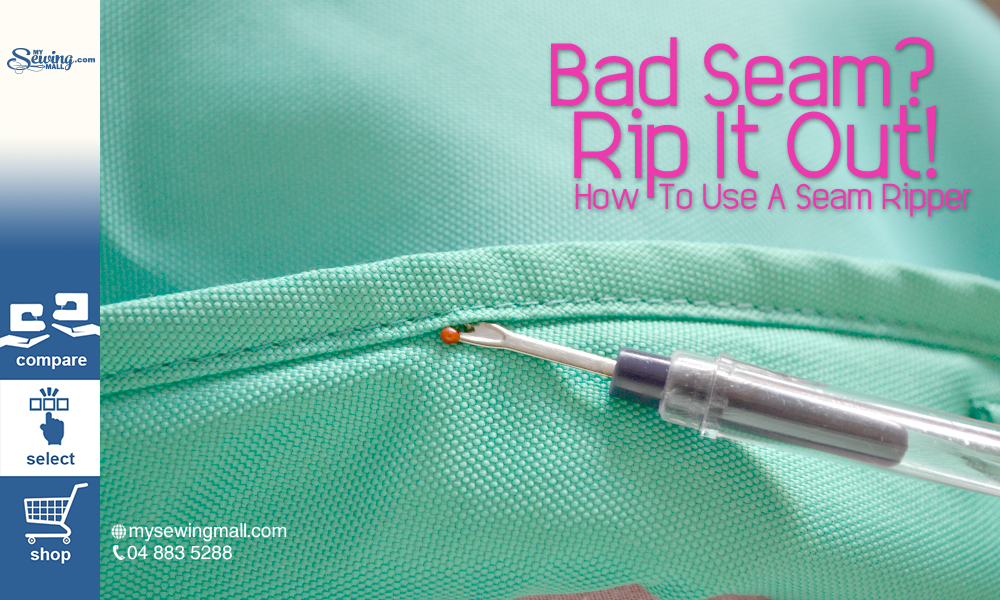
5. Once you have a opening, place the short, ball end of the tool under the stitch. Always work with the ball end down. That "little red ball thingy" helps protect your fabric as the sharp curve of the tool slices the thread.

6. Hold the end of the seam ripper and gently push it along the seam from one end...

7. ... to the other. If your seam ripper is nice and sharp, this should be a smooth, fast slice. You'll know the blade is dull and it's time to replace the tool if it jerks and hangs-up along the way.

8. Use your fingers to remove the long threads.

9. Then use the rubber end of the ripper to brush away any small bits of remaining thread. If you don't have a rubber end to your seam ripper, you can use the eraser end of a pencil or a lint roller.

10. An alternate method is to use the sharp point of the tool to cut individual threads along the seam to be removed. Gently clip every second or third stitch. Depending on the length of seam to be removed, you can go as far apart as every inch to help speed things up.

11. Working along just one side, insert the tool's point under the stitch, then quickly and carefully snap up to cut. This method takes extra care and patience because you are working with the sharp end of the seam ripper, which means there's an increased chance of accidentally cutting into the fabric. However, this can be a good method for short sections.

12. When done, turn over and gently pull away the uncut thread from the opposite side of the seam.

13. Remove the smaller thread bits, as mentioned above, with the plastic end of the seam ripper, a pencil eraser, or a lint roller.
credits to: sew4home.com

Comments
Post a Comment