

Article from simonehowell.blogspot
I thought I'd share the craft I did with the kids class last week. It's fun, quick, easy and affordable. It's a post it note holder made from those simple and inexpensive acrylic frames. So easy and FUN! Great for last minute hand made gifts. The frames cost AED 4.00 and you can use fabric scraps or paper scraps if you have those too! In lieu of that nest tutorial (all those supplies are sitting in the same place they were last weekend. One of those things I have decided that I will not be trading my sanity for. There are a few things on that list. I'm sorry, something just has to give. ) I give you this...
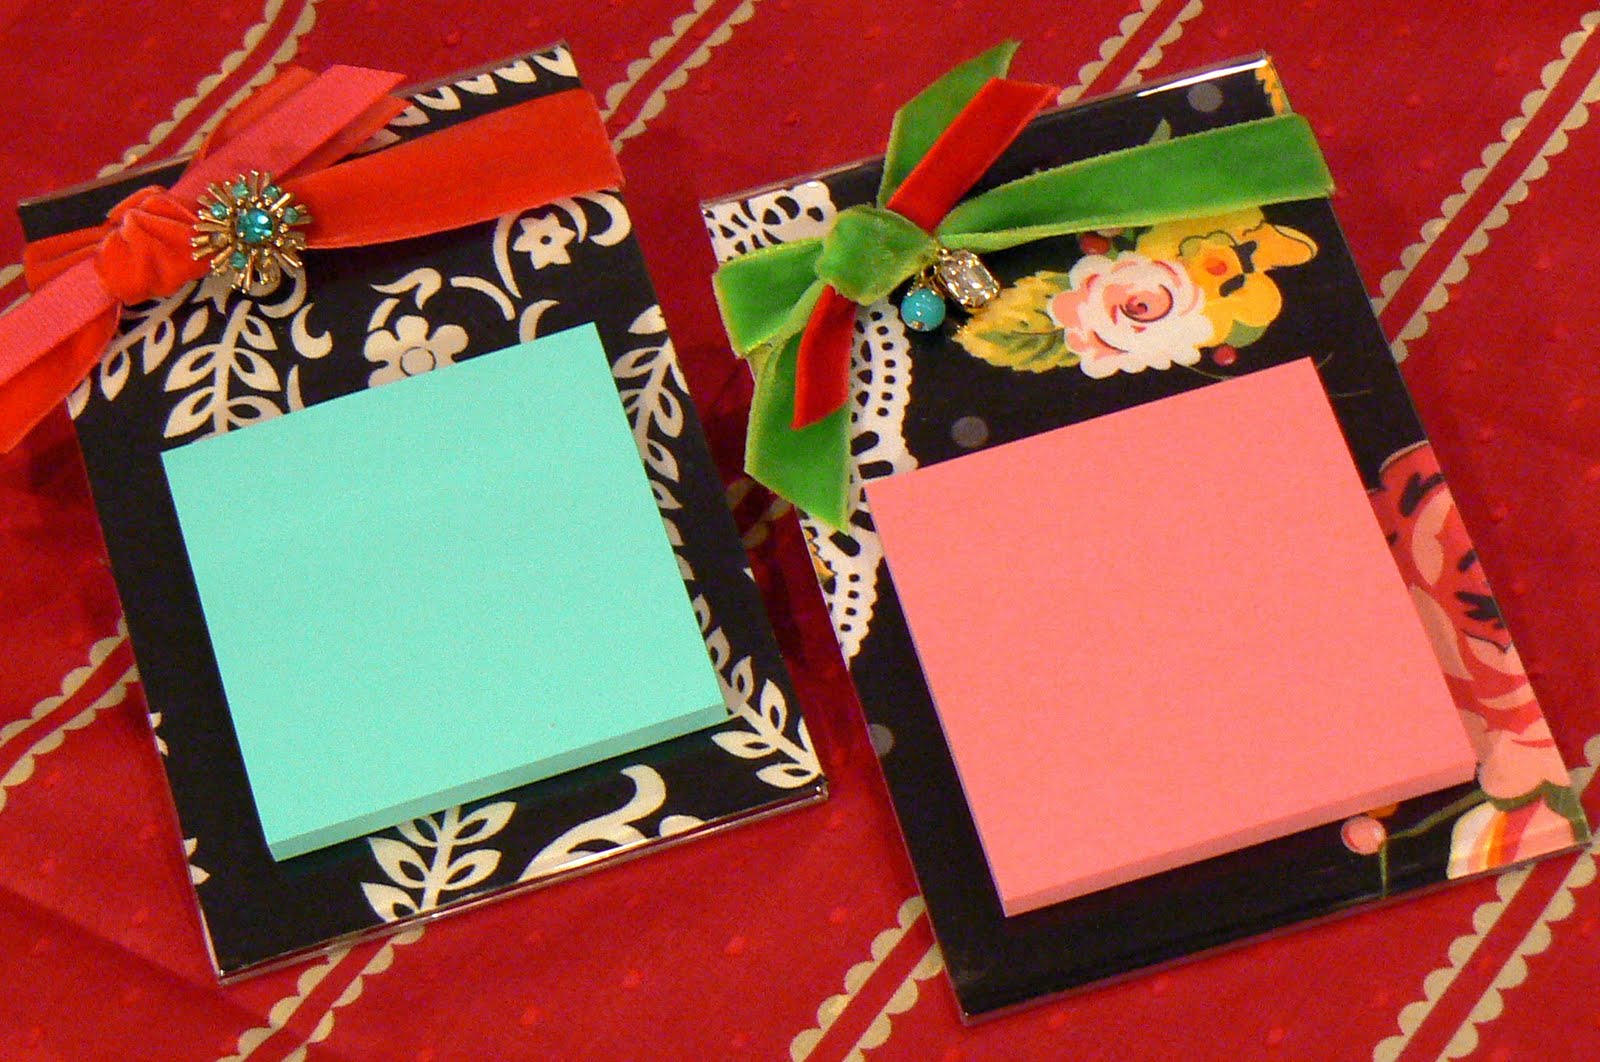
Fabric Post-it Note Holder Tutorial
Supplies:
- Acrylic 4x6 Frame
- Fabric scraps measuring at least 4"x6"
- Interfacing (you can also use a medium weight iron on interfacing. really anything to give the fabric some structure)
- Ribbons, Buttons, Vintage Brooches, or anything you'd like to use to add a little pretty!
- Post-it Note Pad
- Double Sided tape (I used heavy duty double sided craft tape, but you can easily use the scotch brand double sided you can buy pretty much anywhere.

Steps:
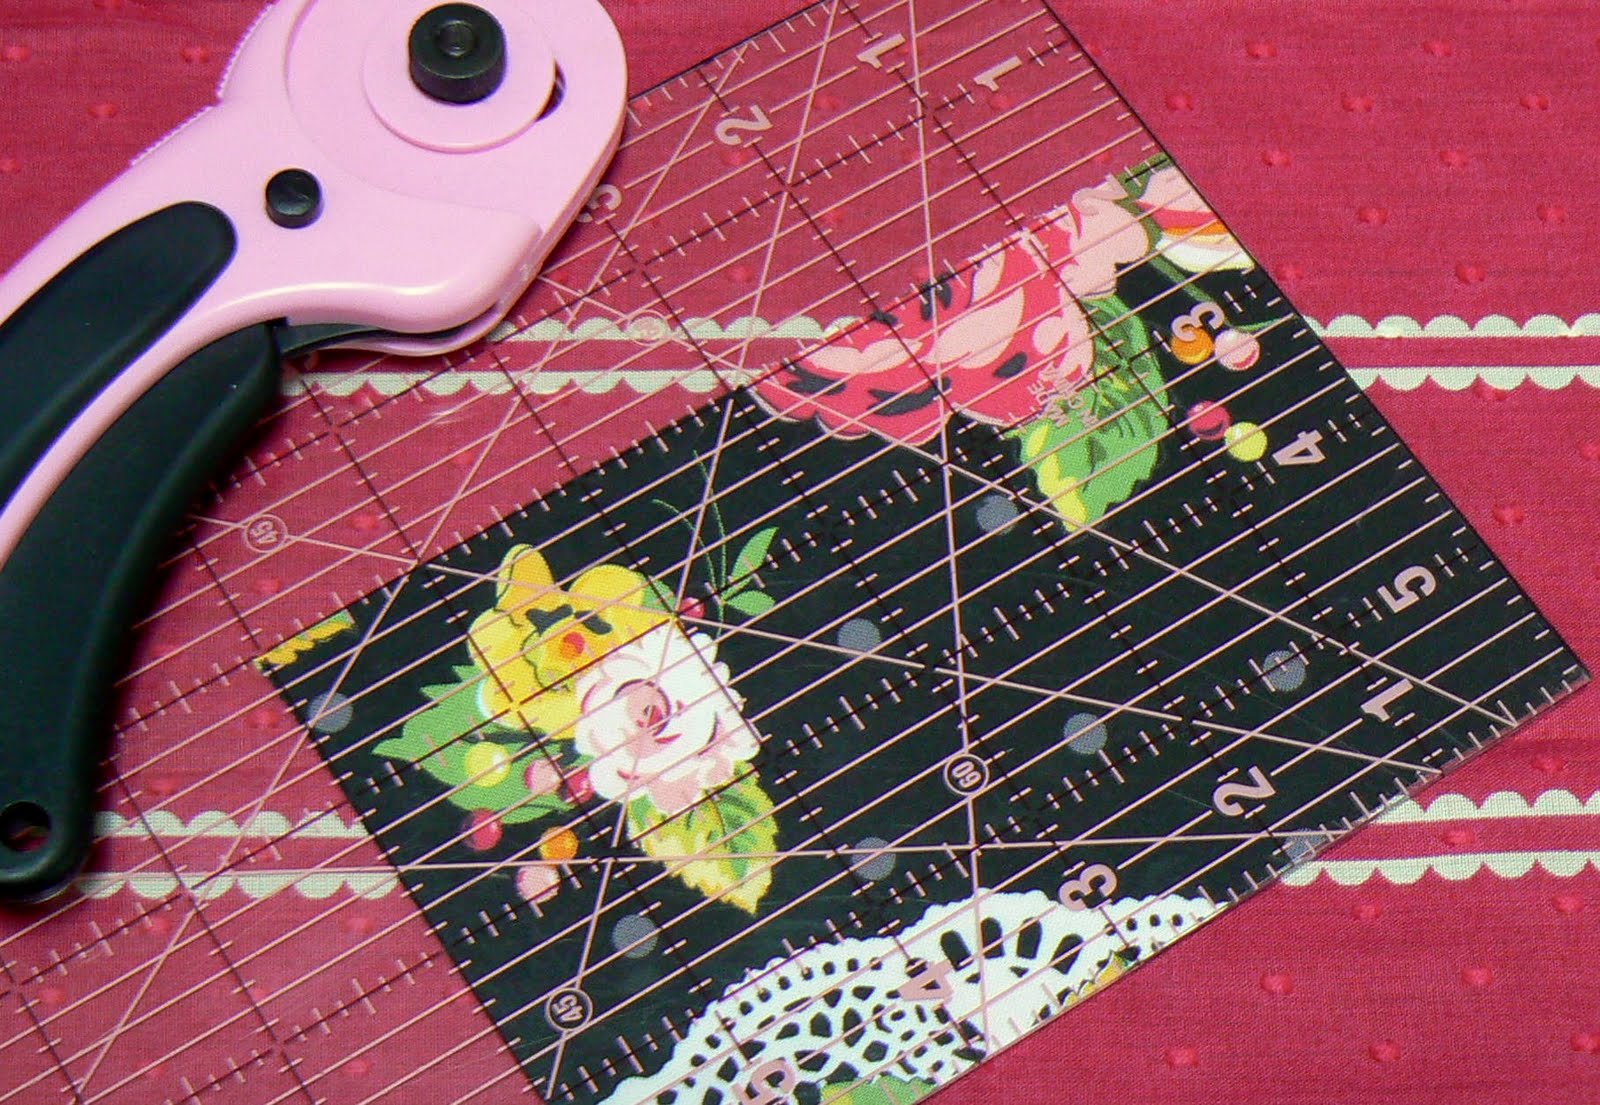
1. Pre-cut your fabric scrap to be about 5" x 7". I like to cut the fabric a bit bigger than the size I need so that if you iron it on to the adhesive sheet a little crooked you can square it off when you re cut it.
2. Cut a piece of Heat n' Bond to approximately the same size as your fabric.
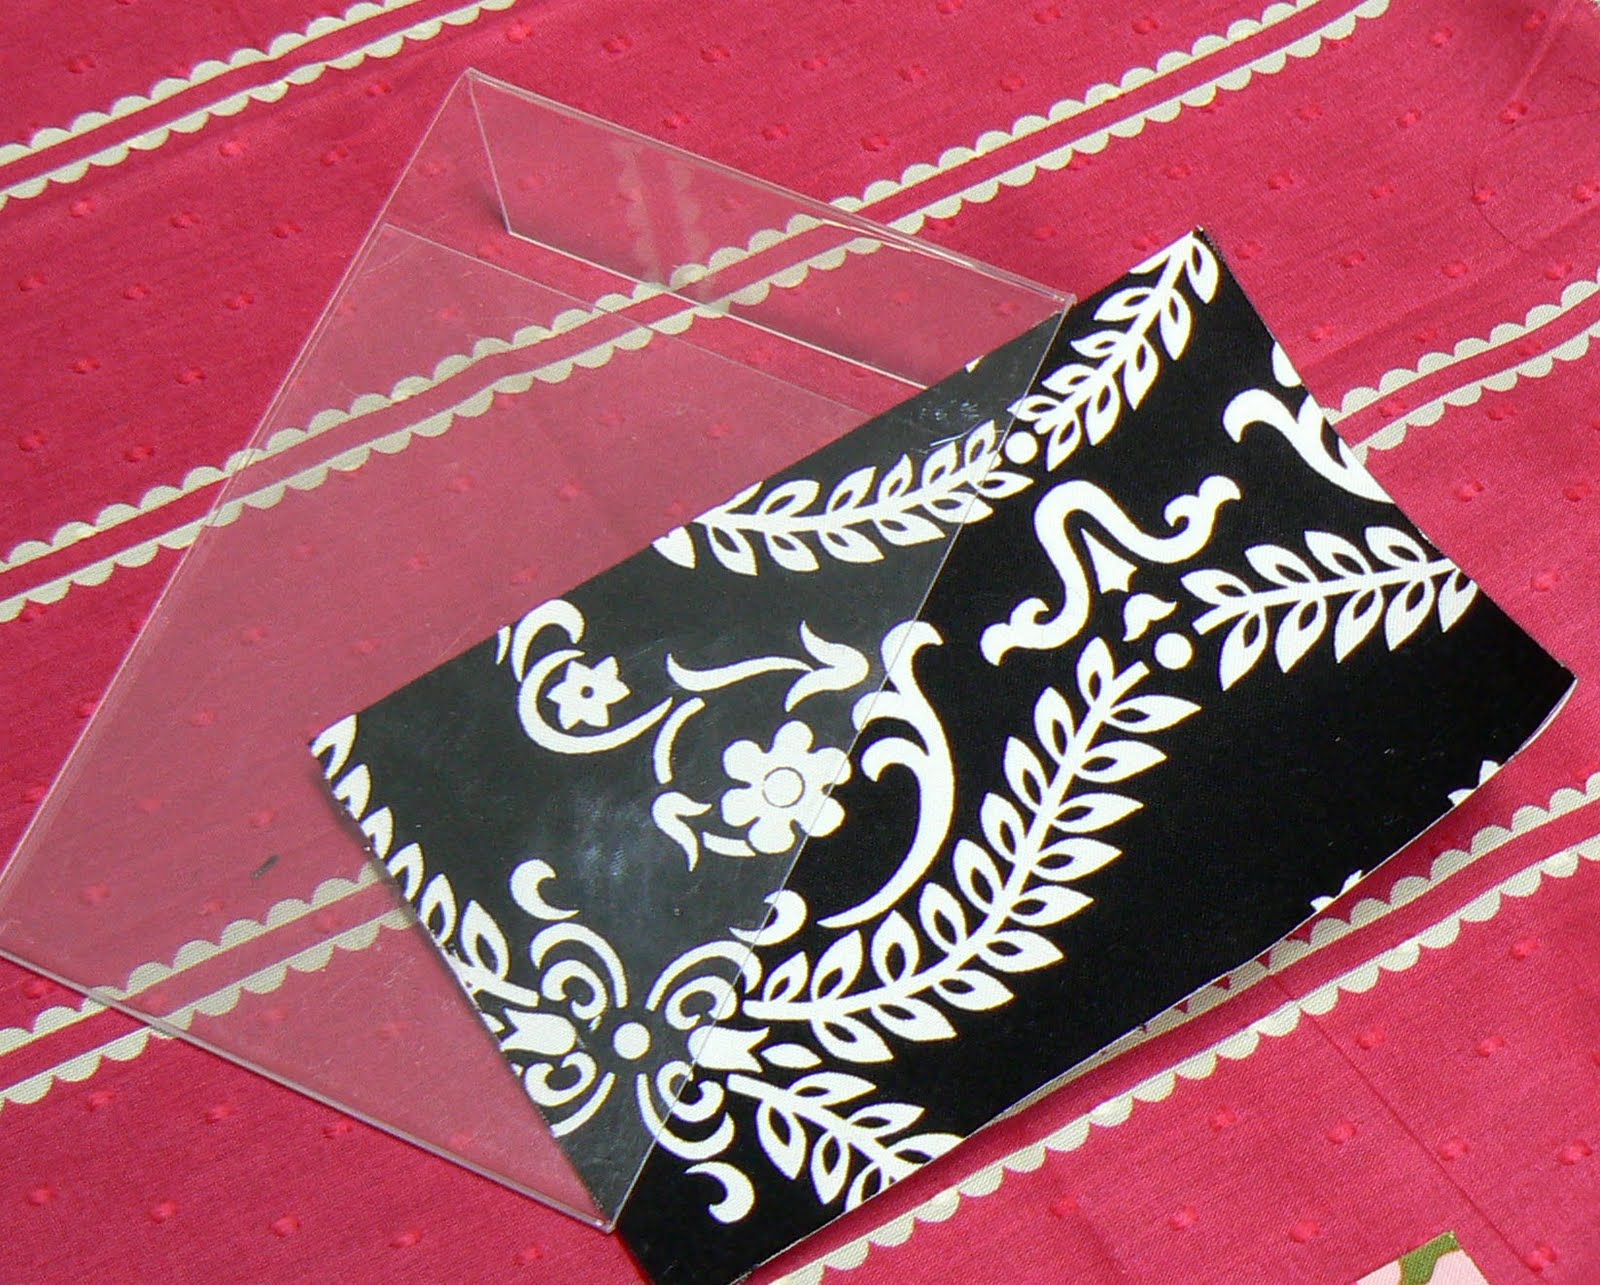
3. Iron the Heat n' Bond to the back of your fabric. Let cool and do not remove the paper backing. This gives your fabric enough structure to easily slide into your frame.
4. Cut the fabric to a size of 4" x 6".
5. Slide it into the frame so that the front of the fabric is showing through the front of the frame.
6. Embellish with ribbons, buttons etc. I simply tied a ribbon around the top portion of the frame and then clipped on a vintage earring for one. For the other I hand tacked a few vintage beads. You could even slide a small photo of the kids into the frame.

7. Peel the brown, non adhesive backing from the post-it pad. Add a piece of double sided tape to top back of the post-it pad.

8. Adhere the post-it to the bottom part of the frame. Be sure it is centered.
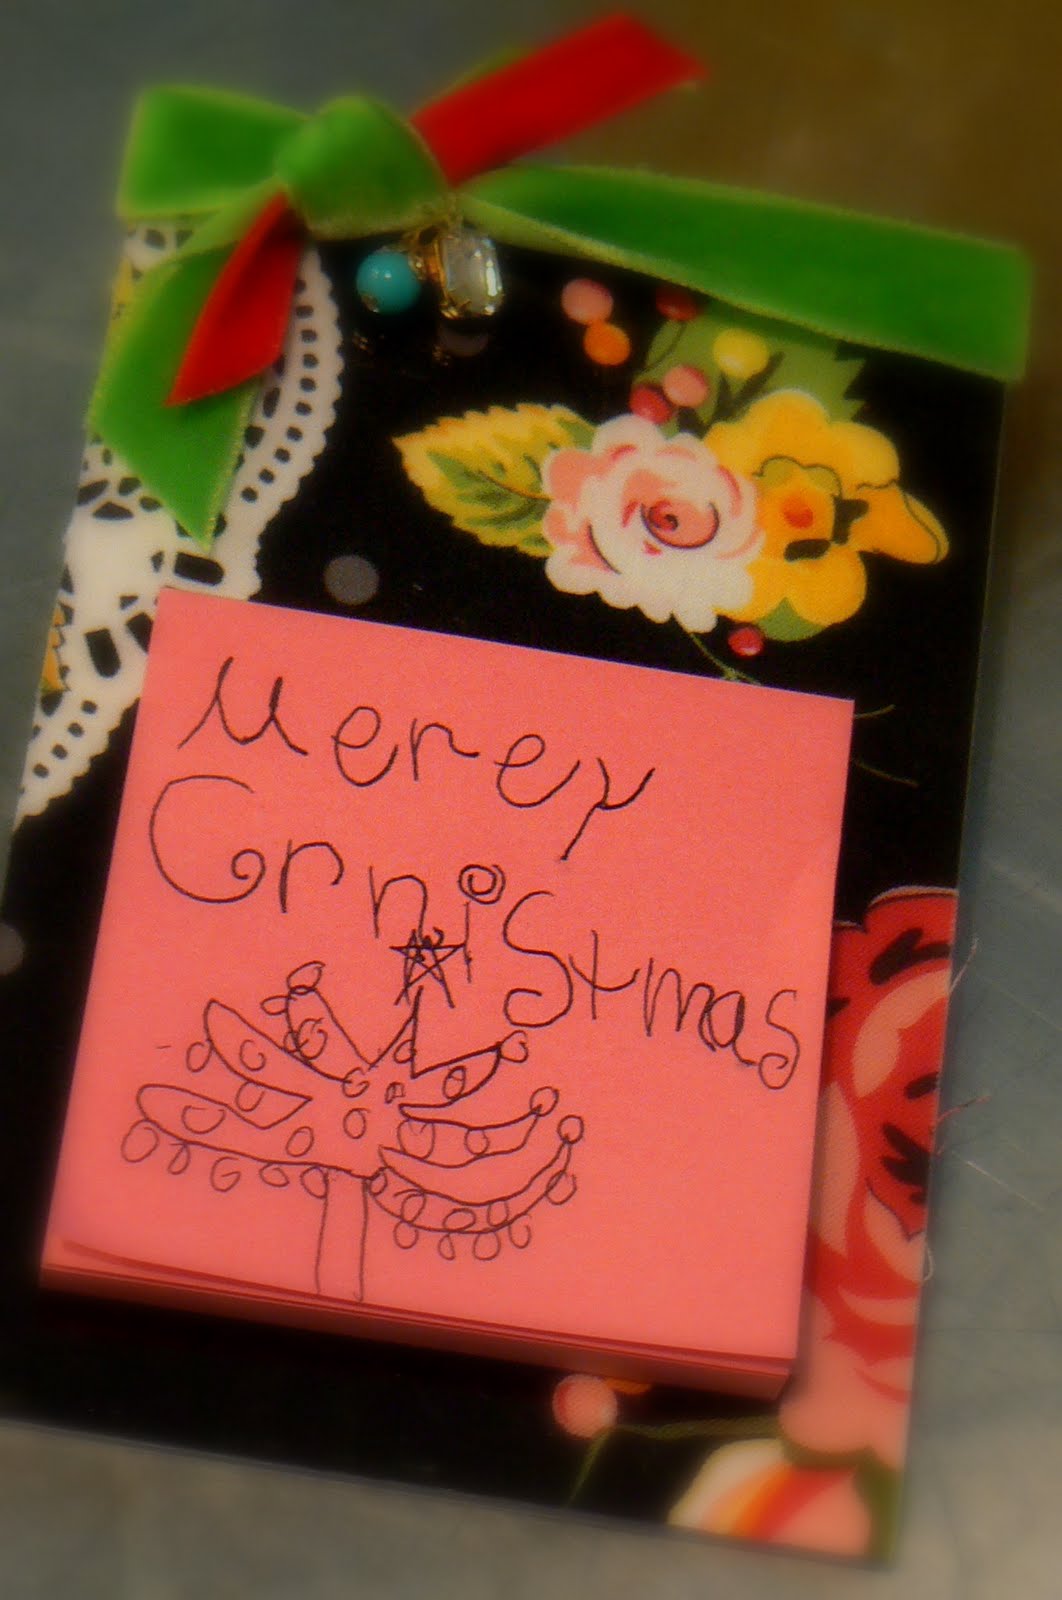
Find the cutest girl in town to add a little Christmas fun and wa-la, you are finished!
credits to: simonehowell.blogspot

Comments
Post a Comment