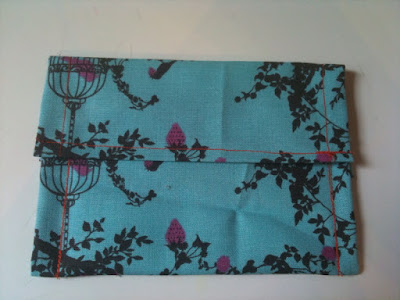
I have a lot of scraps. Lots and lots. So when I was trying to come up with a card for my mom's birthday using my newly acquired stamp set, I came up with this idea for a fabric envelope. It's a quick and easy way to put those great scraps to good use!
The first thing you'll want to do is iron your fabric (which I obviously didn't do in the photo above....did I mention I'm a very lazy seamstress?)
Next, cut your fabric into a rectangle - the exact dimensions are up to you, but for the tutorial, I cut mine 12 inches x 5 inches.
Iron the long sides inward 1/4 of an inch. You can repeat this (so for a total of 1/2 inch) for a more finished look.
Now repeat on the short sides.
Now, iron about 1/3 of the way up the envelope (see below). You are basically making folds so that the envelope will close nicely on it's own. There's no right or wrong here. You don't have to be exact or precise and it will still look great!
Decide where you want the top third to fall, covering your envelope and iron.
Isn't this a silly sewing project? You haven't even done any sewing yet! Okay, once you figure out how the completed project with look and ironed it all in place, open it up and just sew down one of the shorter ends.
Fold the lower third up in place and sew along the lines as indicated below.
You're almost there! You need to cut all of those dangling threads.
And here you have it!!
You can add Velcro to close it or a button if you know how to do something like that (I don't!) You could silkscreen or stamp a message on the front...."Open Me!" Or personalize it with a name.
Make a bunch in an afternoon and have them ready to go for any occasion! And watch that scrap pile disappear!
I used the orange one as a baby card to send to my sister-in-law. I made her one of my baby changing pads.
credits to: meremadeblog.com


Comments
Post a Comment