
Your first encounter with a sewing pattern can send you running for a translator. Despite what you may think, though, commercial patterns are not written in hieroglyphics. They actually follow standardized symbols and markings This means that if you can read one pattern, you can read them all. Here are some quick rules for understanding your pattern.
Always start by reading the front and back of your pattern envelope. This will give you several important pieces of information. You will learn the length and width of the fabric you need for your size if it is a clothing sewing pattern, or for your project if it is for home decor or accessories. You will learn the type of fabric best suited for the project and any notions you will need, such as zippers, thread, buttons, linings or trims. The pattern will indicate how much yardage you need if the fabric has a nap, such as velvet or corduroy, or stripes or plaids or one way patterns that must be matched. These types of fabrics will always require more fabric than a solid color.
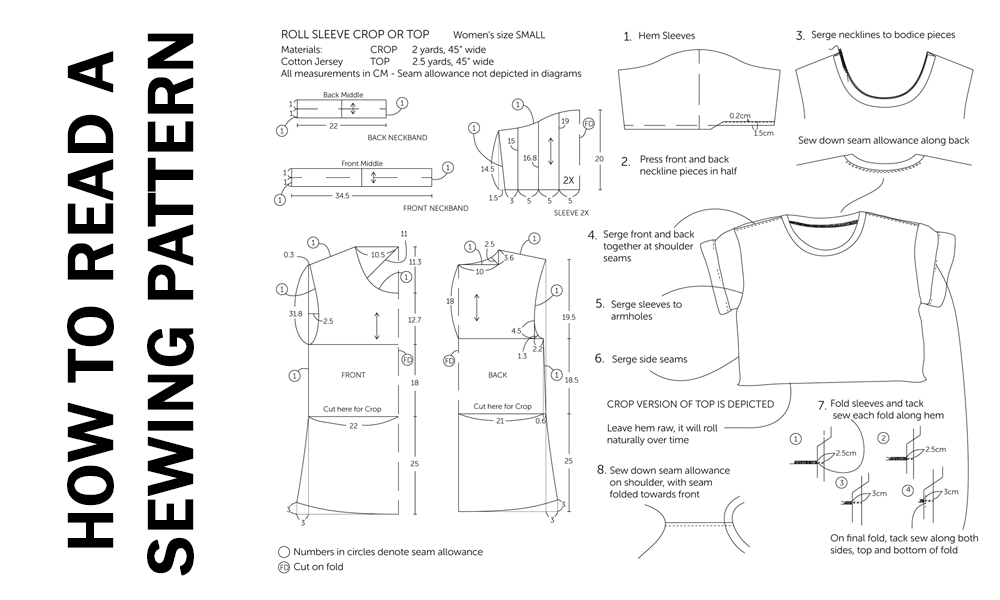
The envelope will also show you the various views, or types of items you can make with the pattern. Dress patterns for women, for example, may indicate a long or short-sleeved version, or a home accessories pattern may allow several types of window treatments. This is important for determining how much fabric you need, as well as making the pattern more versatile.
Here are some quick tips for interpreting the pattern markings.
First, read your pattern and written instructions carefully before you begin. It is the blueprint for your garment and has crucial information. Even if you are an experienced sewer, go over your pattern carefully, especially if you are using a pattern made by a company not familiar to you. They may use phrasing you have to study before you begin.
The instructions and information on the center of the pattern piece will tell you the name of the piece, the size, style number, brand what the piece is for (skirt front, collar lining, etc.) , whether it is to be joined to another piece, how many pieces you need to cut and. You will notice that each piece is numbered and your layout will tell you which pieces you need for your size, view, how you cut—on the fold, etc., and fabric size. This information is crucial if your pattern pieces get scattered and you have to reassemble them. It will also indicate whether a piece is for a lining or interfacing.
When you start examining your pattern pieces, don’t ignore a marking if you don’t know what it means. These lines and symbols are the language of patterns. If a marking confuses you, stop and look it up. If you cut on the wrong line (cutting along a stitching line rather than a cutting line, for instance) you can ruin your garment by making it too small. If you forget to snip around a notch you will be horribly confused later when you try to figure out how to match up your pattern pieces. Some markings need to be cut around, such as notches, while others need to be transferred to the garment for matching up. The pattern will indicate which is which.
You will note on the pieces where you can make adjustments for lengthening or shortening a pattern. The placement of waistline and shoulder seams will be marked for correct fitting.
Pay close attention to the grainline. Most commonly shown down the center of the piece and placed parallel with either the fold line or the selvedge on the fabric, it may show up anywhere. That is up to the designer. Position it so that the top of the line (usually containing an arrow) is the exact same length to the selvedge as the arrow at the end of the grainline. You want all of your pieces cut on the straight grain of the fabric. Some loosely woven fabrics show the grainline, but often the only way you can get a pattern piece cut accurately is to depend on the pattern’s grainline and line up your fabric accordingly.
Fold lines are indicated where there is no seam down the center of a front or back piece. Usually fold lines are indicated on bodice and skirt pieces, and also collar pieces.
Notches can make you crazy if you ignore them. These diamond or trapezoidal little bits on the seamline help you match pattern pieces so that your waistline and hip angles are accurate and they help you match plaids, stripes and seams. They prevent you from sewing two front pieces together, instead of a front and a back. They will have one, two or three notches and you simply match up the corresponding notches.
Last but most important are the lines running around each pattern piece. Your pattern will have two lines at the edge of each pattern piece. The inside line is the seamline where you sew the pieces together. The outside line is the cutting edge. Many pattern companies stick a sketch of a scissors along the cutting line so you don’t get them confused. How many sewers mistake the sewing line for the cutting line and end up with a garment that is too tight? Probably everyone at one time or another, so double check before you cut–then double check again that your scissors are on the correct line.
Today’s patterns are often made for multiple sizes. This certainly saves trees, but it also means you must be extra careful and cut each piece along the right cutting line. You don’t want to end up with a size 14 front bodice and a size 16 back bodice. Unless that is your intent. One tip is to take a colored marker and highlight the correct cutting line before you begin. A word to the wise, and all that. Voice of experience... if you know what I mean.
Once you have familiarized yourself with the markings on the pattern, turn to the instructions. Read them through carefully before you being. This is important even if you are an experienced sewer. We all have little brain glitches now and then, and reading everything in advance just sharpens our gray matter and points out an unusual instruction, the order in which to assemble the pieces or a technique we may need to review.
Choose the pattern layout, that is the placement of the pieces on your fabric. The layout is not arbitrary but has been determined by the pattern company to reduce fabric waste by careful placement. You will find several options for layout depending on the width and length of your fabric.
When you have all this information in mind, you are now ready to take up your patterns to sew, pins, measuring tape and scissors and begin your project.
Sew happy, and happy sewing.
credits to: thehomesewingplace.com

Comments
Post a Comment