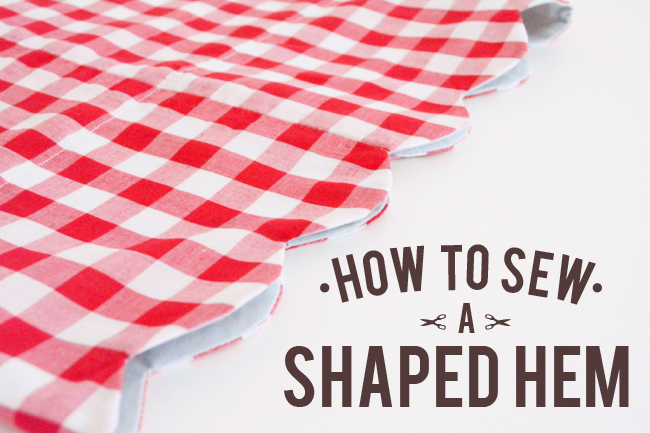
Using a facing for a hem is a fun way to customize an edge. Add scallops, zigzags, or whatever else you can dream up!
Before we can sew, we’ll need to draft a pattern piece for our facing.
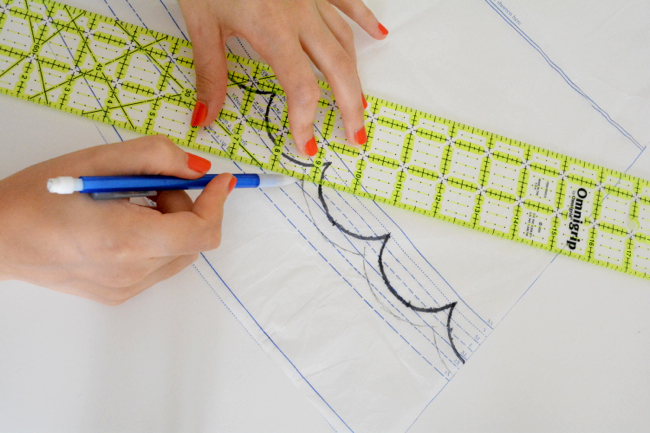
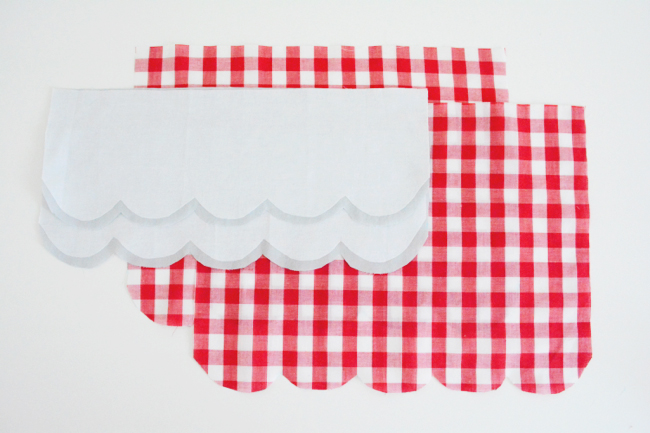
On your skirt piece (or whichever piece has your hem), draw the finished hem edge at the length you’d like. Use a ruler to add a seam allowance.
Trace off the bottom and side edges onto new paper.
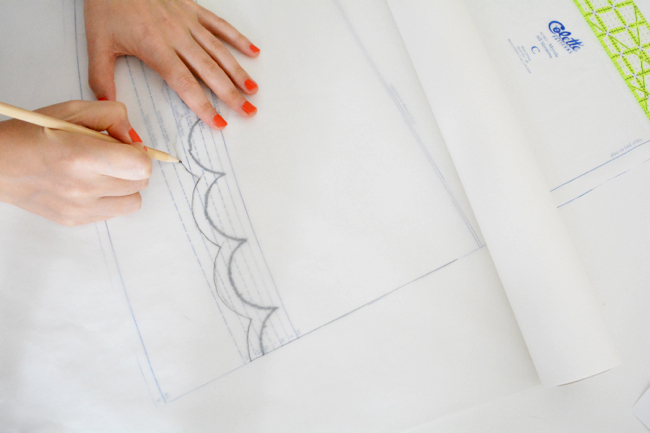
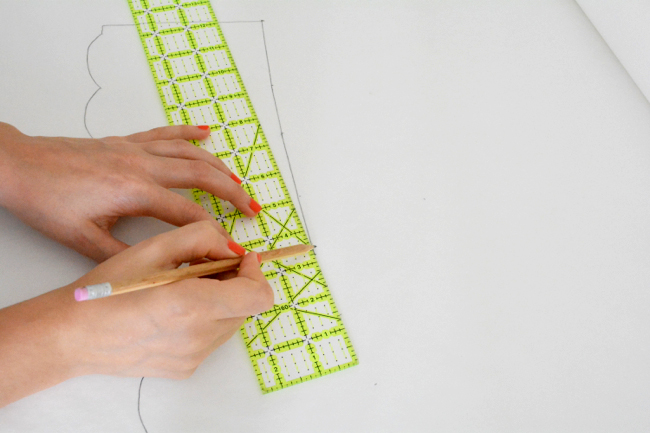
On the sides, measure up from the bottom the width you would like your facing to be, plus seam allowances. Use a ruler to connect the marks. If your pattern piece is curved, mark several points up from the bottom and use a ruler to connect them.
Mark any grain lines, folds, labels etc. Repeat for any pieces involved in your hem (ex. skirt front and back).
Cut out your paper and fabric pieces. Apply interfacing to the facings. Before you fuse, trim the seam allowance off the bottom edge of the interfacing to get an extra clean edge when you turn it.
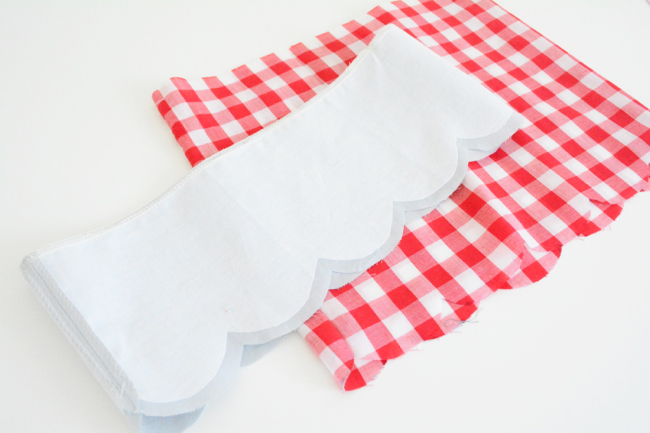
Sew side seams of skirt and facings and finish. Grade facing seam allowances. Press all seams open. Finish top edge of facing.
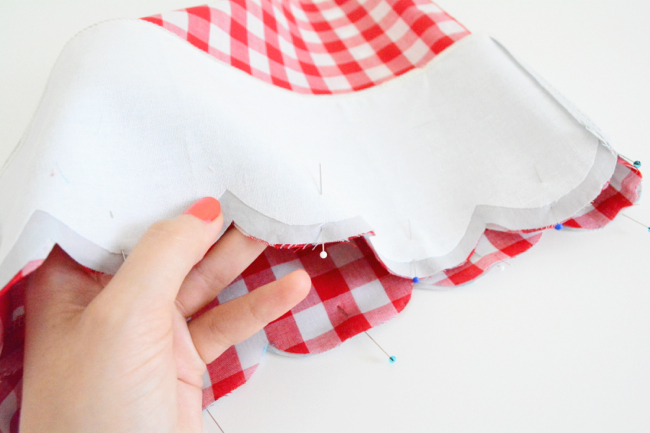
Pin facing to the outside of the garment, right sides together, aligning bottom edges.
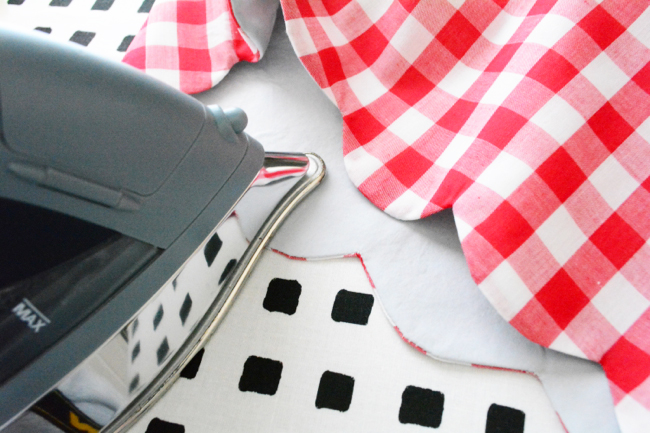
Stitch all the way around the bottom edge. Notch any outer curves and clip any inner curves and corners.
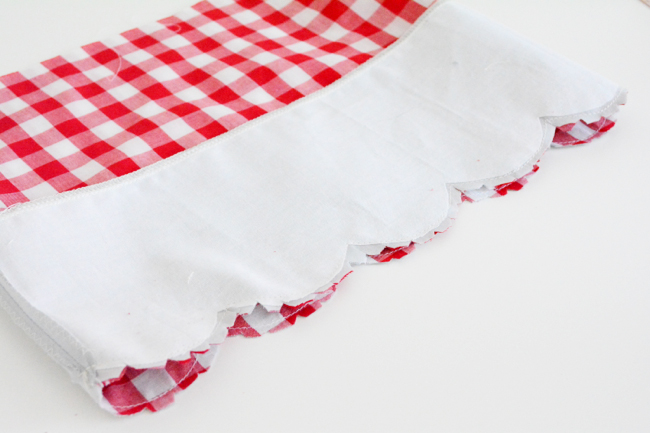
Turn facing to inside. Use a point turner or chopstick to push out corners and edges. Press.
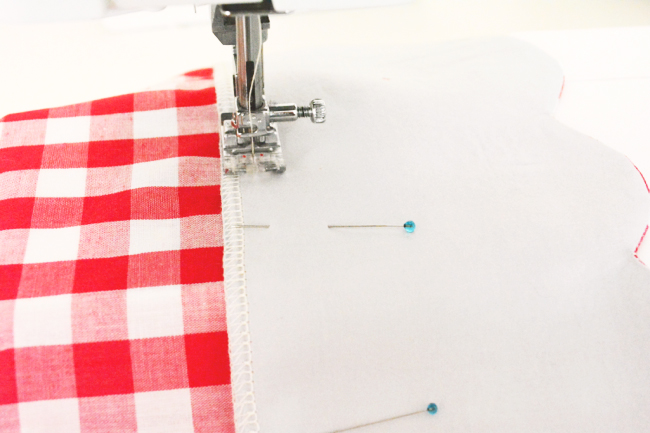
Stitch along the top edge of facing to secure using the desired method.
To switch it up a bit, make your face out of a contrast fabric and attach it with its right side to the wrong side of the garment. Turn it to the outside, tuck in the raw edge and topstitch around the top.
Voila, you're done! What hem shape would you like to try?

Comments
Post a Comment