
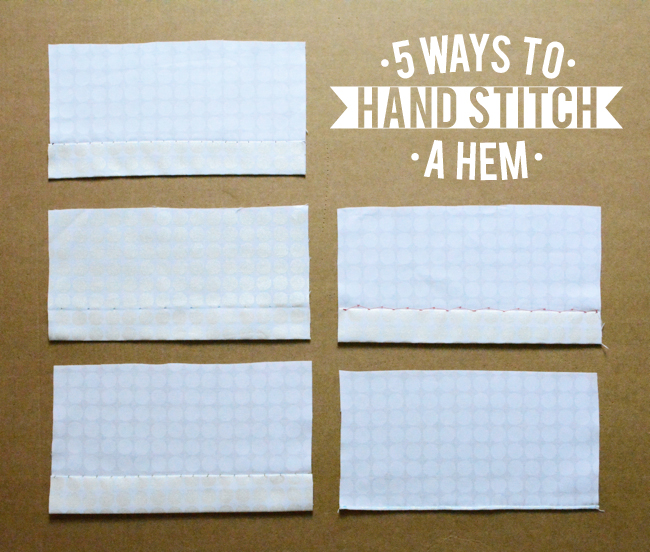
While machine sewing a hem is fast and easy, hand sewing can give you a nearly invisible finish. Below are five different options for hand stitching your hems.
Before we begin, let’s go over a few basic techniques that will be the same for all hand stitching.
Anchoring and tying off
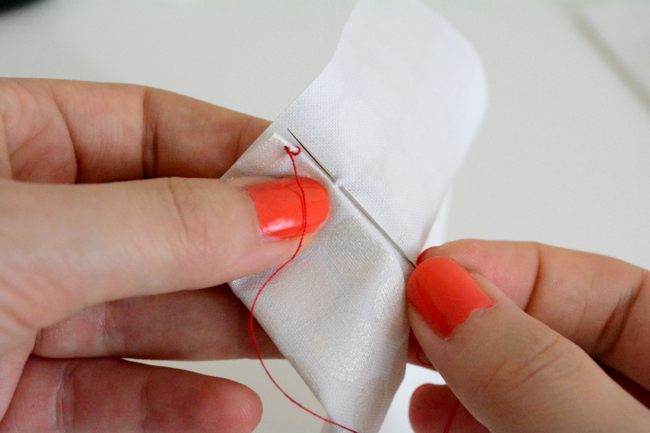
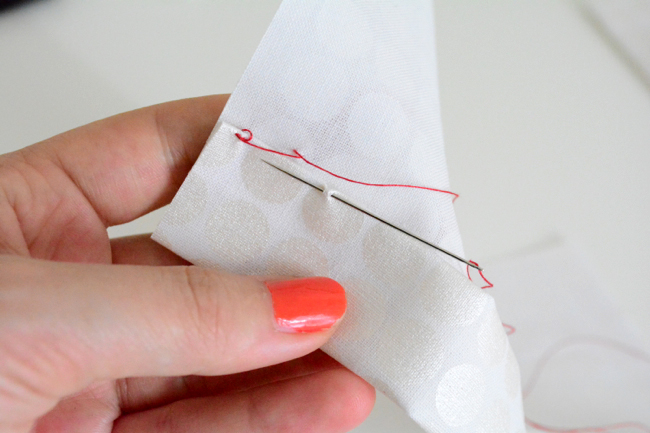
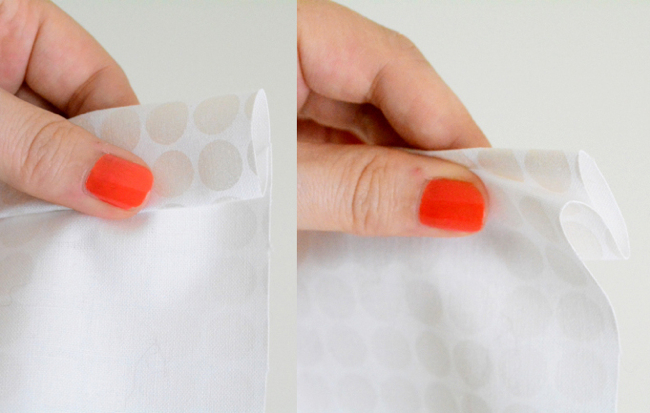
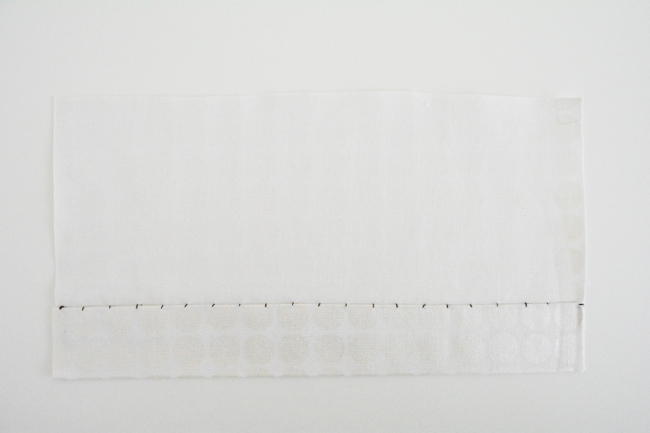
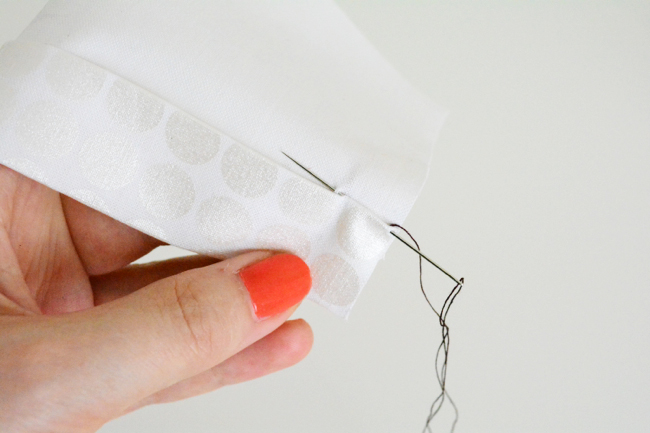
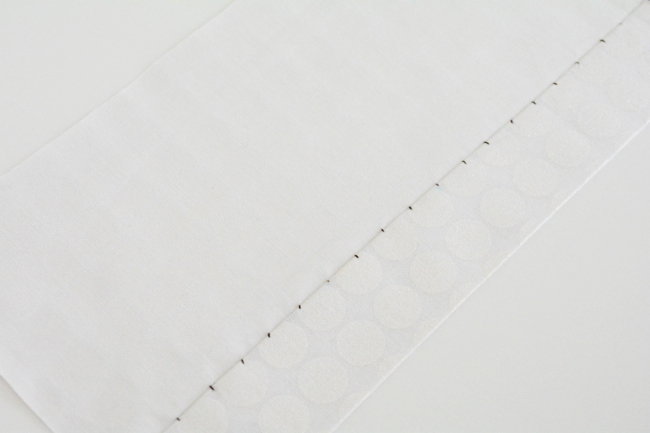
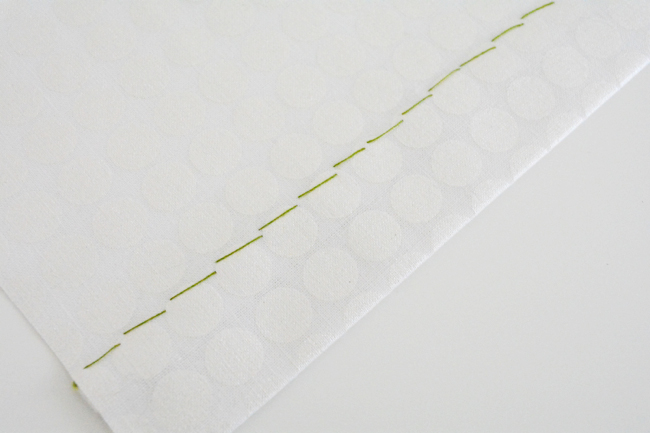
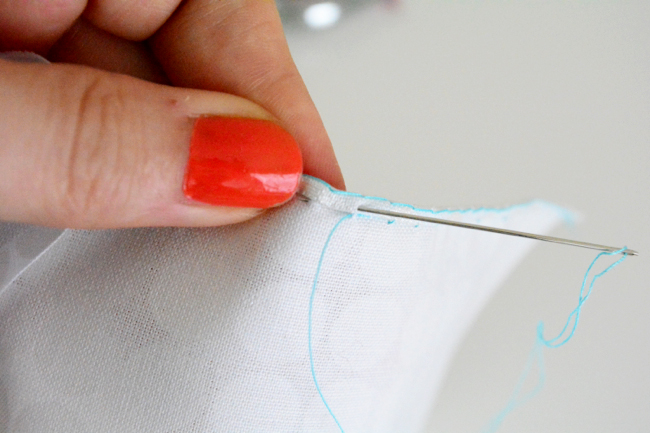
Work with an arm length of thread, and anchor/tie off in the hem. To begin sewing, stitch twice in the same place, but do not pull thread all the way through. Pass the needle through the loop twice.
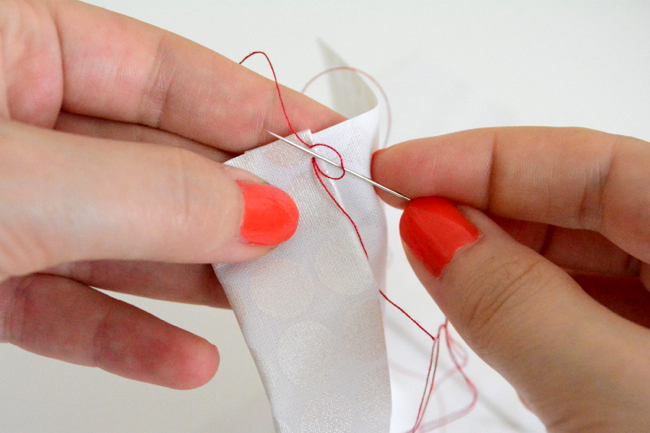
Pull to tighten knot down to fabric.
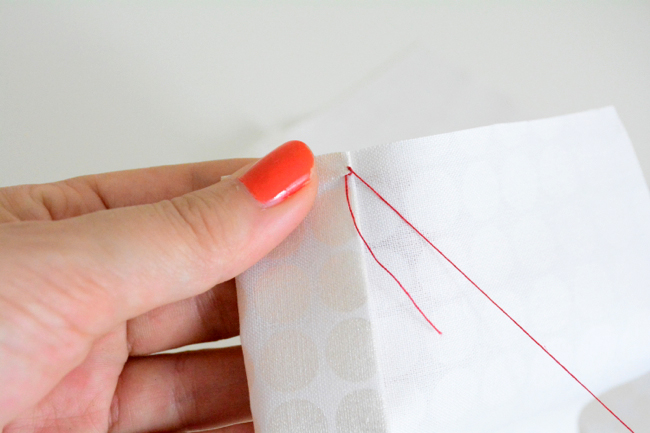
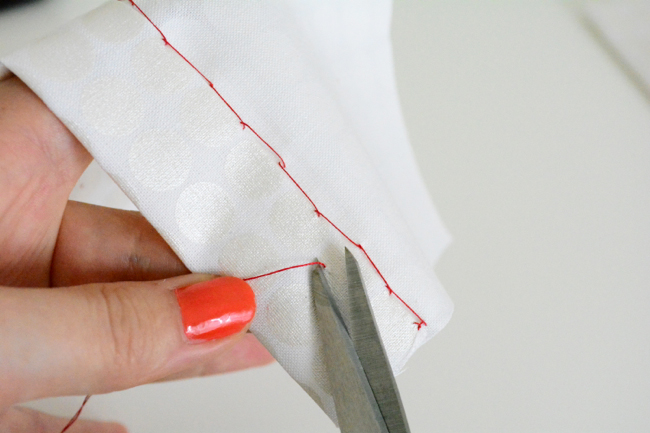
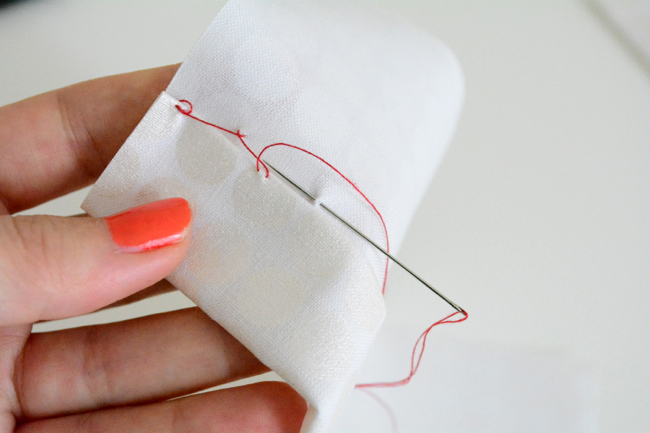
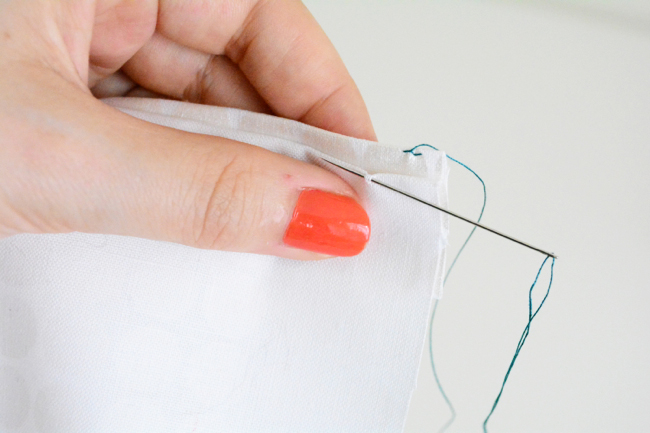
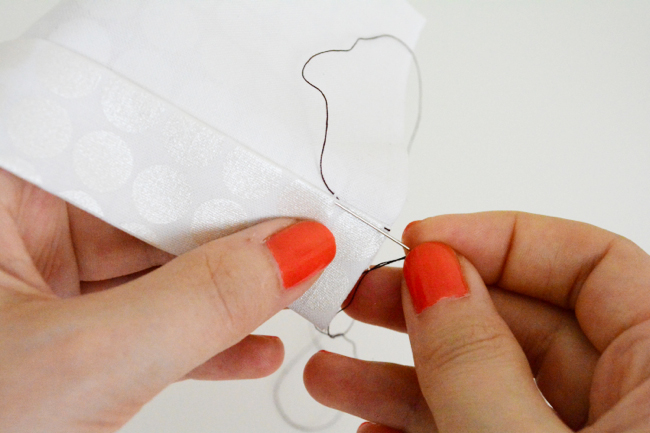
When you reach the end of your thread or hem, tie a knot in the same way. To hide the tail, pass the needle through the fabric layers without going all the way through. Bring the needle out a couple inches from the knot.
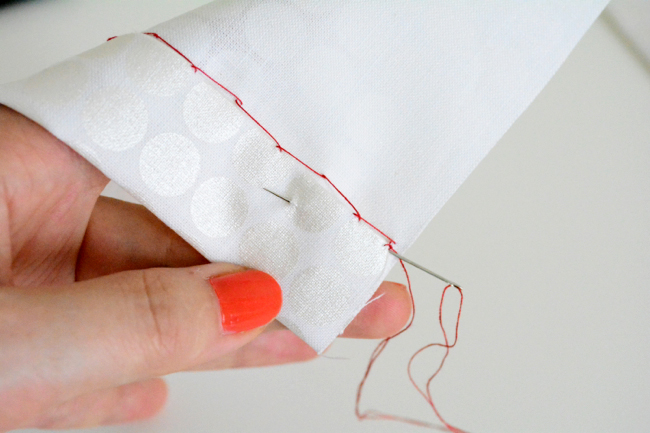
Cut the thread flush with the fabric. The tail will disappear and be hidden between the layers.
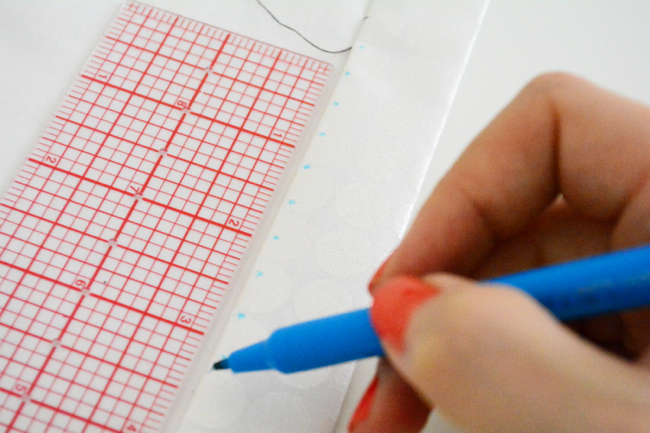
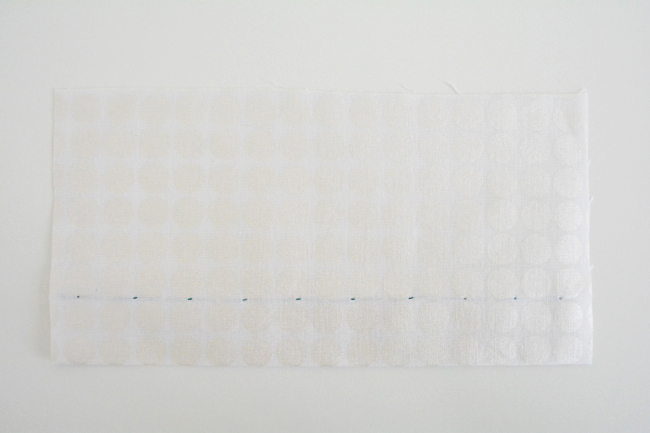
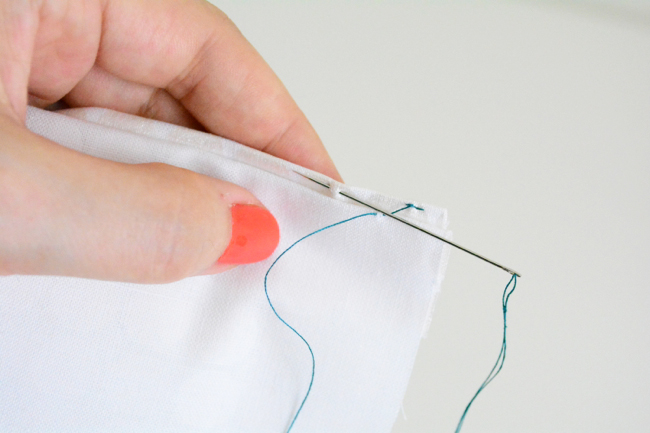
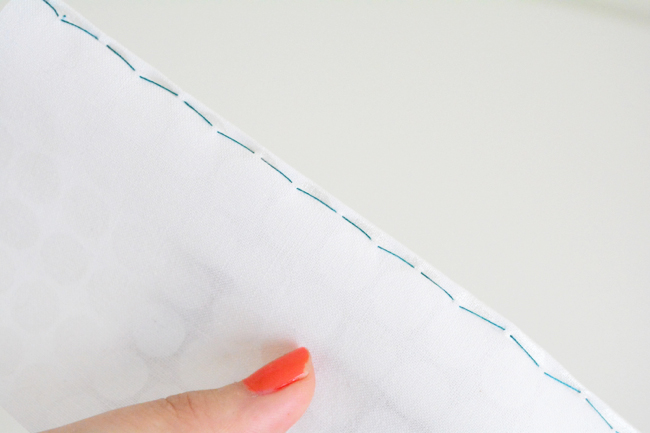
For any hand stitching, if you find it difficult to maintain even stitches, a quick marking with a disappearing fabric pen can be very helpful.
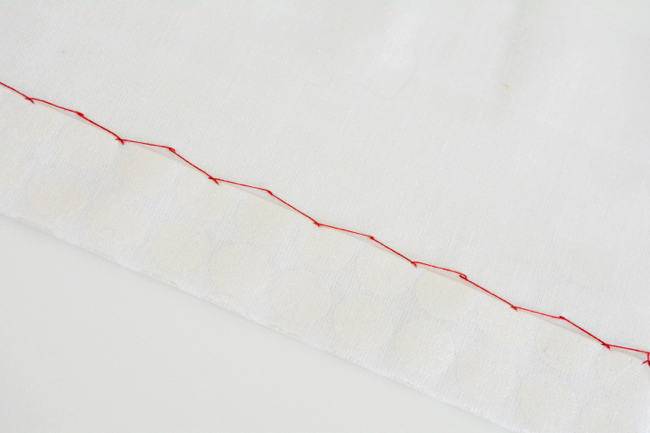
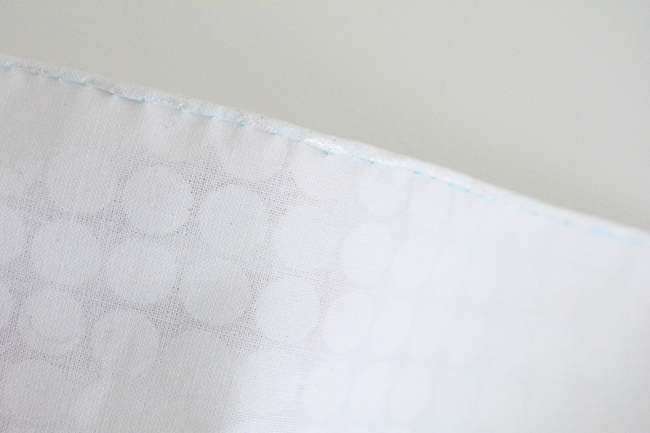
In the photos, contrasting thread is being used to make it easier to see, but you will want to use thread that matches your fabric.
And lastly, any right handed directives are bold in the main text, and left handed directives are in italics and parentheses. Hopefully this isn’t too confusing for anyone, but I wanted to make sure everyone could follow along!
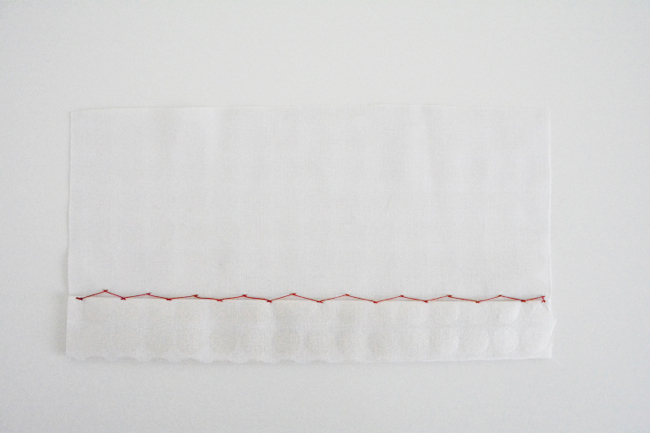
1. Catch stitch
A catch stitch has a bit of elasticity, and the criss crossing of the thread adds strength.
Worked left to right (right to left).
Anchor thread. With needle pointing to the left (right), take up a very small bit of the garment fabric just above the fold of the hem. Try to make your stitch very small as it will be visible from the right side.
Pull up thread. Move the needle a bit to the right (left) – about 1/4″ to 1/2”. Take up a small amount of the hem fabric with the needle still facing to the left (right).
Continue to complete hem.
Your stitching will look like little “x’s”.
2. Blind stitch
A blind stitch is barely visible from either side.
Press hem allowance into a double fold hem. Fold hem towards right side of garment so that finished edge sticks out by about 1/8”.
Anchor thread. Working right to left (left to right), pick up a very small bit of fabric in the folded edge of the garment fabric. Make sure you are only sewing through one layer, and make your stitch as small as possible as it will be visible from the right side.
Move about 1/2″ to the left (right) and pick up a bit of fabric in the hem.
Continue working this way until the end of them hem.
Fold hem down and press.
For a variation, use the same technique, but sew a catch stitch to create a blind catch stitch. This will be slightly stronger.
3. Slip stitch
This stitch works great with a double fold hem, as most of the stitching is hidden within the upper fold of the hem allowance. Like the blind stitch, it’s useful when your hem needs to look good from both sides.
Work right to left (left to right) with the needle pointing left (right). With wrong side of garment facing, sew a stitch in the upper fold of the hem 1/4”-1/2” long. Be sure to not pierce all the way through to the right side of the garment. Think of your needle as just skimming through the fabric.
When you bring the needle out of the fold, pick up a very tiny bit of fabric on the garment.
Pull thread through. Enter back into the fold of the hem directly even where the previous stitch ended.
Stitch forward another 1/4”-1/2” and repeat process to complete hem.
4. Fell stitch
The fell stitch is stronger than a slip stitch, but it is visible from the underside of the work if a thinner single layer of fabric is used. For bulkier fabrics, the thread can be hidden by passing through only a portion of the fabric’s thickness. With linings it can be completely hidden by stitching only through the lining and hem.
Anchor thread. Working from the wrong side and right to left (left to right), pass needle through garment fabric to make a stitch approximately 1/4″-1/2” long. (For a lined garment, stitch only through the lining.) Bring the needle out through the very top edge of the folded hem.
Enter back into the garment directly behind end of previous stitch to make another stitch.
Repeat to end.
On the underside of the work, there will be a line of slightly diagonal stitches.
5. Hand rolled hem
This is a nice hem for lightweight and sheer fabrics. It does not work well on thicker fabrics or embellished fabrics.
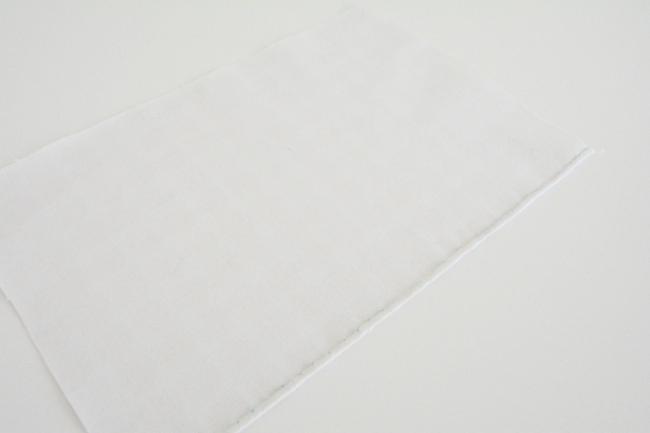
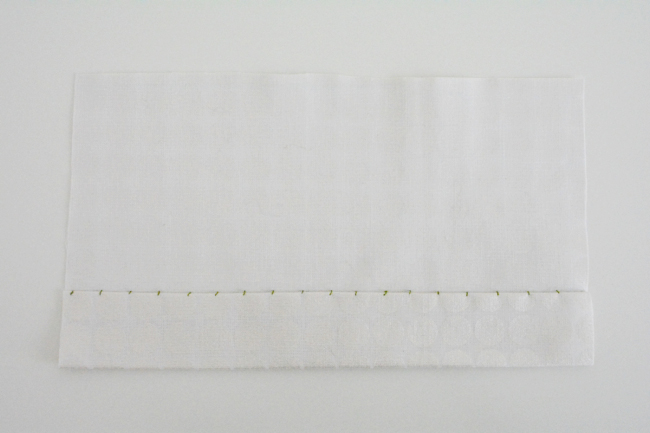
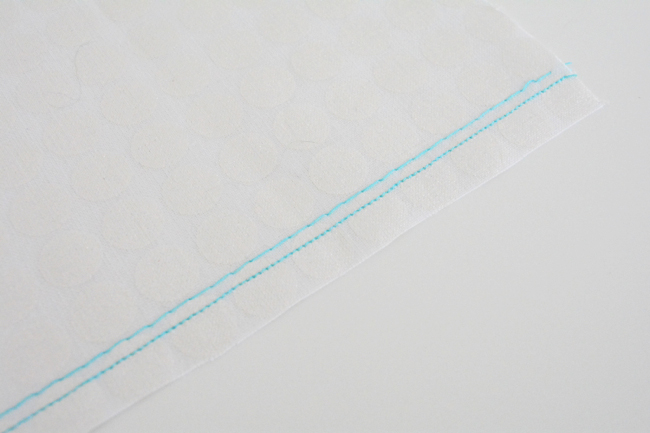
Trim any vertical seams in the hem allowance down to 1/8”. On your machine, baste around the hem at the hemline. Then shorten your stitch length to 1.5 and stitch 1/8″ below the hemline. This will keep the edge of the fabric from fraying.
(Note: For a slightly wider, but easier to roll hem, stitch 1/4″ below the basting line.)
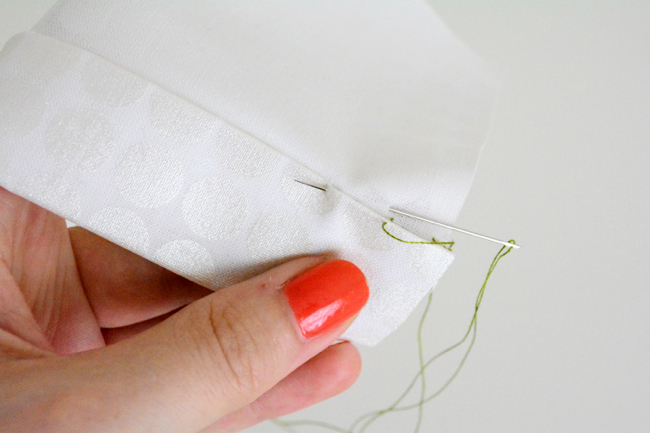
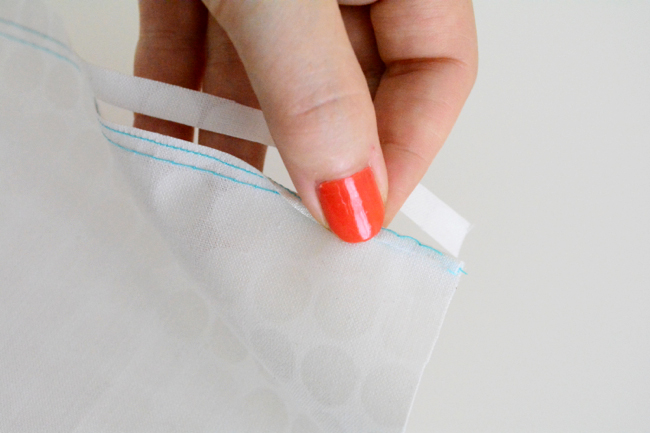
Trim about 6-8” of the excess fabric close to the stitching line. Attach the end of the fabric to something stable to act as a third hand. You can safety pin it to a couch, put a weight onto it, or put it under the presser foot of your machine.
Roll the trimmed edge of the fabric towards the wrong side, stopping at the basting stitches. The other stitching line should be enclosed by the roll of the fabric. (Licking your fingers will really help. It’s ok, no one’s watching.)
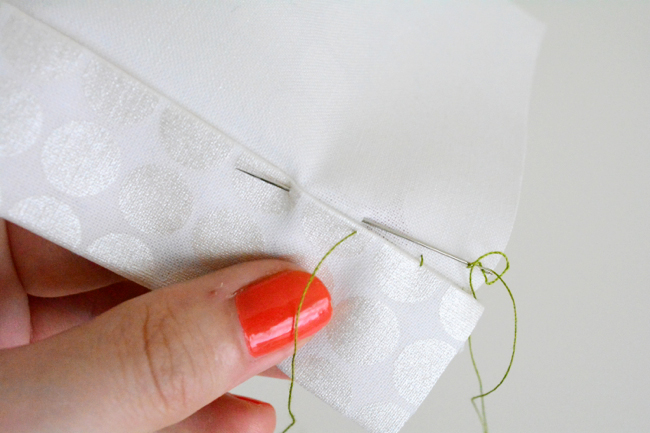
Use slip stitches to sew down the roll. Roll and stitch a little bit at a time. When you get close to your trimmed edge, trim a bit more. Trimming as you go prevents stray threads from fraying as you work with the fabric.
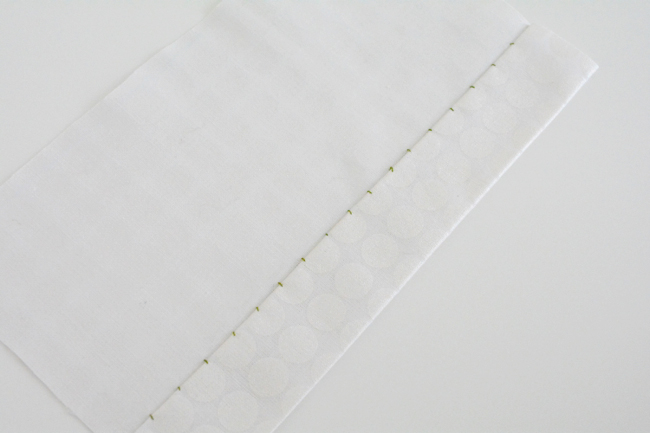
Continue to finish the hem.

Remove basting stitches.
Comments
Post a Comment